In this guide, I will explain Apple’s Lost Mode and how to enable it on your iPhone. An Apple iPhone is a workhorse for productive users.
Also, it is one of those expensive smartphones. Losing the iPhone to a thief or misplacing it can harm you and your work. Your device and the data in it are likely to be compromised.
Apple’s Lost Mode enables you to find your Apple devices such as iPhone, iPad, iPod touch, Mac, etc. When you enable Apple’s Lost Mode and if you misplace the iPhone/iPad/Apple Watch, no one can access the data present on your device.
The Apple device will display a message stating that it is lost, and the finder should contact the original owner of the iPhone, iPad, or Apple device.
1. Understanding Apple’s Lost Mode
Once you enable Apple’s Lost Mode on your iPhone or any other Apple device, you will receive a confirmation email. This email will be sent to you on the email ID you used to register your Apple ID.
The device won’t receive messages or notification alerts when the Lost Mode is enabled. However, phone and FaceTime calls are allowed when Apple’s Lost Mode is enabled. On the other hand, any active payment services and cards connected to your Apple ID that you use on the lost iPhone will be disabled.
This is to safely keep the device or any other details associated with any app installed on the iPhone. If someone finds the lost iPhone seeing any notification for any app, they may get interested and try to check it out. That’s a breach of privacy and undesirable.
With Apple’s Lost Mode enabled, you can track your Apple device. You will know if someone is trying to move it from one location to other. The Low Power mode will kick into action when Apple’s Lost Mode is enabled. This will preserve the battery so you can track and get it back in time.
Also Read- How to Reset Your Apple ID Password
2. How to Enable Lost Mode on Any Apple Device?
Here are the steps to activate Apple’s Lost Mode.
- Open any browser app on any device, such as a laptop or other Apple gadget you have.
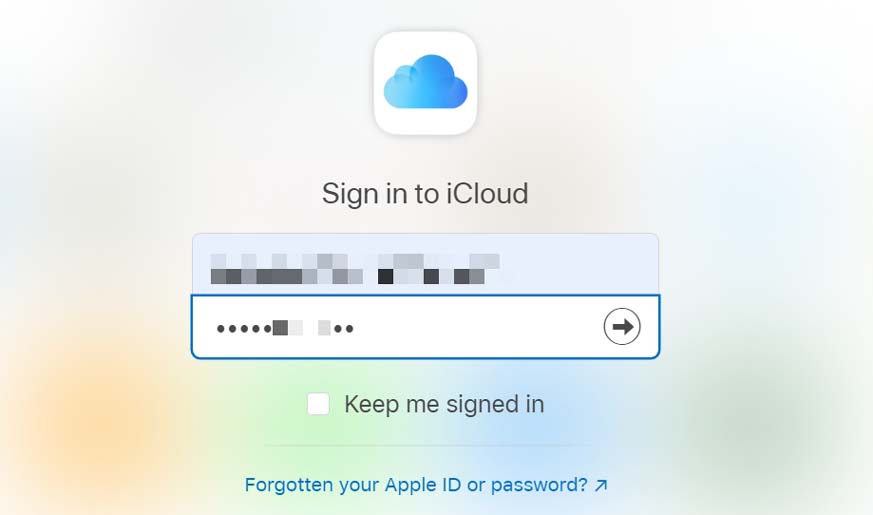
- Go to iCloud.com.
- Sign in using your Apple ID credentials. [use the same Apple ID on which you were signed into the lost Apple device]
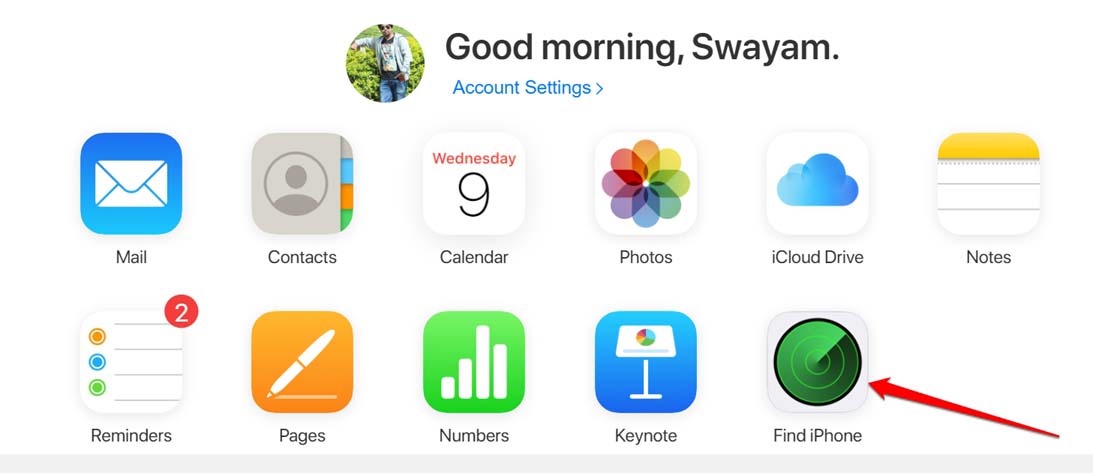
- Click on Find iPhone.
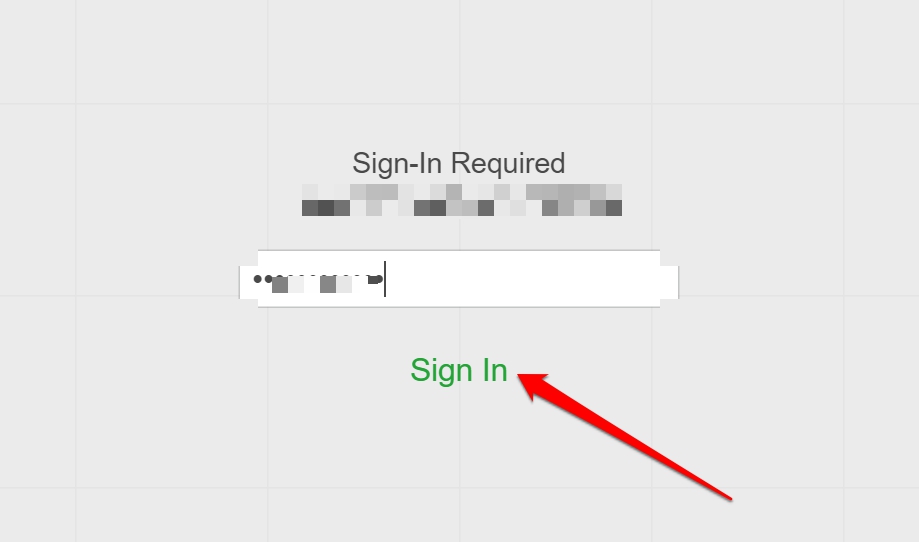
- Authenticate by providing your Apple ID password > click Sign In.
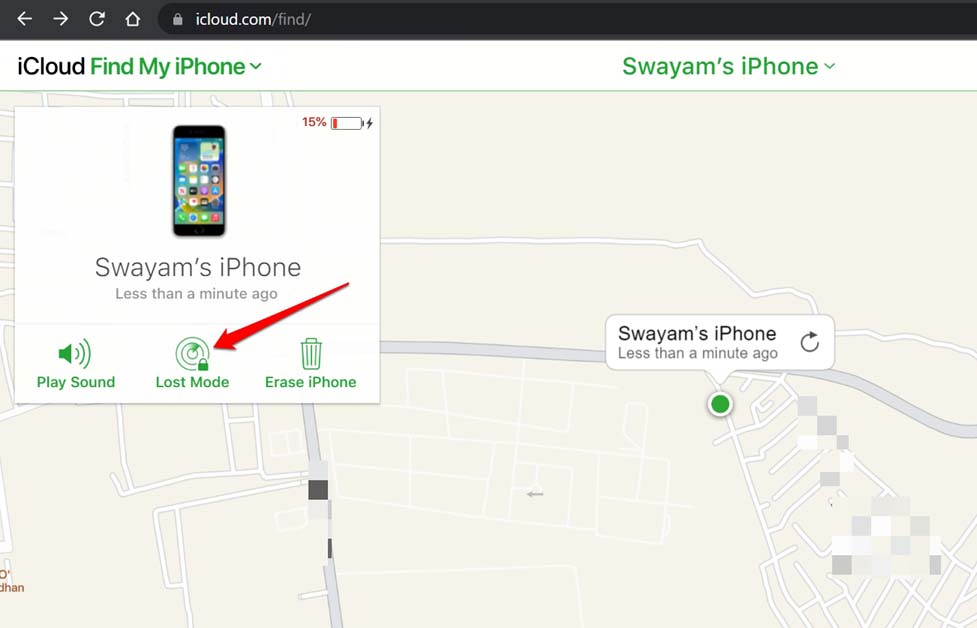
- All the Apple devices and their respective locations will show up, which are signed in using the same Apple ID.
- Select the device for which you want to enable the Apple Lost Mode.
- For that device, you will have three options to choose from. Play sound, enable Lost mode, and Erase iPhone.
- Select Lost Mode.
- To keep the iPhone/iPad safe from miscreants, you also get an option to remotely set a screen lock on your iPhone. This will stop anyone from unlocking the iPhone.
- Enter the passcode when asked and confirm to activate the screen lock.
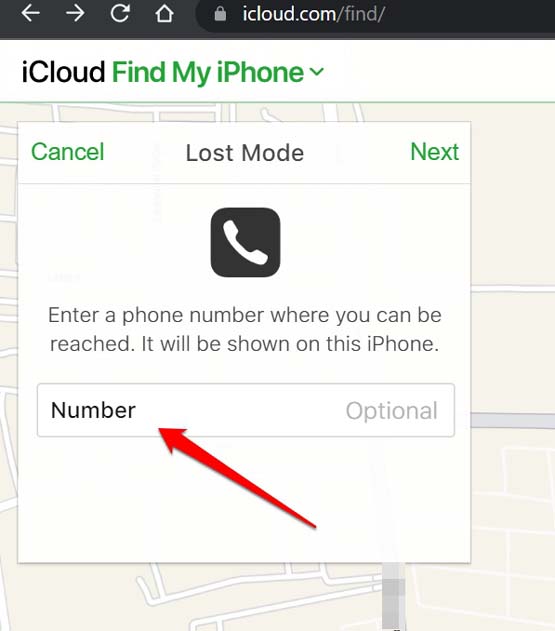
- You will be asked to enter a phone number. If some good samaritan discovers your Apple device, he would want to reach out to you to return your iPhone/iPad. For that, he needs a contact number. If you have an auxiliary phone number, enter the same or your family member’s phone number.
- You can also add a message citing the urgency to return the lost device on the contact above number as soon as possible.
- Click Done once the process is over.
Ensure that in the message box, you are not providing any unnecessary or vital information that may further jeopardize your cyber safety or your lost Apple device.
Also Read- How to Unsilence Calls on iPhone
3. Steps to Disable Lost Mode on your iPhone
Once you return your iPhone or iPad, you want to turn off the Apple Lost Mode you previously set on the device. Here’s how to do it.
- Go to www.iCloud.com on your Apple device.
- Log in using your Apple ID &password.
- Go to All Devices > select the device for which you had set the Lost Mode.
- Click Lost Mode > click Stop Lost Mode to disable it.
Wrapping Up
Worry not if you lose your Apple iPhone. Just grab any other device, use the browser, and enable Apple Lost Mode to keep the iPhone safe. Then make an effort to retrieve your Apple device without compromising its data. I hope this guide was useful.

