As we all know, technology is becoming more and more advanced day by day, whether it is any device or software that runs on that device.
However, if we talk about the software segment, Microsoft is at the forefront of this race and has proved its dominance.
They recently launched their new Windows version, i.e., Windows 11, which created a lot of hype among Windows PC users.
But this update has brought many flaws with it, due to which the users are facing many problems every day. For example, recently, some users complained that their PCs had randomly restarted after the new update of Windows 11.
Well, when our team investigates the reason behind this issue. We have found some fixes that will surely help our readers to fix this issue.
Therefore, now without taking much time, let’s directly jump into the article and check out the steps you need to take while fixing the random restart problems in Windows 11.
Best Ways To Fix Random Restart Problems in Windows 11
So, if you are here to find out the best ways to fix this random restart problem in Windows 11, we will assist you. But you have to make sure to follow this guide till the end. So, let’s take a look at the fixes:
1. Turn Off The Automatic Restart Option
You may have enabled the automatic reboot option on your Windows 11 PC, due to which you have to face this issue. Therefore, disabling this option may help you fix the random restart problem. So, here are the guidelines that you need to take:
- Firstly, press and hold the Win+I key together. This will open the Windows Settings page.

- After that, navigate to the System> About Section.
- Then, hit the Advanced System Settings button to open the Advanced tab on the System Properties page.

- Now, locate and click on the Settings option under the Startup and Recovery section.

- After that, make sure to uncheck the box located in front of the Automatically Restart and hit the Ok button.


That’s it. Now, simply reboot your Windows 11 system and verify if the issue is occurring anymore or not. Most probably now, the issue will get fixed. However, if the issue is still there, don’t worry, as we have more fixes for you that will surely help you fix this.
2. Disable Fast Startup
If you accidentally or intentionally have enabled the fast startup feature on your Windows 11 PC, then it might be the reason behind the random restart of your System.
However, we have many cases where users reported that after disabling the fast startup, they were able to get rid of this issue. Therefore, you can also try this out and check if it helps you.
- Firstly, hover to the Start menu and search for Control Panel. Then, open the appropriate one from the search result.
- After that, switch to the System and Security option and click on the Power Options.
- Then, simply click on the Choose what the power button do option located at the left-hand side of the screen.

- After that, tap on the Change settings that are currently unavailable and uncheck the box located in front of the Turn on Fast Startup.


- Now, finally, hit the Save Changes button and close that window.


So, that’s it. Now, the random restart problems in Windows 11 may be fixed after doing this.
But, if you find that the issue is still occurring, then there’s a possibility that your PC may be affected by malware or viruses.
So, don’t worry; take a look at the next method, and you’ll be able to fix this.
3. Scan For Viruses and Malware
In case if your PC gets attacked by a virus or malware, only then this type of issue occurs. So, to check their presence, you need to use your Windows Security application.
Well, don’t worry! If you don’t know how to do this, simply follow the steps we have mentioned below:
- First of all, search for and open the Windows Security application using the Windows Search bar.
- Then, under the Security at a glance section, select the Virus & Threat Protection option.

- After that, click on the Scan Options > Full Scan.

- Now, press the Scan Now button.


That’s it. Now, wait until it searches for viruses and malware. However, if you want, then you can also use third-party antivirus software if you have.
4. Run SFC Scan on Your PC
Your system file may get corrupted or damaged for various reasons, and that’s the reason behind this issue.
So, to make sure that your system file doesn’t have any flaws, you need to run the SFC scan on your Windows 11 PC. Here are the necessary steps that you need to follow:
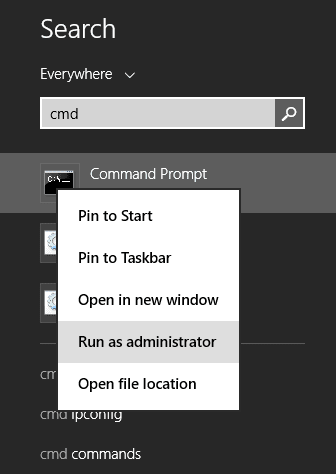
- Initially, using the Windows Search bar, search for the Command Prompt and open it using Run as administrator.

- Now, execute the command: sfc/scannow.

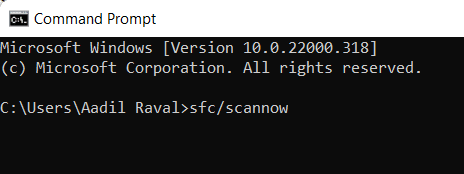
That’s it. Now, it will start scanning your system files and will take a few minutes, depending upon the size of the files. Once completed, simply close the command prompt window.
After that, restart your System, and you’ll see that the issue won’t appear anymore on your PC. But, in case the Sfc /scannow doesn’t work, then open the command prompt again using admin rights and use the command Chkdsk/x/f/r.
5. Get the Latest Graphics Driver
Several problems may arise, not limited to random restart errors, when an outdated graphics driver is present. This is why getting the latest driver is essential to eliminate any errors.
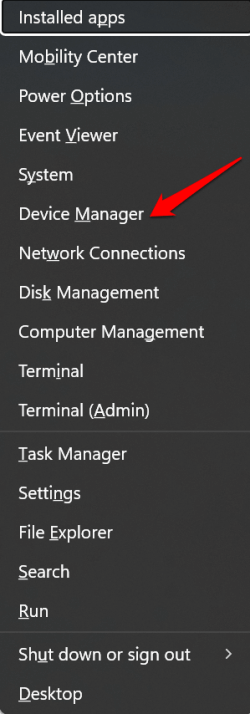
- Right-click on the Windows Start Menu and select Device Manager.

- Then click on the small arrow of the Display adaptors.
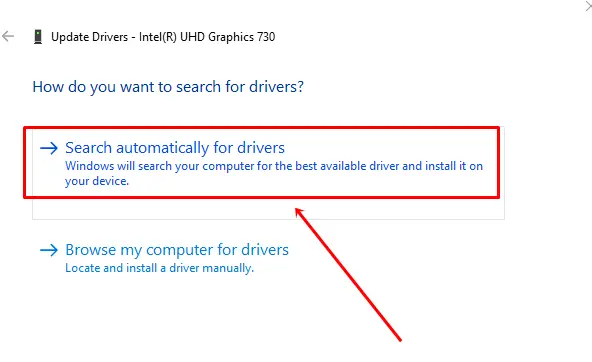
- Now right-click on the graphics driver, and select Update driver.

- After that, click on Search automatically for drivers.


6. Remove the Latest Update
Windows updates usually come with security patches, bug repairs, and new features. However, sometimes they can also cause many issues; random restarts could be one. Thus, removing the faulty updates is recommended.
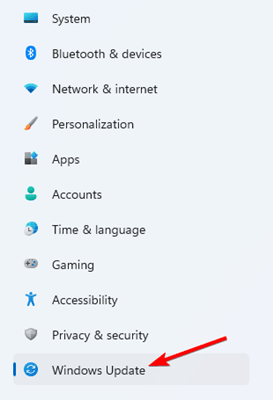
- Click on the Windows button, and select Settings > Windows updates.

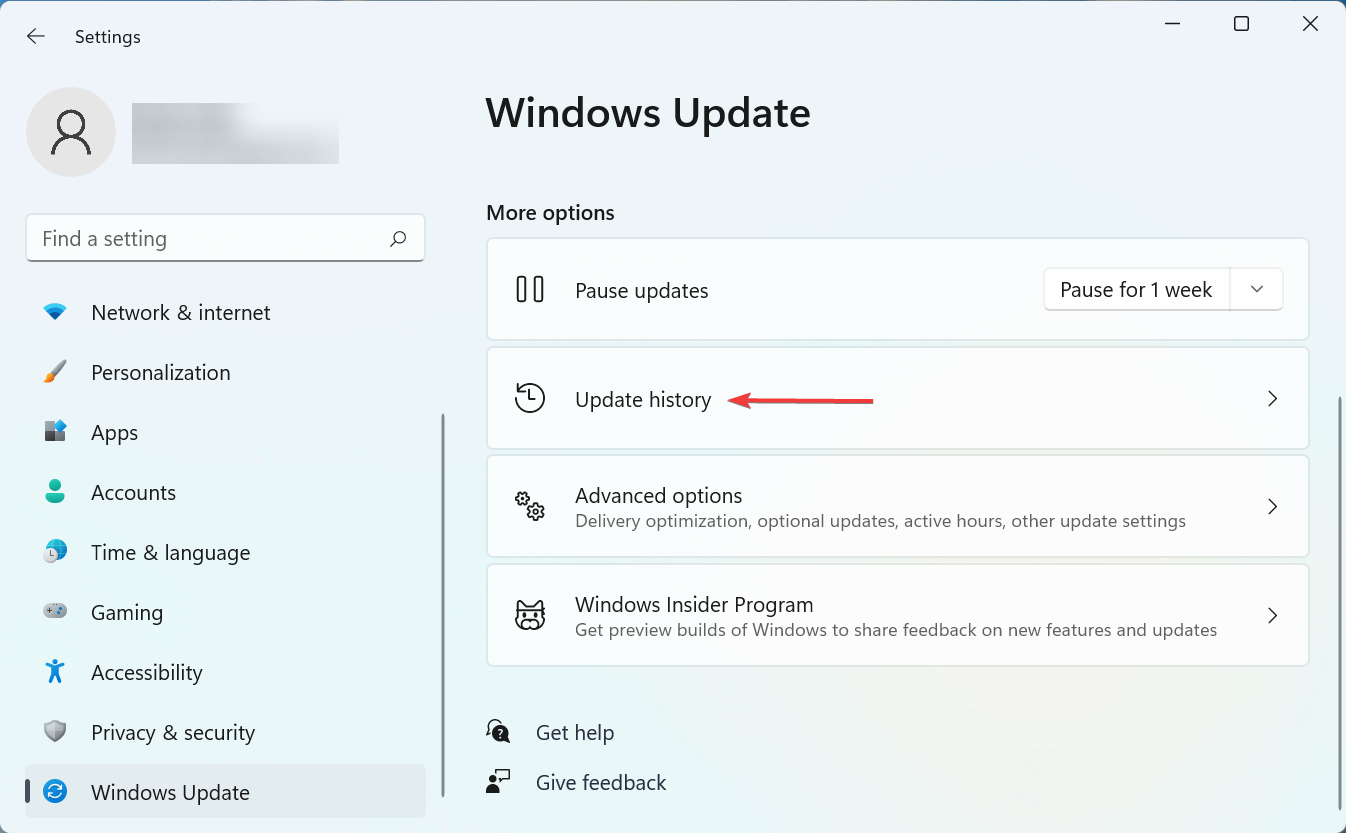
- Then click on Update history.

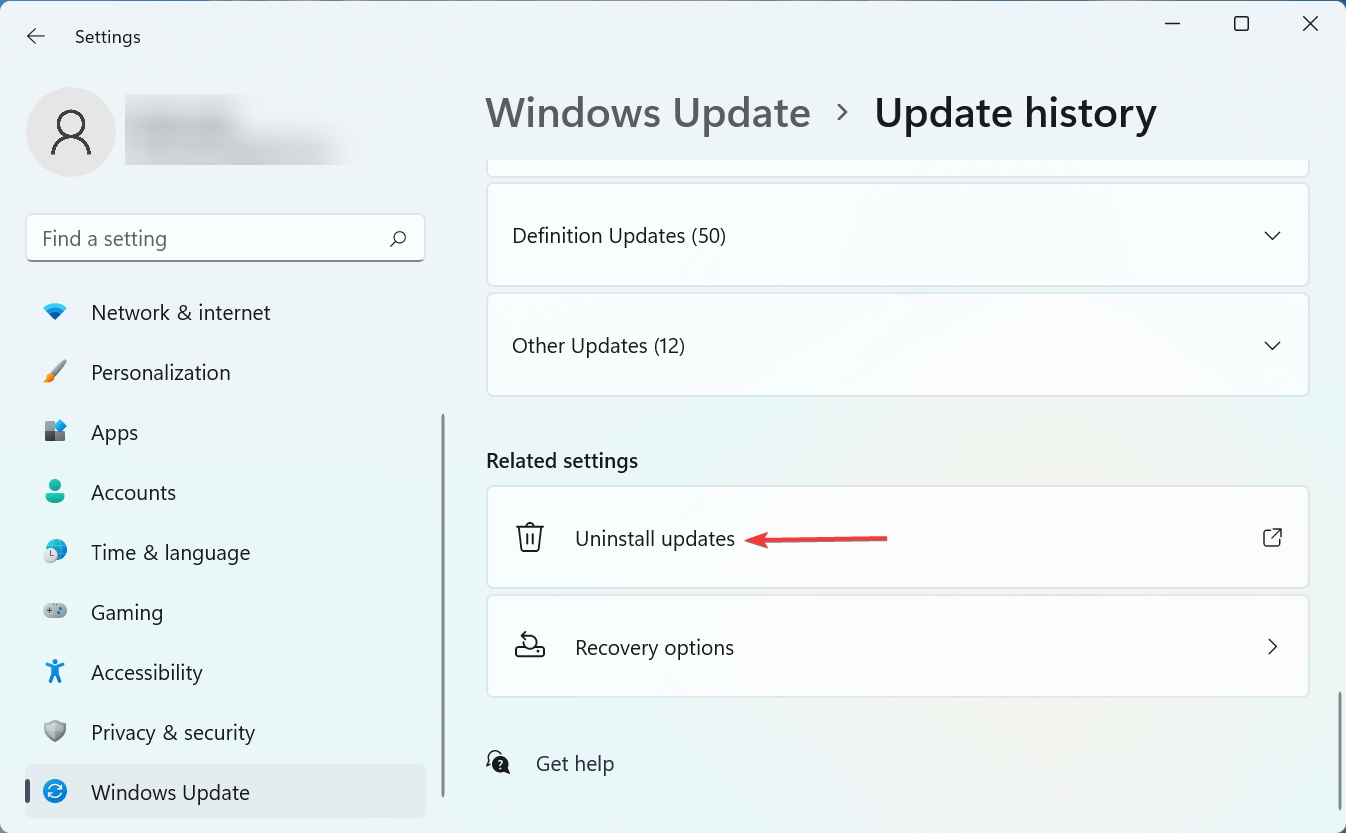
- Scroll down and select Uninstall update.
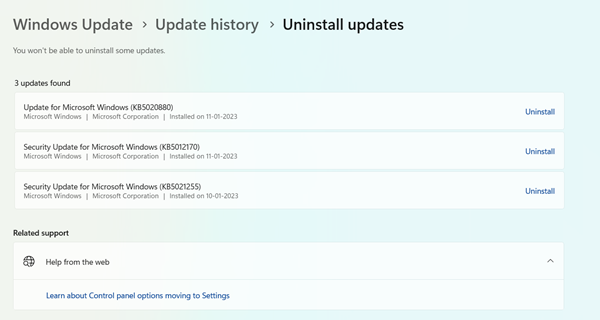
- From the installed update list click on the Uninstall button to remove each update.

- Lastly, restart the Windows to execute all these changes.
7. Reinstall the Graphics Driver
Even if updating the graphics driver isn’t helping to get rid of the random reboot problems, then we should uninstall the driver and reinstall it for proper system functions.
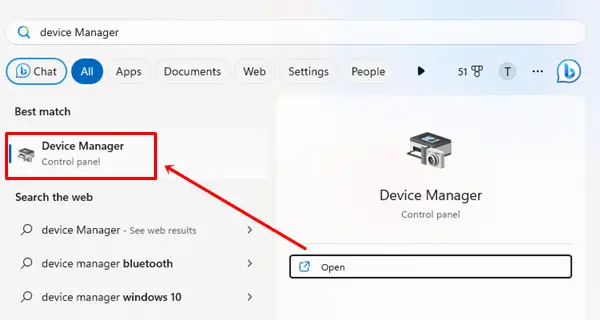
- Click the Windows button, type Device Manager, and open it.
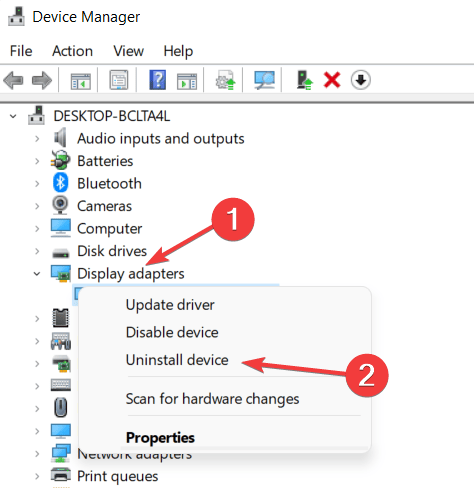
- Expand the Display adaptor, right-click on the driver, and select Uninstall.

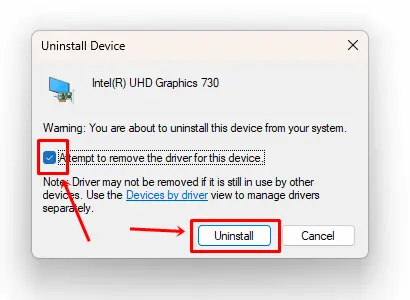
- In the next step, check Attempt to remove the driver for this device, and click on Uninstall.

- Then, restart your Windows 11. After a while, it automatically searches for the driver and installs it.
8. Update Group Policy
While Group Policy updates automatically, if it fails to update for any reason, it can cause trouble. Therefore, we have to update the Group Policy manually. This is what you need to follow:
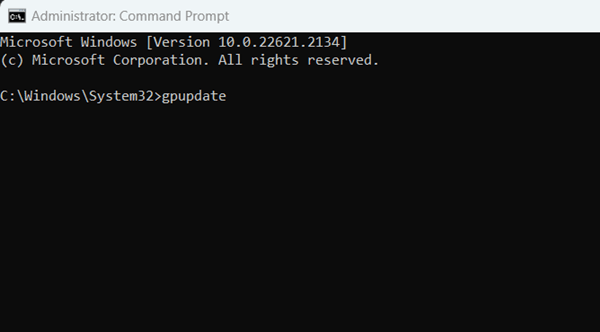
- Press the Windows + R button, type CMD, and hit the Enter button.
- Then type the below command and hit Enter.
gpupdate

From Editor’s Desk
So, these are some methods that you can apply to fix the random restart problems in Windows 11. We hope you find the methods mentioned above helpful. But, in case you find any difficulty while performing these methods, let us know in the comment section.


