These days, to improve the graphics and performance, most Laptops/PCs have in-built GPU. But few of them have a single GPU, and some of them have multiple GPUs. So, for a single GPU, there is no choice. For multi GPU settings, Microsoft has a graphics settings page that allows you to manage the graphics performance according to the apps.
Before this, the users had to select the NVIDIA Control Panel tools or AMD Catalyst Control. The Graphics Settings option was announced in the 2018 Update, so if you cannot see the feature, you need to update your Windows to the latest version.
GPU is used for gaming, graphic designing, and high performances. At present, there are many games with top-quality graphics, so that type of PC is required to manage the graphics. When your PC has multiple graphics drivers, you can set one as a default GPU for any app.
Also Read- Best GPU Stress Test Tools
Methods to Set Default GPU for Apps in Windows 10
If you want to maximize the performance, check out the given methods to set the default GPU for apps.
Method 1: Set Default GPU for Classic Desktop Apps
Follow the given below steps and set the default GPU for Classic desktop apps on Windows PC.
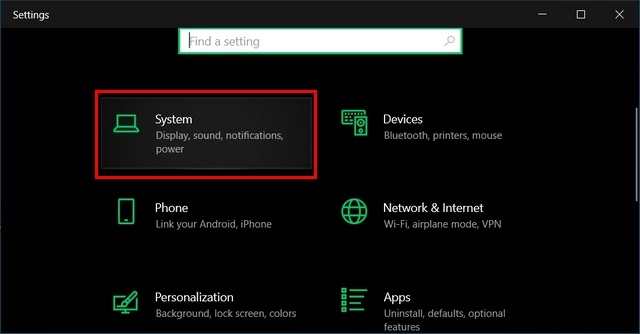
- First, open Windows Settings by pressing Windows + I keys.
- From the results, click on System.

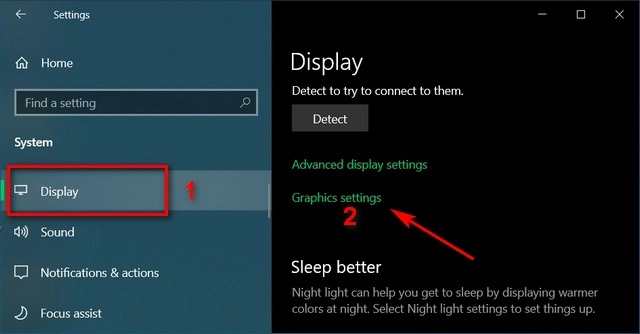
- Now, from the left-hand panel, click on Display.
- On the screen, you will see Graphics Settings at the bottom. Click on it
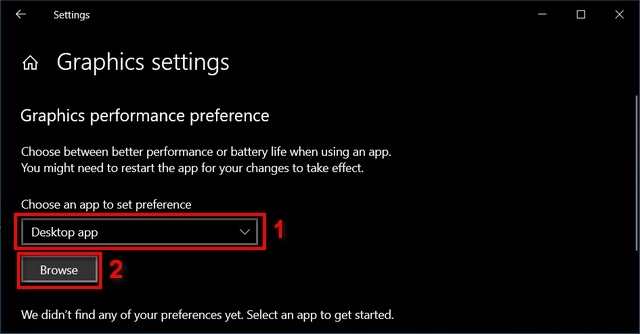
- In Graphics settings, choose an app to set preference.
- There click on Desktop App.
- Now, select the .exe file of the app which you want to choose. (You will get the file in C:/drive of the PC)
- Select the File and click on Add.
- Now, click on Save.
Method 2: Set GPU for Microsoft Store Apps
Setting up GPU for Microsoft Store apps is a little bit different. But, a few of the starting steps of the classic desktop apps are similar.
The steps till choosing the app to set a preference in Graphics settings are the same. After that, follow the steps given below.
- For the Classic desktop app above, we have selected a desktop app.
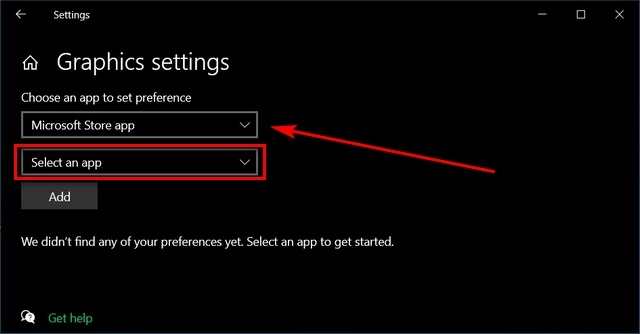
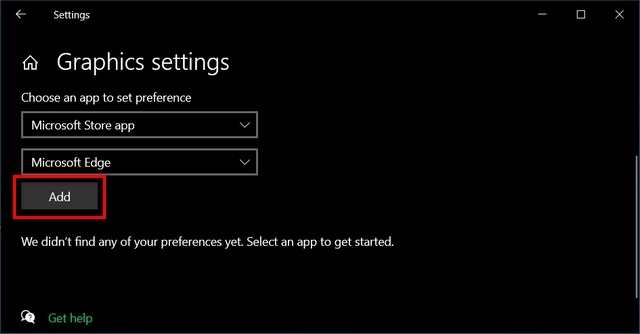
- Now, we have to select the Microsoft App store in Graphics settings.
- A drop-down list will appear.
- From the list, select the app that you want to set the GPU preference for.
- After you have selected the app, click on ADD.
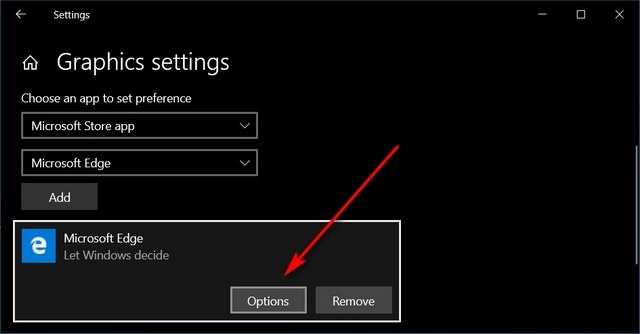
- After that, click on the “Options” button.
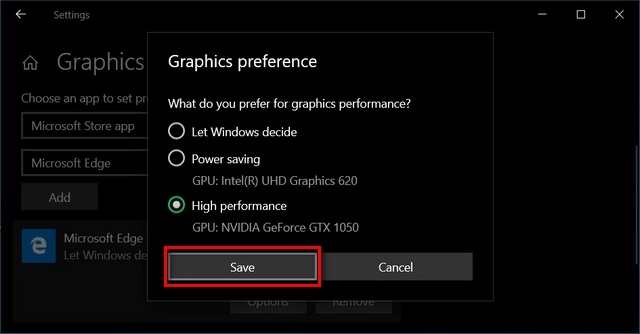
- Once you click on it, you will see three options for the preferred GPU
- The options are Let Windows Decide, Power Saving, and High Performance.
- Select any option as per your choice and click on the Save button.
That’s it! You have now set the Default GPU for Apps in Windows 10. To see the changes have made, do restart your PC.
Do remember that these settings will take preference from the settings that is available in other control panels.
When you manually set the preferred GPU for an app, the app always decides which processor to use. Suppose the app is still using a different GPU; even after changing the settings, you need to change its preferences.
If you want to stop the app from using this, then go to the “Advanced graphics settings” page and select the app. Then click on the Remove button.


