Recently, Microsoft announced Windows 11 that is going to release for all users throughout the world who are using Windows 10 to upgrade to windows 11 free of cost even windows 11 already release. However, the beta version has many bugs and problems.
In addition, Microsoft assured that the whole windows 11 becomes free of bugs with this update because it is a stable update. Meanwhile, as it is still in the beta phase, this means there is still a risk of malware attack due to some random bugs or glitches. Therefore, in order to cope up with this, Microsoft introduced a Safety Scanner in Windows 11.
So, if you recently download the latest patch of Windows and wonder how to use this tool, then you landed in the right heaven. Yes, you’ll get all the necessary steps using which you can easily use this application. So, let’s take a look at them.
Also Read: How To Change SafeSearch Filter in Windows 11
How to Use Microsoft Safety Scanner in Windows 11
Although this software is only available for use for ten days after you download it. The reason is evident because Windows already have Windows Defender to protect your system against malware attacks. Then, what precisely the Saftey Scanner does?
Well, it works only when in your system the Windows defender is disable or not available. So, let’s check out the method to use it. But, before that, let’s first discuss a bit about Safety Scanner.
What is Safety Scanner In Windows 11?
Are you getting excited to know about this application that Microsoft offers you? Well, this is software that is similar to Windows Defender but does not offer you real-time protection. So, if you think that Microsoft will replace Defender in Windows 11 with this new application, then don’t worry! It’s just a scanner that scans your whole system in order to find out the malware, viruses, etc.
In addition, the most important thing that we need to consider is that this is not the same as other applications. Also, you do not have to install this application on your PC as you usually do. You just require to download and run the file; that’s it.
However, this software’s only demerit is that it just helps you for a limited time period, i.e., ten days. After that, you’ll have to download the latest patch again from Microsoft’s official website.
Steps by Step Guide to Use Microsoft Safety Scanner in Windows 11
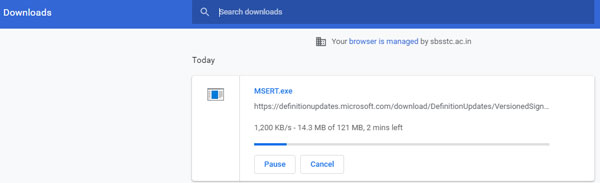
- First of all, Download Microsoft Safety Scanner (64-bit for Windows 11).

- After that, go to the browser’s downloaded file section and double-click on the downloaded file.
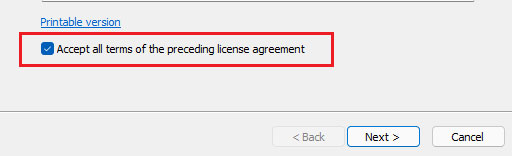
- Now, accept the license agreement and hit the Next button.

- That’s it. Now, you can simply select what kind of scanning you want among quick scan, full scan, and customized scan.
- Customized Scan: If you choose this option, then along with a quick scan, it will also scan any specific folder of your choice.
- Quick Scan: This option will scan the area where normally viruses, malware, etc., attacks.
- Full Scan: Scan your entire PC, but at the same time, take more time than the other two options.

- Once you selected one option, hit the Next button to initiate the scanning process.

Now, it starts scanning your PC, and at the end, it will show you the result. So, if you find that this software detects any virus on your PC, then you’ll get an option to delete it.
Meanwhile, if there is no virus detected, then it will show you a message “The scan completed successfully and no viruses, spyware, and other potentially unwanted software were detected.”
So, this is how you can use the Safety Scanner in Windows 11. We hope you have now understood the way to use it. However, if you have any suggestions in your mind for our team, drop a comment. We will appreciate your suggestions and try to improve accordingly.


