Want to know how to use the safety check on an iPhone? Then check this guide out till the end. If you have installed the all-new iOS 16 on your iPhone, then it has a new feature called safety check.
It allows you to restrict access to apps and services for other people you have shared. During any emergency, you can use the safety check feature on your iPhone to reset the device entirely.
If you think that somehow due to shared access, your account on any app has a chance of getting compromised, then the safety check will come to your rescue. It will sign you out of iCloud from all the Apple devices.
Secondly, if you think your location data is shared with others and is putting you in danger, then the safety check feature will stop sharing your location with others. Others with access to your data or account will not know that you have revoked their access.
However, they will eventually realize that they have been banned from accessing your data when they won’t be able to access the shared data anymore.
Also Read- How to Make a Collage on iPhone and iPad
1. How to Enable Safety Check on iPhone?
You need to update your iPhone to iOS 16. In your Settings app navigate to General tap on it > tap on Software Update. If the latest build of iOS 16 is available you can download and install it.
The previous iOS builds such as iOS 15 don’t offer the Safety check feature. Once your iPhone is ready with iOS you may follow the steps below to activate the safety check on iPhone.
- Go to the Settings
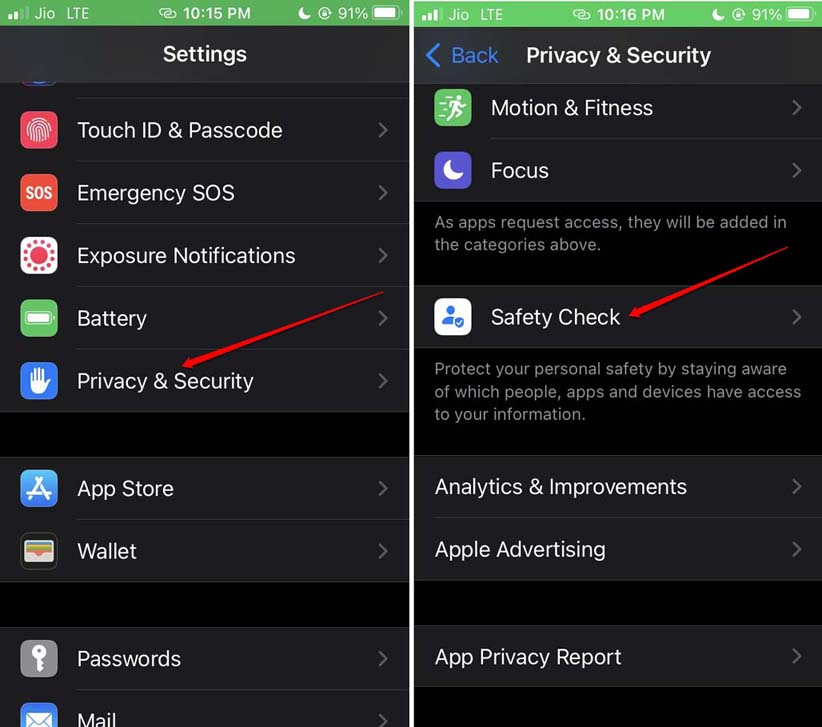
- Scroll to Privacy & Security and tap on it.
- Then under that, tap on Safety Check.

- On the next page, tap on Manage Sharing an Access.
- You have to authenticate yourself which you can do using Touch ID or Face ID depending upon the iPhone model that you are using.
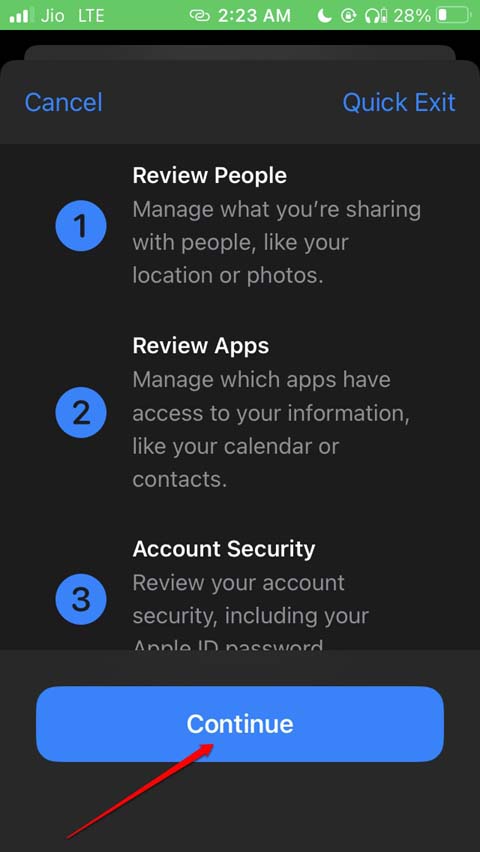
- After authenticating, you will be redirected to the next screen where you have to tap on Continue to proceed.

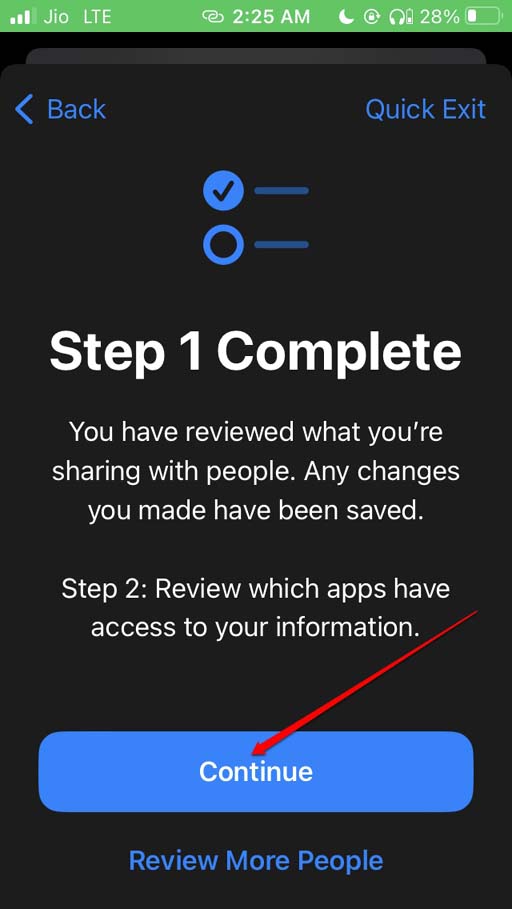
- Next, you will encounter the first step where you have to review what you share with other people. Tap on Continue to go to the next step.
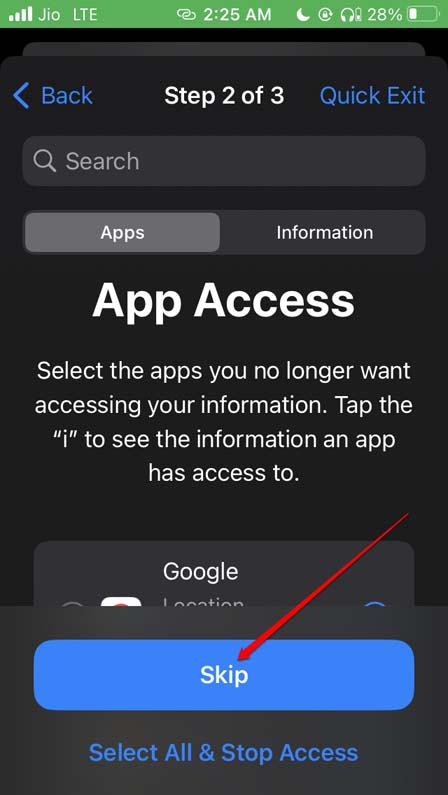
- Moving ahead in the second step you have to review which apps have access to various data related to you.
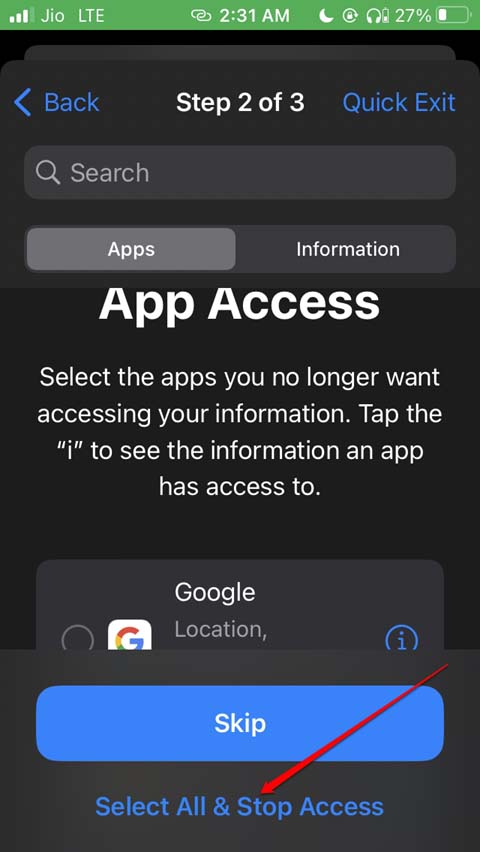
- In the 2nd step, there will be a list of apps available on your iPhone. Select those apps that you no longer want to access your information.
- You may tap on Select All & Stop Access. Otherwise, scroll through the list of apps and individually select a few apps for which you wish to restrict access to your data.
- If you do not wish to limit any app’s access tap on Skip.
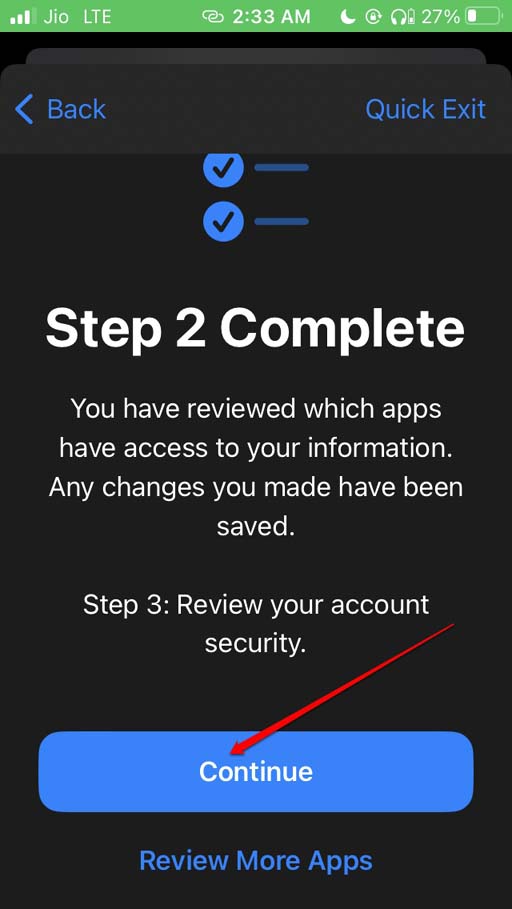
- Now, tap on Continue to proceed to the third step.
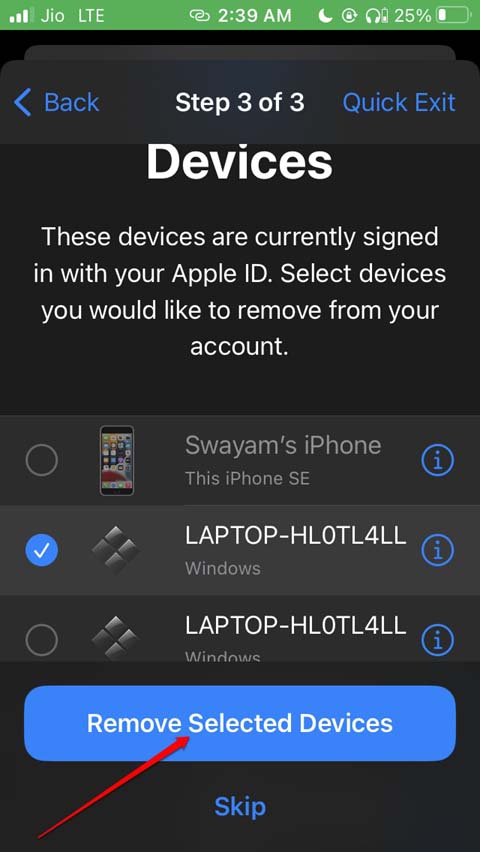
- In the 3rd step, you will see the option to disconnect the devices that are signed in with Apple ID.
- Select the device you want to delink and tap on Remove Selected Devices.
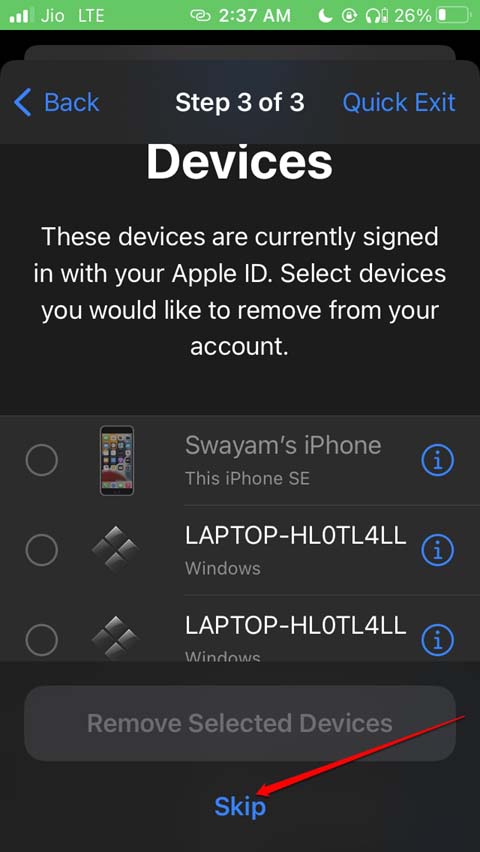
- If you do not want to disconnect any device, then simply tap on Skip.
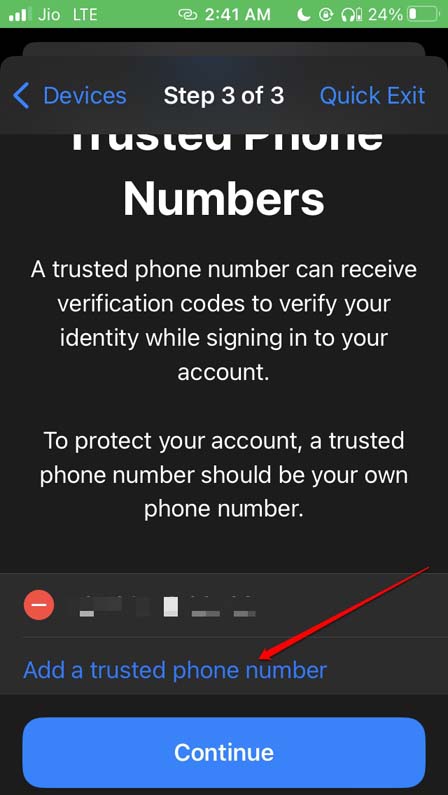
- Next, You have to add a phone number you trust apart from the number you primarily use on the iPhone.
1.1 Adding Trusted Phone Number and Updating Apple ID Password
- Tap on Add a trusted phone number and enter the iPhone passcode.
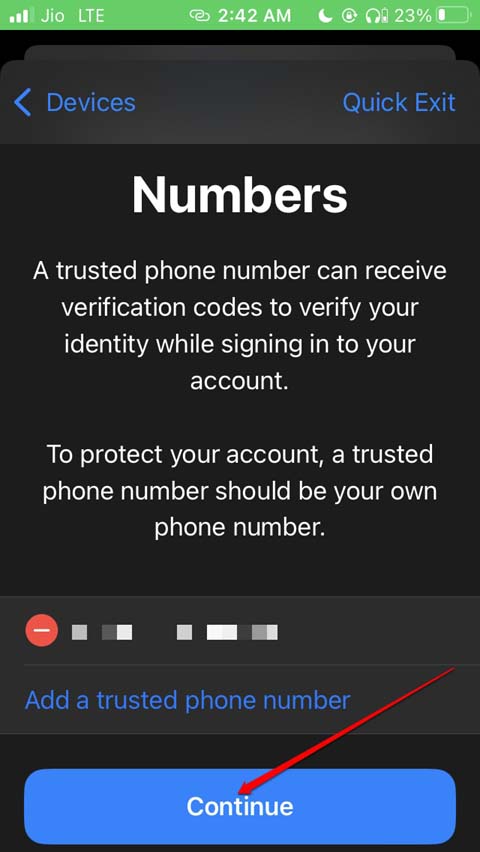
- Type in the phone number.
- Once you add the trusted phone number, tap on Continue.
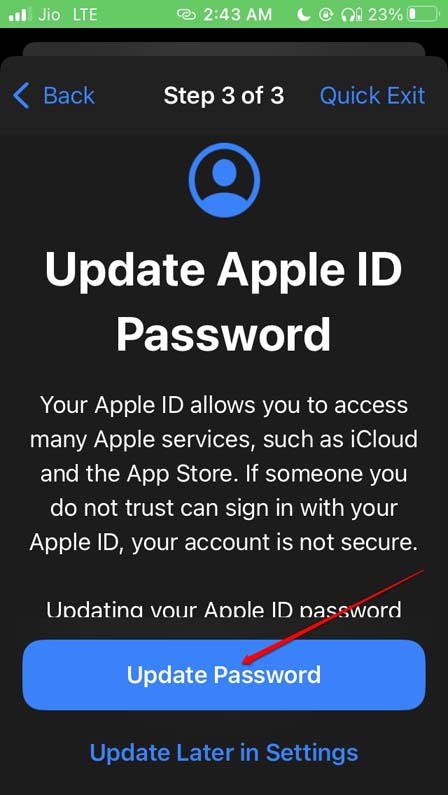
- Finally, you will have to update or change your Apple ID password. For that tap on Update Password.
- You may also change the password in the Settings. To do that, tap on Update Later in Settings.
- Next, you can update your Emergency Contacts by removing the existing ones or adding new ones.
- Finally, you will see an option to update the iPhone passcode. Follow the on-screen instructions to carry that out.

That’s all about how to set up or manage the various elements of the safety check feature in the iPhone.
2. Steps to Enable Emergency Reset on iPhone
Doing this will restrict shared access to your data and you will have to update your Apple ID password. Here are the steps to activate it.
- Launch the Settings app.
- Navigate to Privacy & Security and tap on it.
- Then tap on Safety Check.
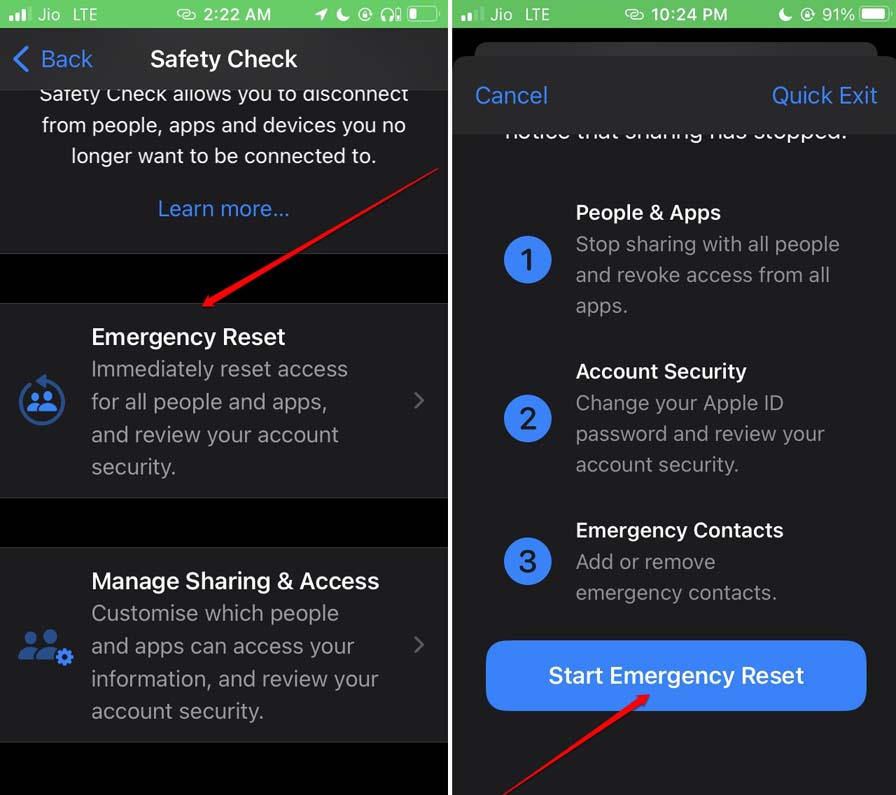
- On the next page, tap on Emergency Reset.
- Authenticate using Touch ID or Face ID.
- Then tap on Start Emergency Reset.

Wrapping Up
Privacy is of paramount importance in today’s date. Most of our activities are shared online with various people. Now that you know how to use the safety check feature on iPhone your data will be safe.
 in 2024")

")