If you are experiencing Vmmem high memory and CPU usage on your Windows computer, causing performance slowdown, there is a high chance it is caused by the virtual machine.
You can verify this by checking the Vmmem process in Task Manager. Vmmem informs us about the resources being used by virtual machines.
If you notice that the Vmmem process consumes excessive CPU and RAM, follow our guide to fix the Vmmem high memory and CPU usage issue. In this article, we will discuss some of the best fixes that you can use to reduce Vmmem high memory and CPU usage in Windows.
What is the Vmmem Process?
The Vmmem process is a part of the Windows hypervisor platform for process virtualization. It uses virtualization technologies such as WSL or Hyper-V to manage the execution of virtual machines.
If your computer is using too much memory and CPU, it may be caused by virtual machines. If you want to fix this problem, continue reading this article.
1. End High-Resource Processes
The first step to reduce high memory and CPU usage is to end the processes that consume too much memory and CPU in your Windows.
- Press the Windows key, type Task Manager in the search bar, and click Open.

- In the Processes tab, find all the apps that consume too much memory and CPU. Select the app and click on the End Task button.


This is how you can quickly reduce CPU and memory consumption. Follow the methods below to resolve the Vmmem high memory and CPU usage issue.
2. Restart WSL from CMD
If you are using WSL for a virtualization solution in your Windows, this may cause a high Vmmem usage issue. Restarting WSL is usually the best and most effective way to fix this problem. Follow the below steps:
- Press the Windows key and type Command Prompt in the search bar. Right-click on it and choose Run as administrator.

- In the Command Prompt, type the following command and press Enter.

wsl --shutdown
- If this doesn’t resolve the issue, press the Windows + E to open File Explorer, then navigate to the following path, replacing your username with your actual username.
C:\Users\your-username\.wslconfig
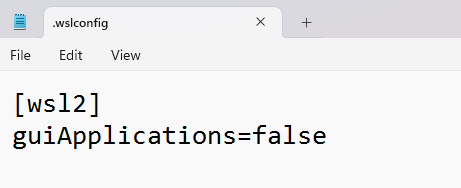
- Open the wslconfig file in Notepad, add the following line, and save it by pressing Ctrl + S.

[wsl2]
guiApplications=false
- Finally, restart your computer to resolve the high Vmmem memory and CPU usage problem.


3. Set WSL Memory limit
You can also set limits on WSL resource consumption that will not use excessive memory and CPU on your system. This feature only works with WSL 2, available on Windows build 18362 or higher.
If you haven’t installed WSL 2 yet, install it first. If you’ve already installed it, follow these steps to limit its resource usage.
- Open the Command Prompt and type wsl –shutdown, then press Enter.
- Now, navigate to the following path and open the wslconfig file in Notepad (replace username with your own).
c:\User\Username\.wslconfig
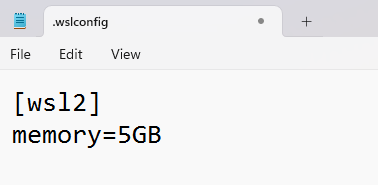
- Type the following configuration to set the limit. You can adjust the limit according to your RAM.

[wsl2] memory=5GB
- Press Ctrl + S to save the file, then again use the wsl –shutdown command in the Command Prompt and hit Enter.
- Now, open WSL and type the following command to confirm whether the RAM usage is set to the limit we configured.

free -h --giga

4. Disable the Running Virtual Machine
If the above method doesn’t work for you, you can try disabling the virtual machines to stop them from running in the background and reduce high memory consumption.
- Press Windows + X and click on Windows Terminal (Admin) to open Windows PowerShell.
")
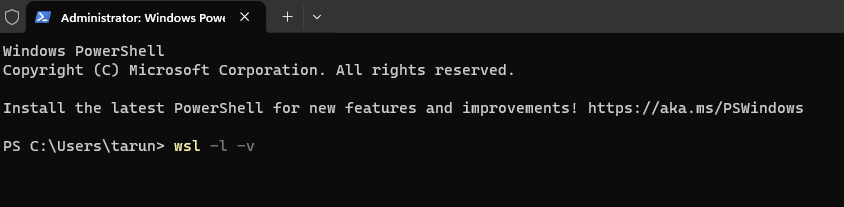
- To see the running virtual machines list, type the command in the Command Prompt and press Enter.

wsl -l -v
- After viewing the list, enter the command given below:
wsl -t nameofvm
")
Replace nameofvm with the name of the virtual machine you have seen on the list. For example, if your virtual machine is named Kali Linux, the command will be like this:
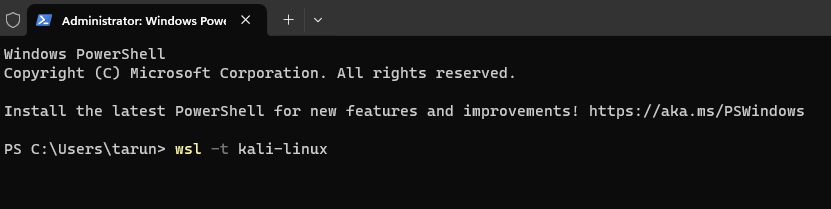
wsl -t kali-linux
5. Uninstall your Virtual Machine
If you don’t want to encounter the Vmmem process again, one of the best solutions is to permanently uninstall virtual machines. Follow the steps below to uninstall them quickly.
- Press Windows+I, then select Apps on the left side of the Settings window and select the Installed Apps option.
 Find the virtual machine, click the three dots (…), then select the Uninstall option.

 Find the virtual machine, click the three dots (…), then select the Uninstall option.
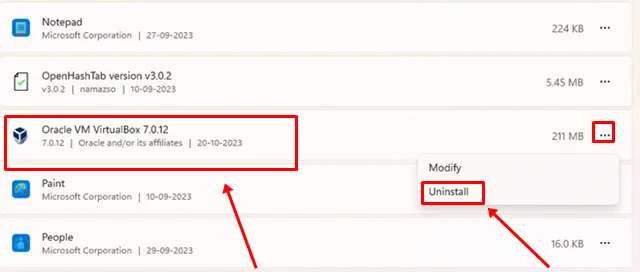
Follow the instructions to complete the uninstallation process, and you’re done.
FAQs
Is It Possible to End the Vmmem Process?
You can’t end the Vmmem process from Task Manager because it doesn’t allow that. To stop the Vmmem process, you can uninstall the virtual machine or shut down WSL.
Why is Vmmem using so much CPU?
This happens because you haven’t set resource limits for running the virtual machine.
Conclusion
We’re wrapping up this article! These are the best ways to fix Vmmem Process’s high CPU usage in Windows. I hope you found this article informative. If it helped resolve your issue, please consider sharing it with others. If you have any questions or feedback, do comment below.


