Are you facing Windows Explorer keeps crashing on Windows 11/10 PC? In this article, we will discuss various ways to fix this issue.
Managing the files on a PC is a fundamental skill that all users must possess. However, managing the files on a computer is a complete mystery for many users, leaving them frustrated.
Also, sometimes even in the dark, files go missing or are saved in the wrong place. Here comes the Windows File Explorer that helps you manage and access all your files in one place.
However, many users have recently started experiencing a crashing issue with their Windows Explorer after the recent Windows patch update.
If you are also one of them, then make sure to read this guide. Here you are about to become a file wizard after reading this article because we have mentioned all the necessary fixes here. So, let’s get started.
How to Fix Windows Explorer Crashing Issue
There could be different reasons behind this error, as it totally depends upon your usage. But, still, we have something for you that you can use to get rid of this issue. So, let’s take a look at them:
1. Reboot Your PC
We always recommend you reboot your Windows PC, as this will help your system remove the unwanted temporary bugs and glitches.
So, before doing anything, you can first try this one. But, if rebooting your system does not help you fix the error, we recommend you to hover to the next method.
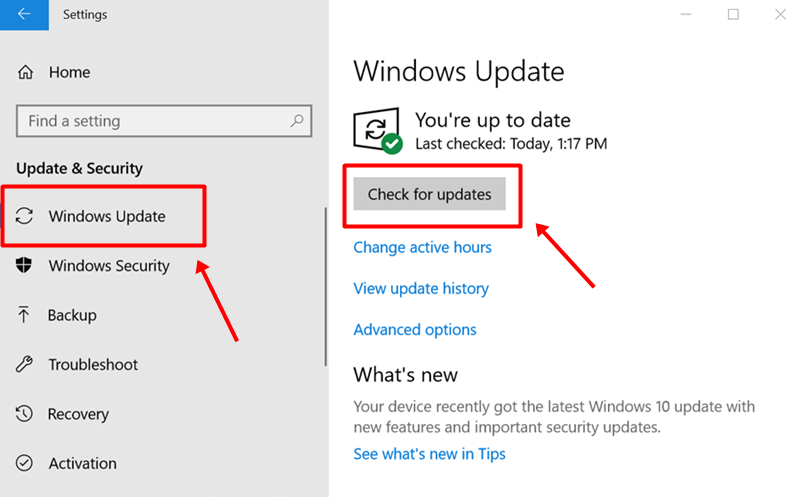
2. Check For System Update
Another basic fix that, most of the time we ignored but still has the potential to fix this kind of issue. So, to check if there is any software update available or not, you can follow the path we have mentioned below:
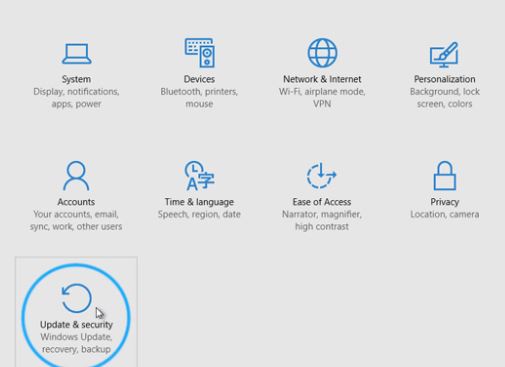
- Start Menu > Settings.

- Click on Update & Security > Check For Update.
3. Clear Windows Explorer History
If we start with our first proper fix, you can try clearing the Windows Explorer history from your Windows PC. So, here are the instructions that you need to follow to do so:
- First of all, try to open the Windows File Explorer and click on the File menu.
- Then, select the Change folder and search options.

- Then, switch to the general tab and click on the Clear button located under the Privacy option.


4. Disable The Antivirus on Your PC
It generally happens that the antivirus we are using, whether it could be Windows Firewall or any other third-party antivirus, conflicts with our application and starts blocking them. This results in such kinds of issues.
Considerably, many users reported that this helped them with the Windows Explorer crashing issue. So, you can also try this out and to do so, here are the steps:
- First of all, go to the Start menu. Then, navigate to the Settings.
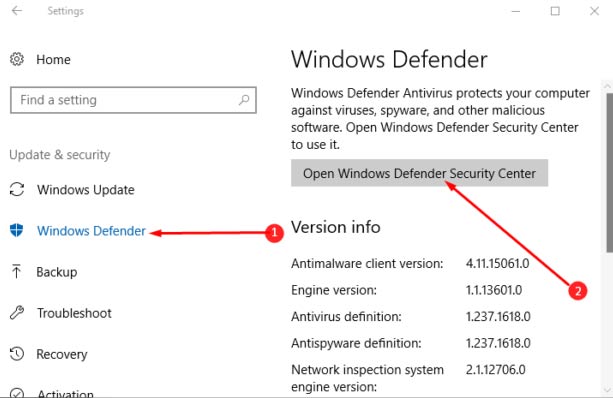
- After that, click on Update & Security, followed by Windows Defender and Open Windows Defender Security Center.


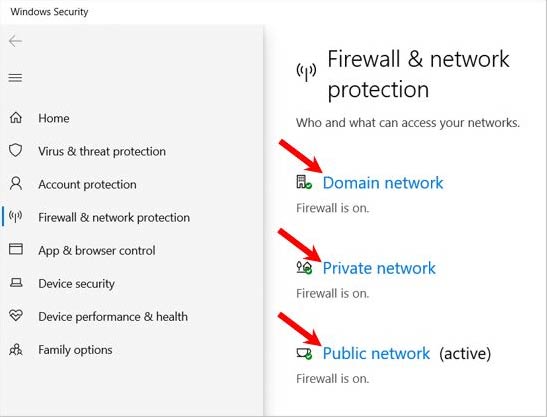
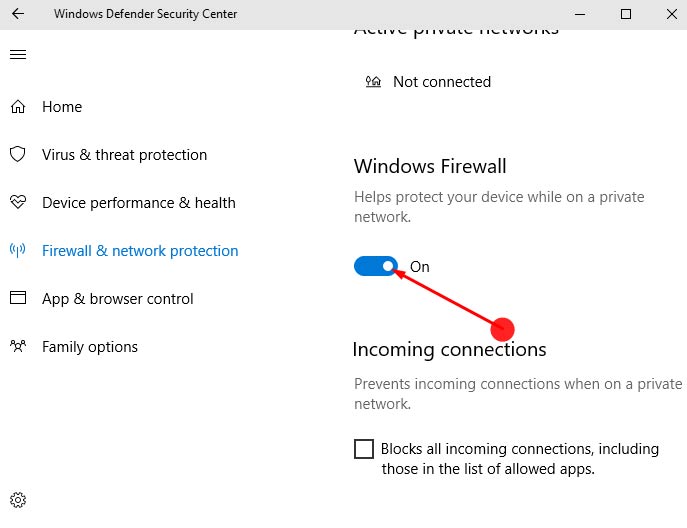
- Then, navigate to the Firewall & network protection and select a network profile.

- Now, turn off the setting located under the Windows Firewall.

5. Fix Corrupt Files & Drives
Have you tried this method before? Well, if not, then it’s not too late; you can still try this out. Unfortunately, most of the time, users skip this as they think this wouldn’t have any linking with this kind of error and are not able to fix this issue.
But that’s not the truth; many users recently made comments about this fix and told us that they find this method very helpful. So, that’s the reason why we suggest you perform this.
- First of all, open the command prompt using the search menu.
- Then, use the below command and hit the enter key:
sfc /scannow - After that, use this command:
chkdsk
6. Remove Items From The Quick Access Menu
After removing the items from the quick access menu, many users reported that their Windows Explorer started working again without any crashing issues. So you can also try this out and here are the steps that you must have to follow:
- Initially, open the Windows Explorer and on the left-hand side locate the Quick Access menu.
- Click on it and then remove all your recent activity by pressing Ctrl + A button altogether.
- Finally, right-click and select the delete button.
7. Restart Windows Explorer
Very basic method, but comes in handy to fix Windows Explorer crashing randomly. This is what you need to follow:
- Press Alt + CTRL + Del together and select Task Manager.
- Right-click on Windows Explorer and select End task.

- Start Windows Explorer again.

8. Disable Thumbnails
Having thumbnails of a particular file is beneficial, but they can be the culprit sometimes that hinders the proper functioning of Windows Explorer. As a fix, we should disable thumbnails.
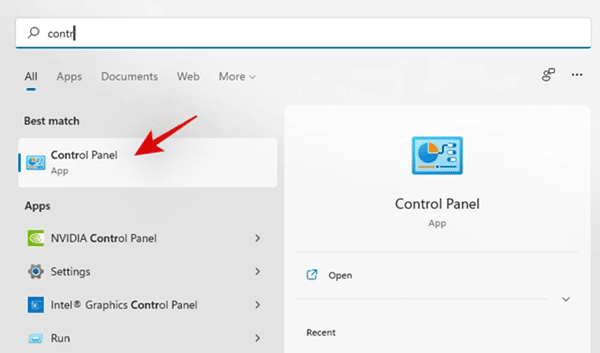
- Click on the Windows start menu, search for Control Panel, and click on Open.

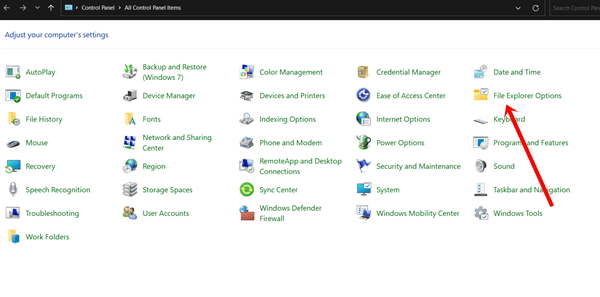
- Then click on File Explorer Options.

- On the File Explorer Options window go to the View tab.
- Now check the box of the Always shows icon, never thumbnails. Then click on the Apply and OK button.

9. Check Virus and Malware
Viruses and malware always prevent the system from functioning efficiently. It could be a reason why Windows Explorer keeps crashing. Checking and removing those venoms from the system is essential.
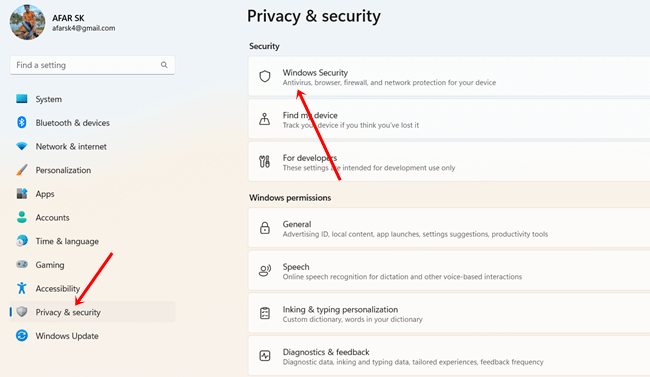
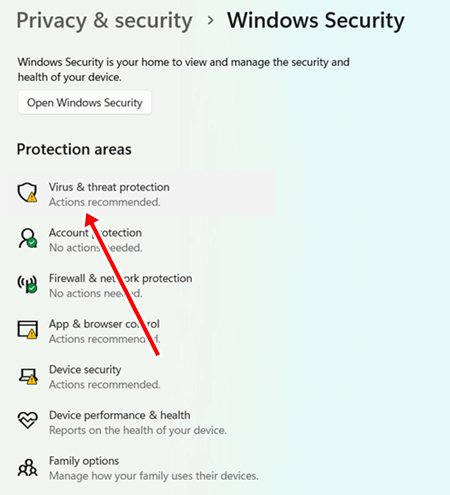
- Press the Windows + I key to open the Settings app.
- Then click on Privacy & Security > Windows security.

- Next, select Virus & Threat Protection.

- After that, click on Manage Settings.

- Now choose Full Scan and click on Scan Now.


10. Perform Clean Boot
Clean Boot is one of the effective methods to fix any conflict within the system, as Clean Boot starts with minimal programs and drivers. Hopefully, you can use Windows Explorer without any issues in Clean Boot.
However, if you are able to use Windows Explorer in Clean Boot, it’s obvious that any program or app is causing the problem. In this case, you have to find out that exact program or app and remove it from the system.
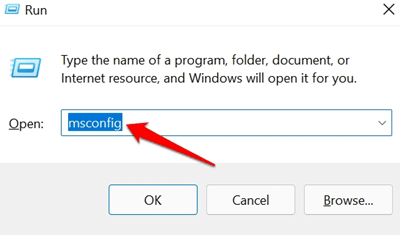
- Press the Windows + R key to open Run, type msconfig, and hit the Enter button.

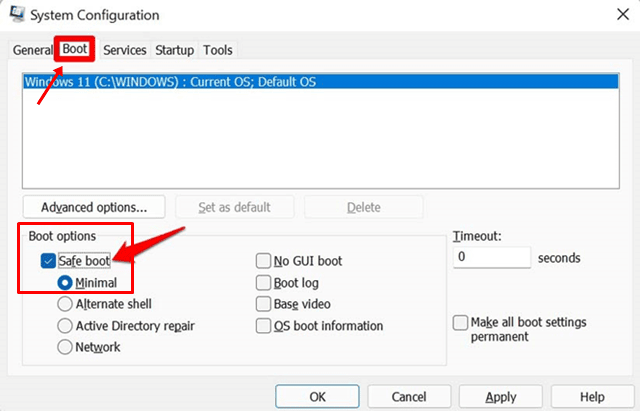
- Go to the Boot tab in the System Configuration.
- In the boot options, select Safe Boot and then Minimal.

- After that, click on the Apply and OK buttons.
Conclusion
I think the above-mentioned methods will surely help you to fix the Windows File Explorer crashing issue on your Windows PC. But, in case you still have any doubts, feel free to get in touch with our highly experienced team.
Also, don’t forget to mention if you know of any other fixes that have the potential to fix this kind of issue. So, that’s all from our side. We will soon be back with a new guide, till then you can visit our website and check out other guides too.


