Before making any changes to the registry settings, make a backup of your Windows 11 Registry. Then, if something goes wrong, you can quickly undo your actions by restoring the registry with a backup file in Windows 11.
Basically, Windows Registry is an extensive database that holds information crucial to a properly functioning operating system, programs, services, and processes. Your data may be lost forever, and your computer may not work correctly. On the other hand, the associated process or application may crash when a registry is damaged or corrupted.
Therefore, it is crucial to back up and restore the Registry in Windows 11. So, we suggest you backup it using the methods given below if you are about to edit your registry.
Also Read- How To Fix Corrupted Files in Windows 11
Steps To Backup the Registry in Windows 11
There are two methods to back up the registry in your Windows 11 PC. So, in case you don’t familiar with them, make sure to read them:
Use System Restore
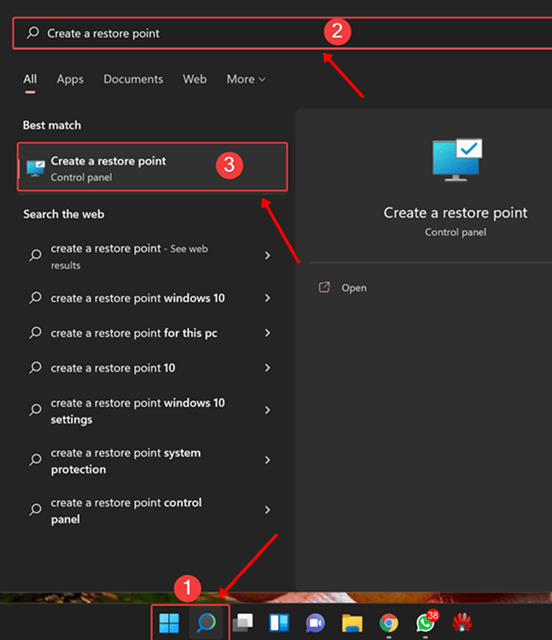
- Initially, go to the Start menu and search for create a restore point. Then, open it.

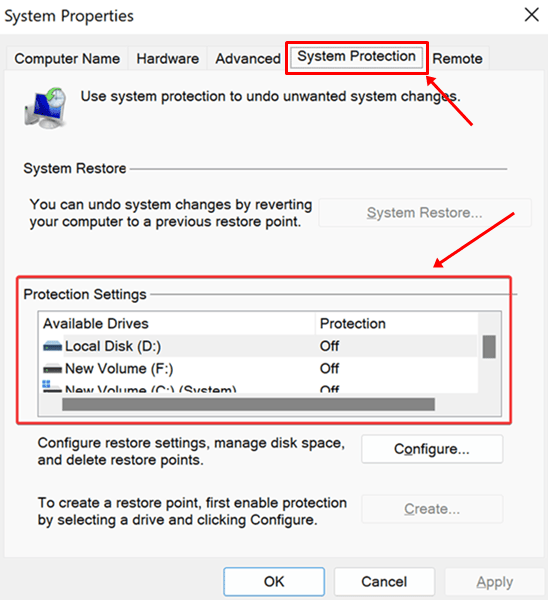
- After that, click on the System Drive located under System Protection and tap on the Configure.


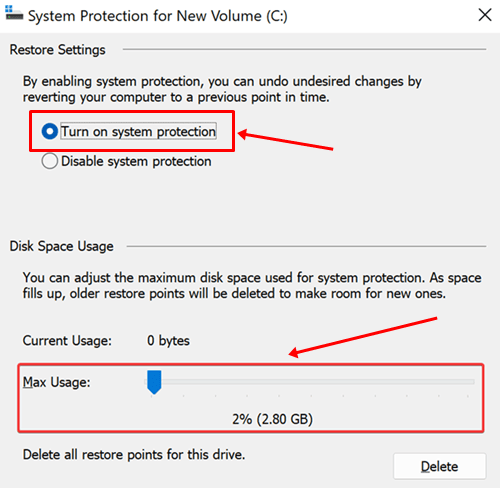
- Now, choose the Turn on System Protection option located under the Restore Settings section.

- After that, tap on the Apply > Ok and hit the Create option. Finally, enter a suitable name for the restore point and tap on the Create again.

Use Registry Editor
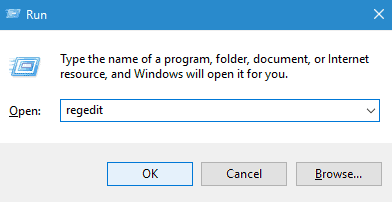
- Firstly, press the Win+R button to open the Run prompt and search for regedit.

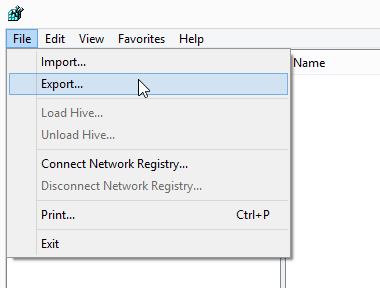
- Tap on the File Menu > Export.

- That’s it. Now, give it a suitable name and choose the location to save it. Then, hit the Save button.
Steps to Restore the Registry in Windows 11
So, you have to back up your registry, but did you know how you can restore it on your Windows 11 PC? Well, if not, make sure to follow the instructions given below:
Use System Restore
- Initially, open the Start menu and search for Restore Point. Then, open it.
- After that, tap on the System Restore located under System Protection.
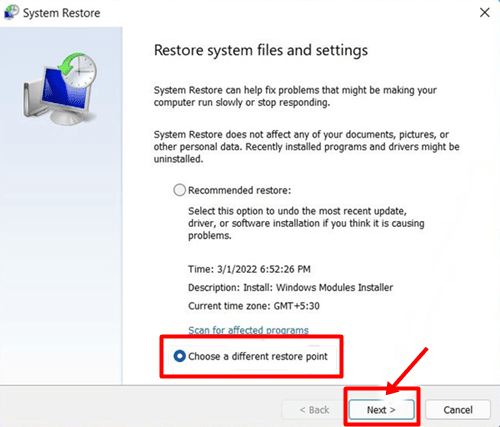
- Then, from Recommended Restore and Choose a different restore point, you must select the second one and hit the Next button.

- You can now select the restore point you have created using the steps mentioned earlier in this guide. Once done, hit the Finish button.
Use Windows Registry
- Press the Win+R button simultaneously to open the Run box and search for regedit.
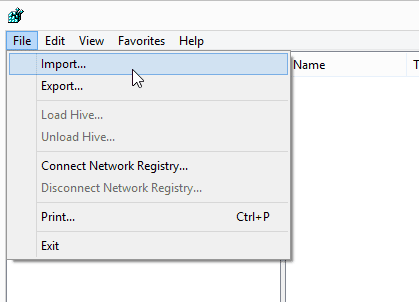
- Click on File Menu > Import.

- Then, click on the Backup file you have created before using the steps mentioned earlier in this guide and hit the Open button.
- That’s it. However, alternatively, you can also right-click on it and select the Merge option.
So, that’s it on how to back up and restore the Registry in Windows 11. We hope that this guide has helped you. But, in case you have any doubts, comment below.


