Are you looking for a way to check or change the registered owner and organization name in Windows 11? Then you are in the right place. In today’s article, we will discuss how anyone can change the registered owner name of their PC with simple steps.
If your PC has a name you don’t want anymore or you bought a PC with an owner name already registered that you want to change but don’t know the right way. Don’t worry; below, and we have mentioned the best methods that you can follow.
After testing various methods, we realized that it is not easy to change the name in Windows 11 for those who do not know the basic process. Therefore, we will try to explain it as simply as possible so that you can easily change it without any problems.
How To Check Registered Owner Name in Windows
Checking the registered owner’s name in Windows is easy. You can see this by pressing the Windows button and it will be written next to the profile icon. For more detailed information, follow the steps mentioned below.
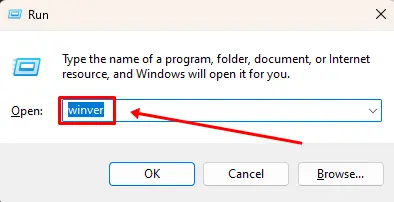
- Press Windows + R to open the RUN box.
- Type Winver and click on the OK button.

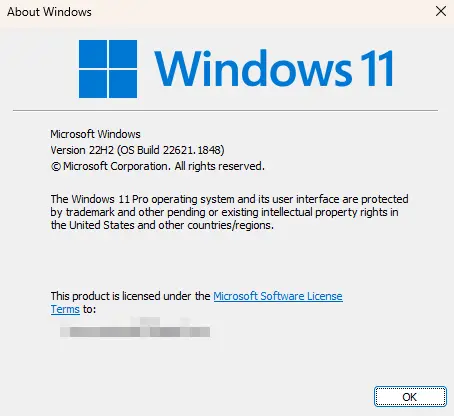
After this, A popup window will appear displaying the name or email of the owner Connected with the installation, as well as a message showing that the product is licensed under the Microsoft Software License Terms for your specific device name.
Use PowerShell to Fetch the Registered Owner Name and Other System Info
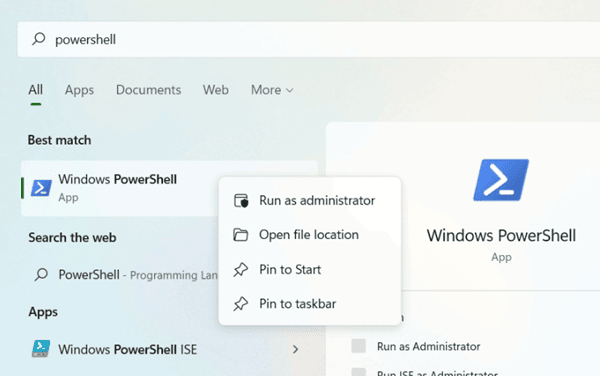
- Go to the Windows start button and search for PowerShell and Run as administrator.

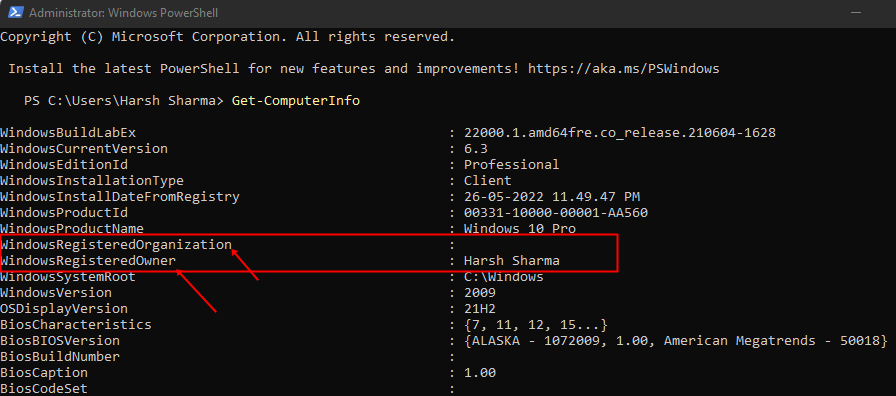
- Enter Get-ComputerInfo and hit enter button.
- On the next screen, you will find all the computer-related information, where you will find Registered Organization and Owner.

How To Change Registered Owner Name in Windows
If you really want to change the registered owner or organization name in Windows 11. You must know about Windows Registry; you can make some changes using Windows Registry.
Most importantly, modifying the Windows Registry can cause problems with your PC. So make sure you create a backup before making any changes. If you have no idea about the Windows registry, then follow the steps given below and proceed carefully, as mentioned.
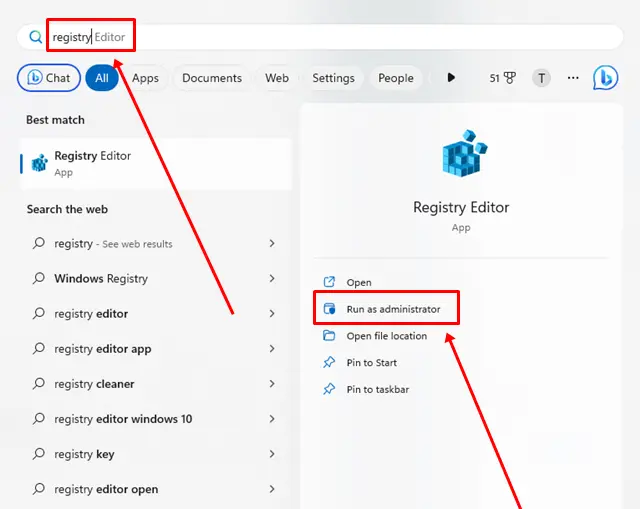
- Press the Windows key and type Registry, then click on Run as administrator.

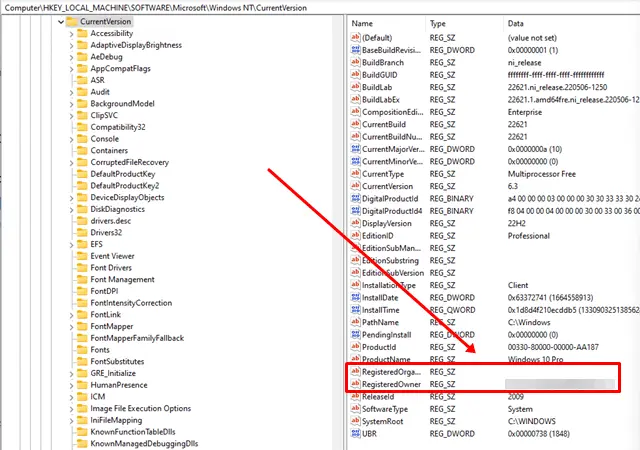
- Now copy the Path mentioned below and paste it into the Address bar.
HKEY_LOCAL_MACHINE\SOFTWARE\Microsoft\Windows NT\CurrentVersion

- Find the Registered Owner or Registered Organization entries on the right side.

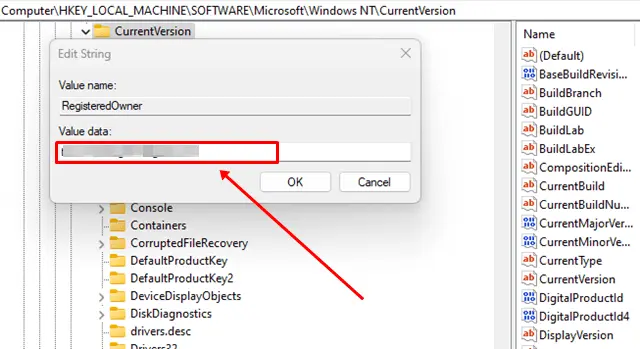
- Now Double-click on the one you want to change and type your name or whatever name you want in the Value data field then click on OK.

- After completing all the steps, close the registry editor and verify that you have successfully changed the registered owner name or registered organization name.

Conclusion
That’s all for this article. I hope you have learned how to check and change the registered owner name in Windows 11 without any problem. If you found this article useful, please share it with other people who also want to change the owner name of their PC.
If you have any other questions related to this article or anything else, feel free to let us know in the comments section. We will make sure to provide the best solution.


