We all may already know that the Windows PC uses the memory compression technique to store more data on your PC memory. Well, apart from the memory compression, this has some downsides too.
Yes, considerably, the compression of your data will consume some resources of your PC; therefore, not all stored data gets compressed, which increases the load on your PC.
But then, how will it decide which file it needs to compress? Well, it only compresses those files that it thinks are essential and required for your system, which, in my opinion, sounds weird.
Anyway, if you are here to know how to disable this feature on your Windows 11 PC. Then, follow this guide because here we will explain some needy steps that you need to take to enable or disable Memory Compression on Windows 11 PC. So, let’s see how.
Steps To Enable or Disable Memory Compression in Windows 11
You need to follow a few crucial steps to enable or disable this feature in Windows 11. However, before that, let me tell you the steps using which you can get or check the current status of Memory Compression on your Windows 11 PC.
1. Check Memory Compression Status Using Task Manager
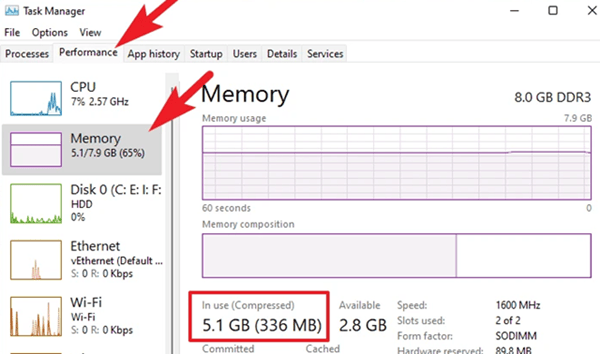
- First of all, press the Ctrl+Shift+Esc button altogether to open the Task Manager.
- After that, switch to the Performance tab and navigate to the Memory option.
- Now, locate the In Use (compressed) section on the right pane. That’s it. Now, you’ll see Compressed memory from there (only if enabled).
2. Check Memory Compression Status Using Terminal App
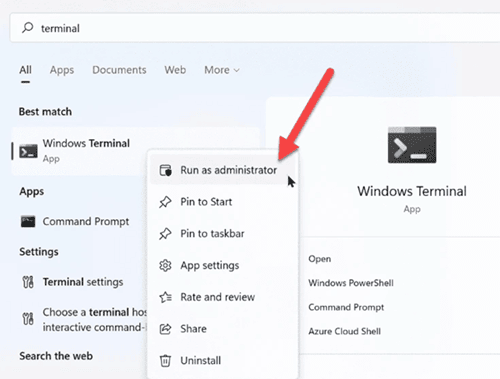
- Firstly, search for the Windows Terminal using the Windows Search bar.
- After that, right-click on the Windows Terminal and select Run as Administrator from the drop-down menu.
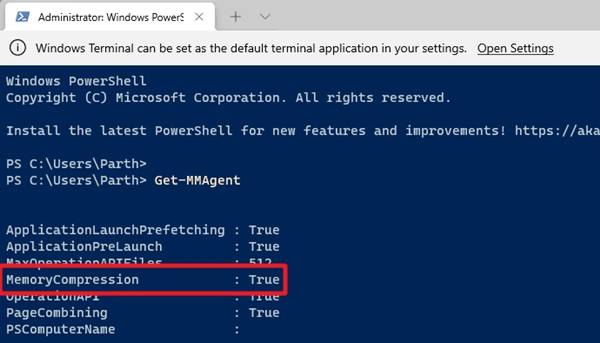
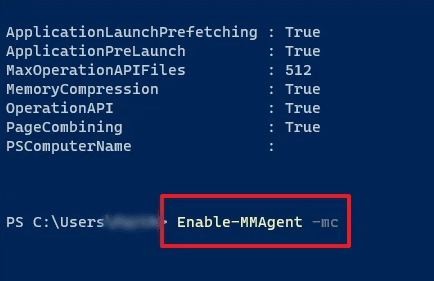
- Now, execute the command: Get-MMAgent
- After that, if the result it is mentioned True, this means that this feature is enabled. But, if you see False, then this means the feature is disabled.
How To Use Terminal app to Enable or Disable Memory Compression?
So, now you know how to check the current status of memory compression on your Windows 11 PC.
Therefore, it’s time to enable or disable this option. So, let’s take a look at the needy steps that you require to follow:
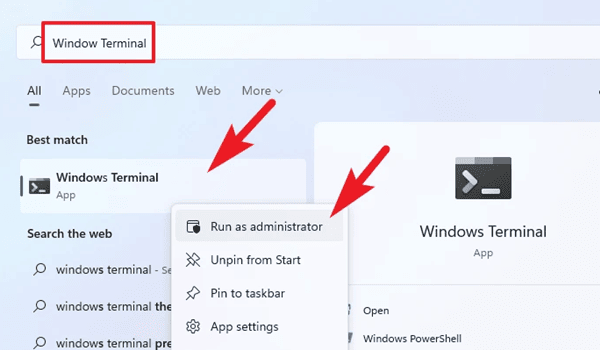
- Initially, search for the Windows Terminal using the Windows Search bar.
- After that, right-click on the Windows Terminal and select Run as Administrator from the drop-down menu.
- Now, in case you want to enable this feature, simply execute the command: Enable-MMAgent -mc
- If you want to disable this feature. you just need to replace Enable with Disable and Run this Command: Disable-MMAgent -mc
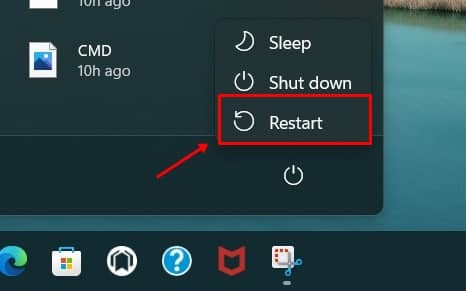
- That’s it. Now, restart your system to apply the changes you have made.
Well, these were the steps to enable the Memory Compression feature. But keep in mind that if the memory usage is less than 60 percent, then it will automatically get disabled.
So, that’s all on how to enable or disable this feature on your Windows 11 PC. We hope this guide has helped you. Nevertheless, in case you have any questions, comment below.

