If you have been a Windows user, you might have already heard of the Blue Screen of Death error. This error is encountered on Windows 11 Insider build, so stable build users may never encounter it. The Green Screen of Death is quite similar to the BSOD (or Blue Screen of Death) but faced on Insider builds.
There are various reasons you may encounter Windows 11 Green Screen of Death. All the information, including the error code, is displayed on the error screen, and you can get more information about the error with the help of that error code.
The reason behind facing the Green Screen Of Death may be different for each error code, and the fixes may vary depending on the reason you are facing the issue.
If you are looking for troubleshooting steps to fix the Windows 11 Green Screen of Death error, this article will help you. In this article, we will be discussing some general troubleshooting steps to fix Windows 11 Green Screen Of Death.
Fix Windows 11 Green Screen of Death Error
1. Disconnect Peripherals
You may face the Green Screen Of Death because of malfunctioning or unsupported devices. You should try disconnecting all the unnecessary peripherals connected to your PC and then check if you still face the issue or not.
2. Update Drivers
You may face the issue because of the outdated drivers. You should try updating your drivers and then check if it fixes the issue or not. To update the drivers, follow the steps given below-
- Press the Windows key to open the Start Menu on your PC. In the Start Menu, search for Device Manager and open it.

- Now, double-click on the device to open up the list.
- Select the hardware whose drivers you want to update. Right-click on it, and then click on Update Driver. Next, click on Search automatically for drivers to update the drivers from the internet.

- Do the same for all the other drivers.


You can either download the drivers from the official website of your hardware and install them. In the case of a laptop, head to the official page of your laptop, download the drivers from there and install them.
3. Update Windows
Another troubleshooting step to follow is updating the Windows. Outdated Windows or pending updates are also why you may face the Windows 11 Green Screen Of Death. To update Windows, follow the steps given below-
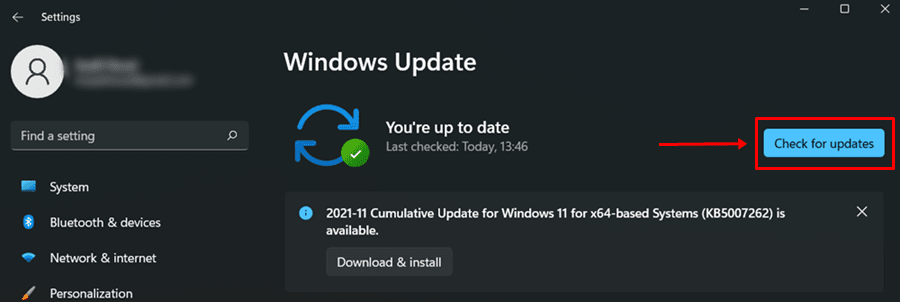
- Open the Settings app on your PC by pressing the Windows + I key combo.

- Head to the Windows Update section from the left sidebar of the settings app.
- Now on the right side, click on Check for Updates button.

- After doing so, download and install all the updates you find and restart your PC.

This should most probably fix the issue you face, and if not, you can move to the next troubleshooting step in this article.
4. Run SFC And DISM Scan
SFC and DISM scans help fix errors on your PC due to corrupted files or system images. You should first try running the SFC scan, and if it doesn’t fix the issue, you should go for the DISM scan. To run the SFC scan, follow the steps given below-
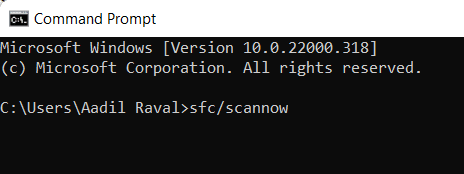
- Open the Start Menu by pressing the Windows key. In the Start Menu, search for CMD. Right-click on Command Prompt, and then click on Run as Administrator.
- In the Command Prompt, type the command sfc /scannow and hit Enter.

- Now, wait for the process to complete and restart your PC.
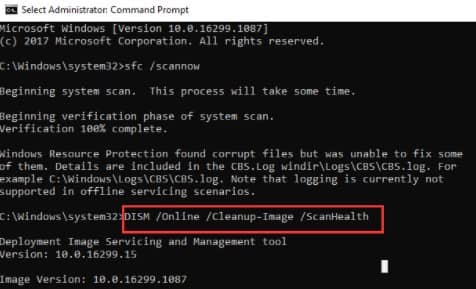
- After running the SFC scan, you should no longer face the issue. However, if you still encounter green screen issues, you should try running the DISM scan. To run the DISM scan, follow the steps given below-
- Firstly, run the Command Prompt with administrative privileges. You can do so by following the steps given in this article.
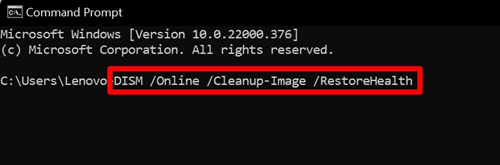
- In the Command Prompt, type and execute the following commands one by one.
Dism /Online /Cleanup-Image /ScanHealth

Dism /Online /Cleanup-Image /CheckHealth

Dism /Online /Cleanup-Image /RestoreHealth


- After running the above commands, restart your PC and check if you still encounter the issue.
5. Uninstall Apps
If you started facing this issue after installing an app, that app might probably be the reason behind you facing the issue. You should try uninstalling the app you installed to fix the issue.
- Open the Settings app on your PC by pressing the Windows + I key combo.
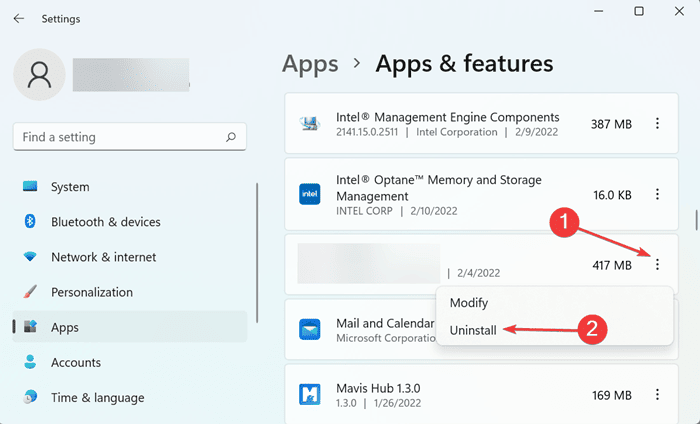
- Now on the left sidebar of the Settings app, click on the Apps tab, and then on the right side, click on Apps & Features.

- Now, search for the app you recently installed. Click on the three ellipses (three dots) next to it and click on Uninstall.

- When asked to confirm uninstalling the app, confirm it, and you will be good to go.

6. Uninstall Windows Update
If you started facing this issue after updating your Windows, you should try uninstalling the Windows Update. To uninstall the Windows update, follow the steps given below-
- Press the Windows + I key combo, which will open the Settings app on your PC.
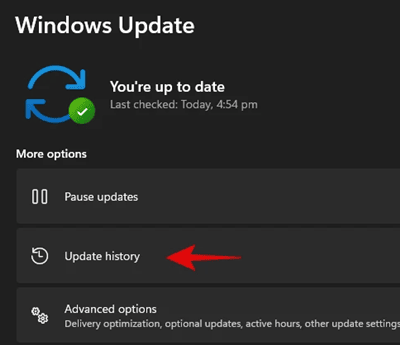
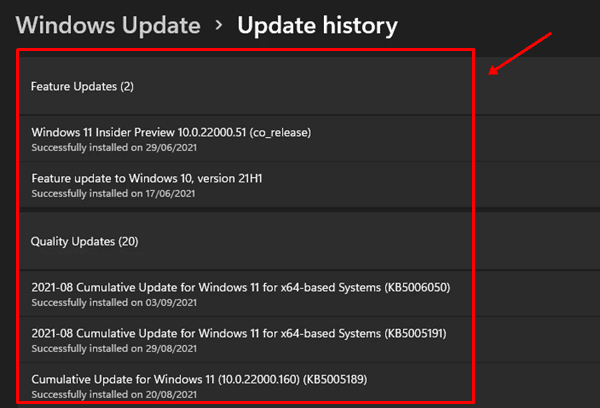
- Now, in the Settings app, head to the Windows Update section from the left sidebar, and then on the right side, click on Update History.


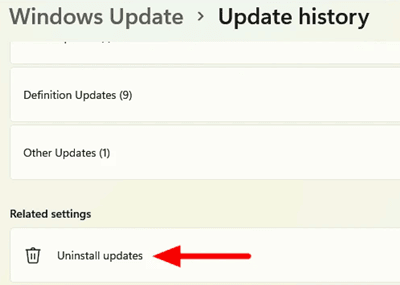
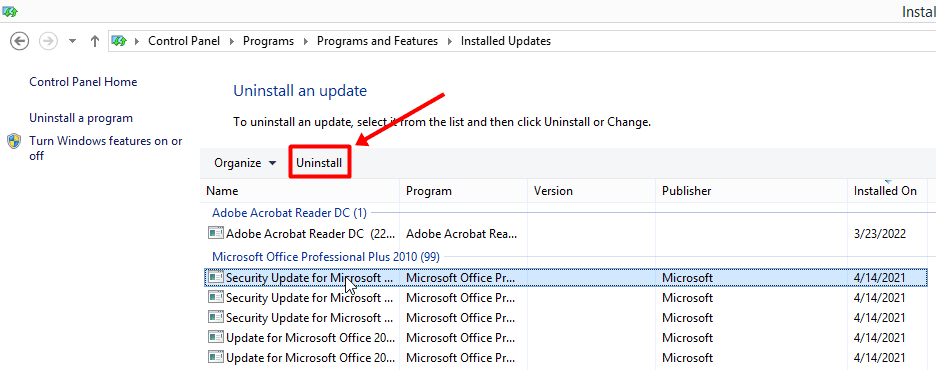
- On the next window, click on Uninstall Updates.

- Next, select the update you recently installed, and then click on Uninstall.

7. Install the Normal Version of The Windows
If you still face the issue after following the above steps, you should try installing the normal version of Windows. Install the normal version, and you will no longer face the issue. You can easily download it from the below link.
Download Normal Version of Windows 11
Final Words
This is how you can fix the Windows 11 Green Screen of Death error. If you face this issue, you can follow the steps in this article, and you will be able to fix the problem you have been facing.


