Windows Updates are essential for the smooth functioning of Windows computers. They push new features, fixes to reported problems, and security updates.
If Windows is not updated on time, it is at risk of cyber-attacks. Thus, Windows must be updated from time to time. If you are unable to install updates on Windows, then please read through this article for the solutions.
Usually, Windows Updates errors are caused by corrupt Windows Update cache, corrupt system files, inconsistent services, etc. Most of these issues can be resolved easily by repairing system files, clearing cache, and fixing services.
How to Fix Problems Installing Updates on Windows 11
If you encounter any Windows 11 update problems, you can try the following solutions sequentially:
1. Run Windows Update Troubleshooter
Windows has always had built-in troubleshooters to fix problems. However, they were a mere showpiece earlier. Running the troubleshooter rarely changed anything.
However, a recent Windows Update changed everything. Now, the troubleshooters actually work and the procedure to run the Windows Update troubleshooter on Windows 11 is as follows:
- Right-click on the Windows Start button and select Settings.

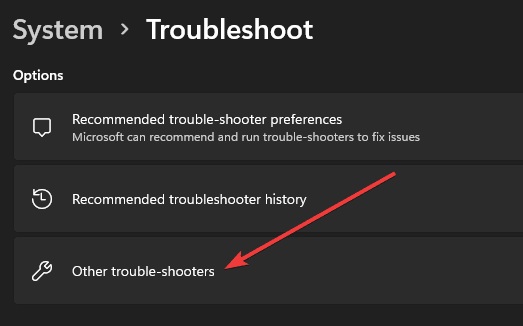
- Go to the System > Troubleshoot > Other troubleshooters.


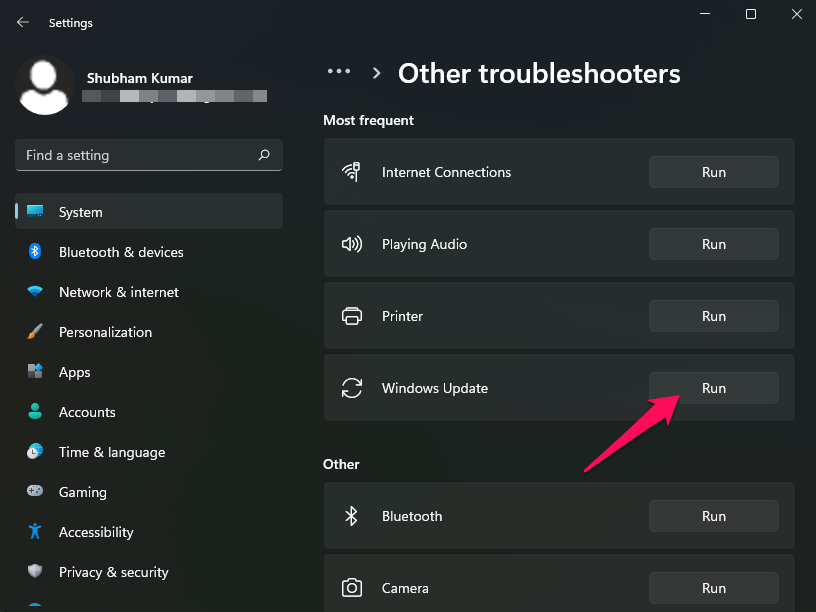
- Now, click on Run, corresponding to the Windows Update troubleshooter.

- Click on Yes to allow your consent.
- Now, try updating the system once again.


2. Check the status of the services associated with Windows Updates
Windows Updates depend on a few services. If these services are not set to automatic, Windows Updates won’t initiate automatically. Thus, the status of these services needs to be checked and modified. The procedure is as follows:
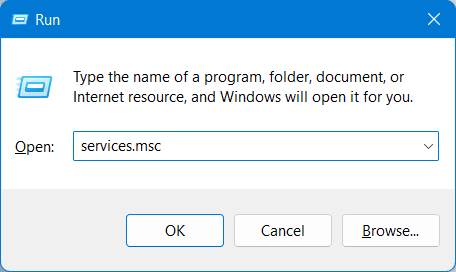
- Press Windows + R to open Run Window, type services.msc and hit Enter.

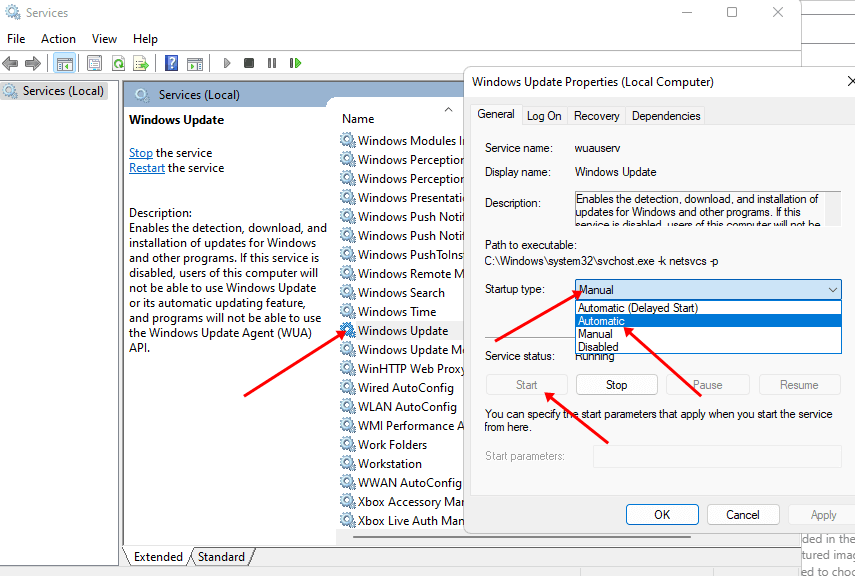
- Scroll down to the Windows Update service and double-click on it to open its properties.
- Change the Startup type to Automatic, click on Start.

- Select Apply and then OK to save the settings.
3. Clear contents of SoftwareDistribution and Catroot2 folders
Windows Updates store cache files in the SoftwareDistribution and Catroot2 folders. If these files are missing or corrupt, then you might not be able to update Windows.
Corrupt Windows Update cache is the main cause of most problems related to Windows Updates. To solve it, you can clear the contents of the SoftwareDistribution and Catroot2 folders. The procedure is as follows:
- Click on the Windows button, search for Command Prompt and click on Run as Administrator.
- Type the following commands one by one and hit the Enter button to stop the Windows update service, background intelligent transfer service and cryptographic service:
net stop wuauserv
net stop bits
net stop cryptsvc
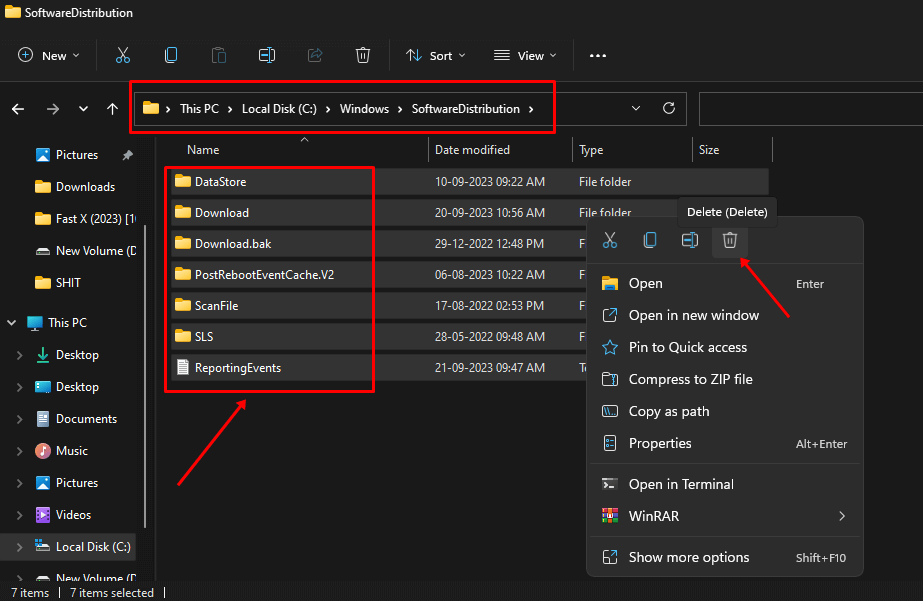
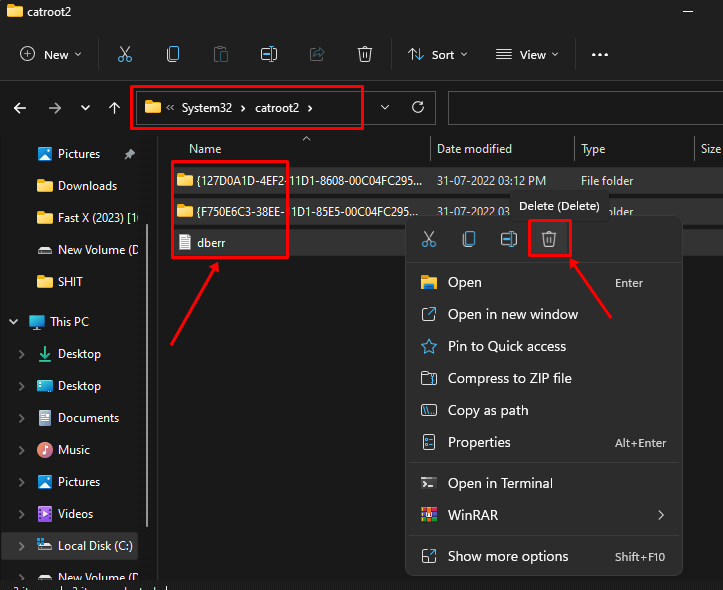
- Afterward, go to the path C:\Windows\SoftwareDistribution and Press Ctrl + A and delete all the files. Similarly, go to path C:\Windows\System32\Catroot2 and delete all the files.


- Now run the below commands one by one to start Windows services again.
net start wuauserv
net start bits
net start cryptsvc
4. Download updates from Windows Update Catalog
If the above-mentioned solutions fail, the best method to install updates on your system would be to download them directly from the Windows Update catalog. This will surely work. The procedure is as follows:
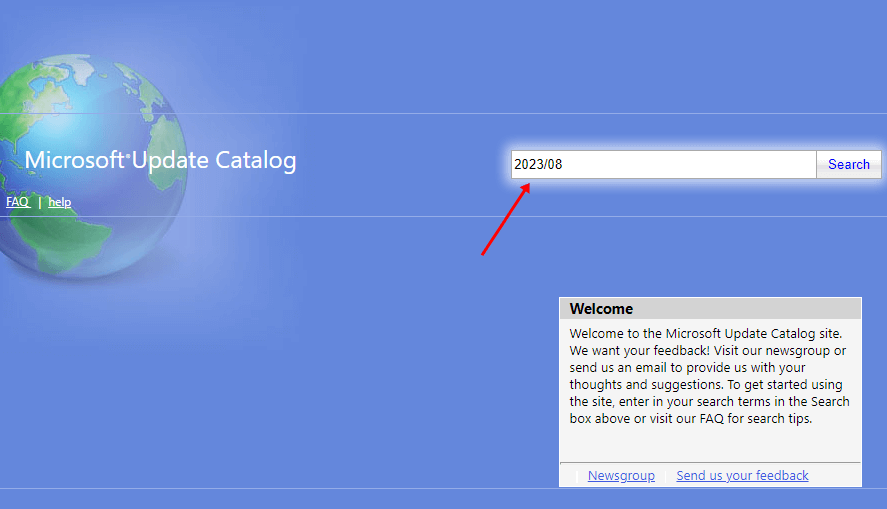
- Open Windows Update Catalog Site.
- Search for the latest month in the YYYY/MM format.

- If appropriate results don’t appear, search for the previous month.
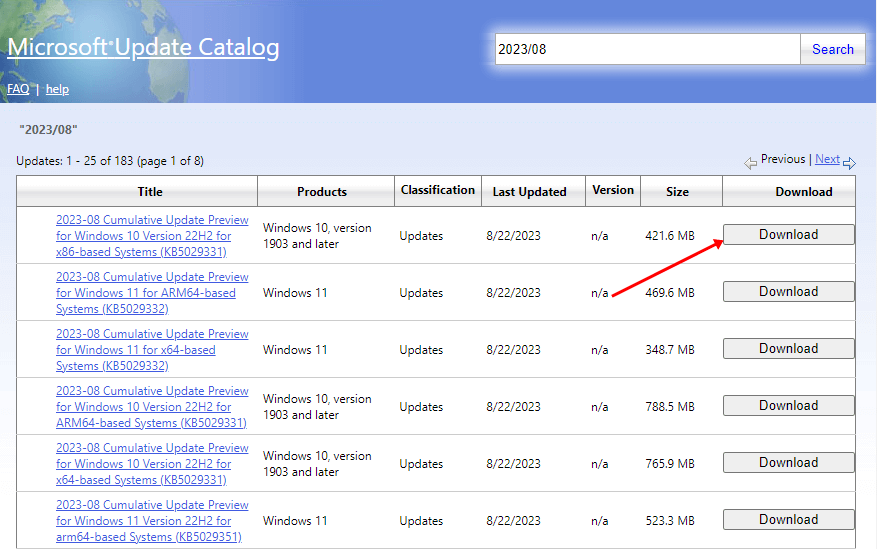
- Download the latest update from the list by clicking on the Download button.

- Install the EXE file by clicking on it.
Once the latest Windows Update has been installed, you can reboot your system.
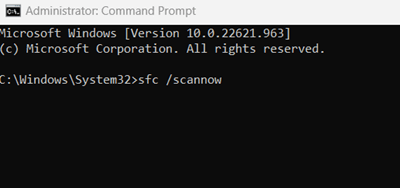
5. Run an SFC Scan
Windows Update files are also system files. If system files are missing or corrupt, you can repair them using the SFC Scan.
- Search for Command Prompt in the Windows Search bar and click on Run as administrator.
- Type the following command, and hit Enter:

sfc /scannow
- Let the scan complete and then reboot the system.
Conclusion
In the end, you will get most of the best solutions for Windows 11 updates not working, pending updates and other problems installing updates. I hope this was helpful. Please let us know in the comment section below.


