If you find your PC slowing down without any reason, it may be because of high CPU usage by unwanted services. This may happen even when you are not running any heavy services on your PC. Recently, many users have reported that the System Idle process causes high CPU usage in Windows 11 and lags their system.
System Idle Process is a Windows Process that helps increase the efficiency of your system. It helps free up resources that other programs are using. However, this can sometimes consume more of your resources rather than freeing them. Due to this, many find your PC to be unresponsive.
This issue occurs randomly and can be easily fixed by some workarounds. So what can be done to fix this issue? This article will discuss various troubleshooting steps to help fix System Idle Process High CPU in Windows 11.
What is System Idle Process and Why Does it Cause High CPU Usage?
System Idle Process is an essential process that frees up resources used by other programs to make your PC more responsive and efficient. There are various reasons why this may cause high CPU usage, such as.
- Viruses and malware infecting your PC can cause high CPU usage.
- Faulty drivers may also cause the issue. If you have installed corrupted drivers, you will likely face this issue.
- Corrupted or damaged system files may also be the reason behind you facing the issue.
- Multiple programs and services running in the background can also cause high CPU usage.
How to Fix System Idle High CPU in Windows 11
With a few troubleshooting steps, you can easily fix this issue. Given below are the steps to help fix System Idle High CPU-
1. Disable Startup Programs
The very first thing that you should try doing is disabling the startup apps and programs. To do so, follow the steps given below-
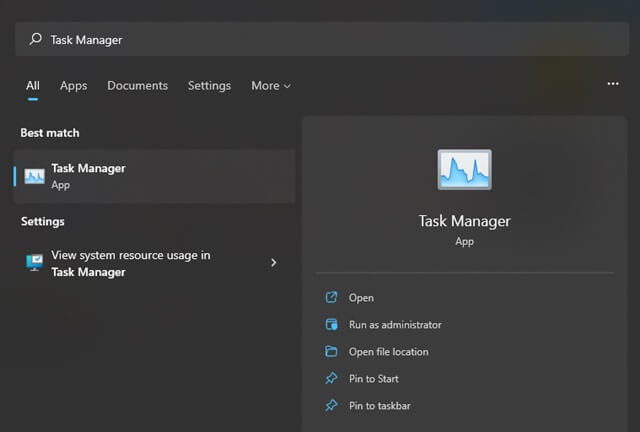
- Open Start Menu, search for, and open Task Manager.

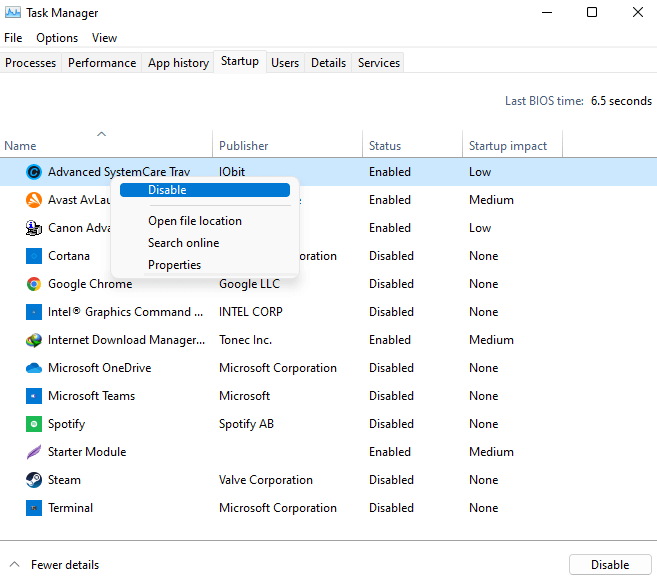
- Head to the Startup tab.
- Here, select programs that are not required at startup.
- Right-click on them individually and then click on Disable.

- Do this for all the apps and programs.
- Restart your PC and then check if you still face the issue or not.
2. Perform Clean Boot
Many times clean booting your PC may also help fix the issue. To do so, follow the steps given below-
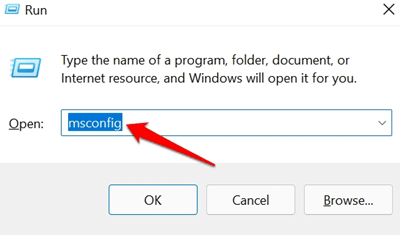
- Press Windows + R, type msconfig, and open it.

- In System Configuration, head to the General tab.
- Here, select the option for Selective Services and then tick for Load System Services and uncheck the Load startup items box.

- Next, head to the Services tab.
- Here, check the checkbox for Hide All Microsoft Services and click on Disable All button.

- Click on Apply and then on OK to save the changes.
- Now restart your PC, and you should no longer face the issue.


3. Defragment Disk
You can also try defragmenting the Windows installation disk to fix the issue. Given below are the steps to defragment the disk-
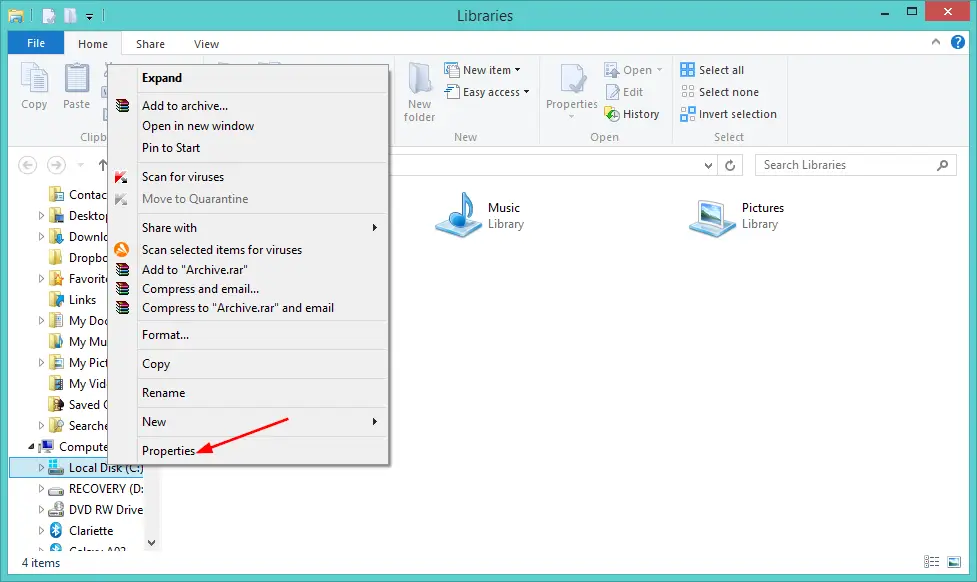
- Open File Explorer by pressing the Windows + E key combo.
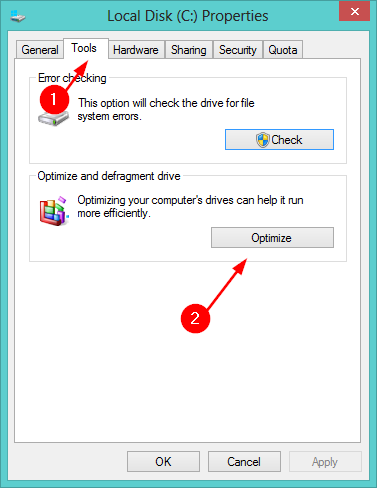
- Right-click on the disk partition on which your Windows is installed, and then click on Properties.

- Next, head to the Tools tab and click on Optimize option.

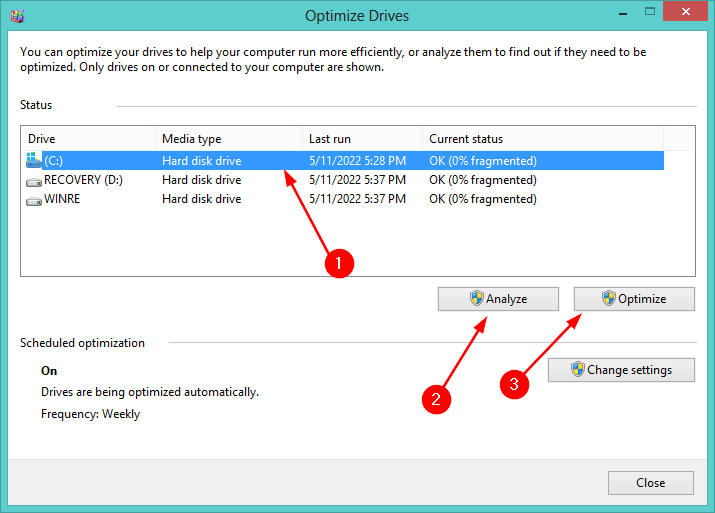
- In the new window that opens up, select your disk partition with Windows again.
- Click on Analyze. Wait for the disk to be analyzed, and then click on Optimize.

- Once the disk is defragmented, click on Close.
- Check if you still face the issue or not.
4. Disable System Idle Process
If none of the above steps work for you, you should try disabling the System Idle Process. To do so, follow the steps given below-
- Press Ctrl + Shift + Esc to open the Task Manager on your PC.
- Under the Details tab, search for System Idle Process. Click on this process, and then click on End Task.

- This should most probably fix the issue you have been facing.

5. Run Virus or Malware Scan
There is a chance that the system’s idle process consuming more resources than usual because of viruses and malware. Scanning and removing them using Windows security is an important step.
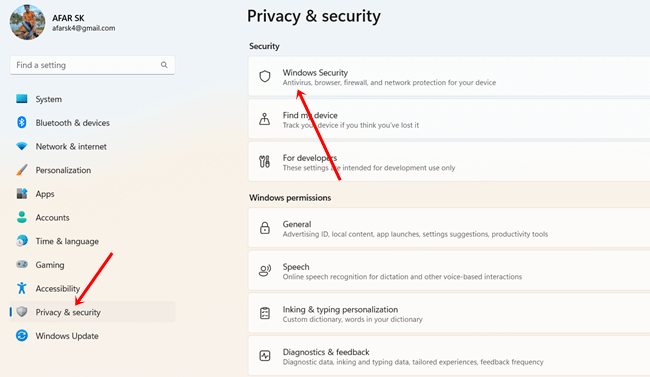
- Click the Windows icon > Settings.
- Then click on Privacy & Security > Windows security.

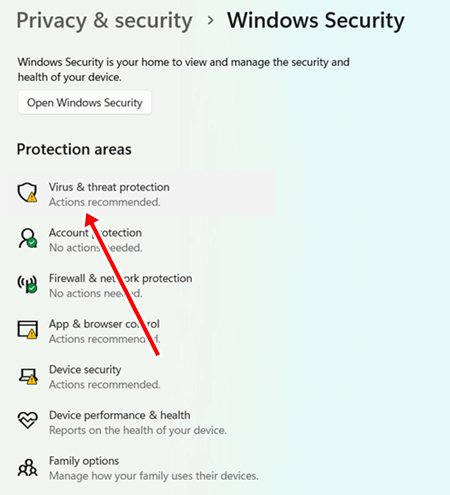
- After that, click Virus and Threat Protection.

- Next, click the Scan option.
- Lastly, select Full Scan and hit the Scan Now button.
6. Replace Corrupt System Files
We never know whether our system has any corrupted files or not until we end up with some problem. So we could perform an SFC scan to replace those corrupt files to make our system work at its best.
- Press the Windows button, search for Command Prompt, and click on Run as administrator.
- Now type the below command, and hit the Enter button.
sfc /scannow - After that, restart the system; it will replace corrupted files with functional ones.
7. Cleanup Disk
If we don’t clean junk files, recycle bin data, temporary files, update files, and many other files from time to time, then our system becomes sluggish and problematic. Issues like system idle process high CPU is quite common. Thus, cleaning up unimportant files is mandatory.
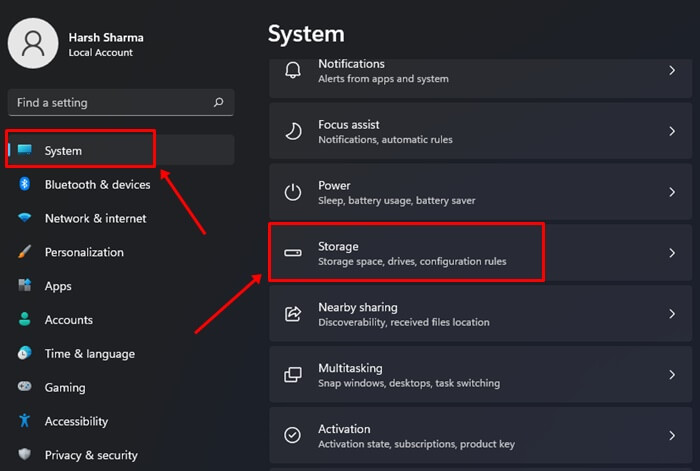
- Open the Settings app.
- Then click on System > Storage.

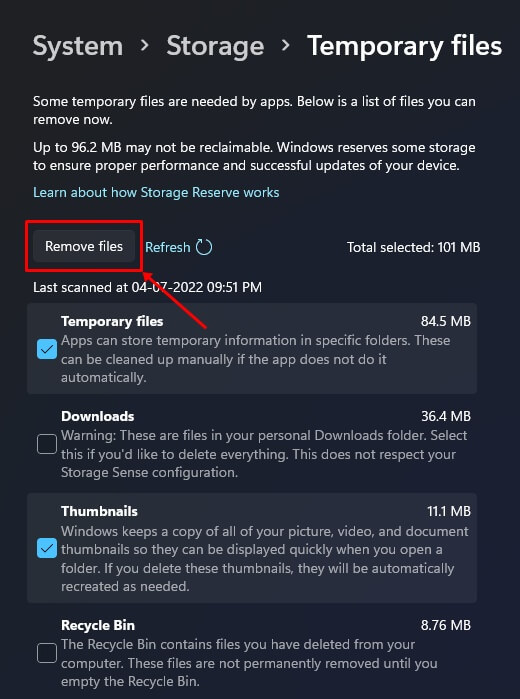
- Next, choose Temporary files.

- Now click on Remove files.


Final Words
If you find the System Idle process consuming a lot of your CPU resources and causing your system to slow down and become unresponsive, this needs to be taken care of soon. Following the above steps, you can fix System Idle Process High CPU in Windows 11.


