As per the current reports, Microsoft is going to release the final version of Windows 11 on the 5th of October. However, the final build is going to be the most stable and best for all PCs without any bugs and issues.
This means now you can manage your work quickly. But slow internet can put a hindrance in the middle of your work. Therefore, you fix this to increase your internet performance.
So, we are here with our brand new article to help you. We have compiled the top best ways to increase your internet speed in Windows 11. So, without wasting our time talking, let’s directly jump into it.
What are the Causes of Slow Internet Speed?
There might be various reasons behind the slow internet issue, but the issues that I found most genuine are mentioned below:
- A lot of devices are connected to the same network.
- You may not configure the Bandwidth properly.
- There is some obstacle between the Router and your PC.
- Very poor WiFi signals
- Damaged or faulty WiFi device.
- You may have set your connectivity to a metered connection.
- Many applications run in the background that consume your data.
How to Increase Your Internet Speed on Windows 11
Here in this guide, we mention the best methods to increase your WiFi speed on Windows 11 PCs. So, make sure to follow them and apply them on your PC:
1. Change the DNS Server
The first thing that you need to try is to tweak some changes to your name server, also known as a DNS server.
Many users have already mentioned that this helps them to increase their internet speed by 100%. You can also give it a try; therefore, here are the steps that you need to follow:
- First of all, you can press Win+R and type ncpa.cpl, then hit the enter key.
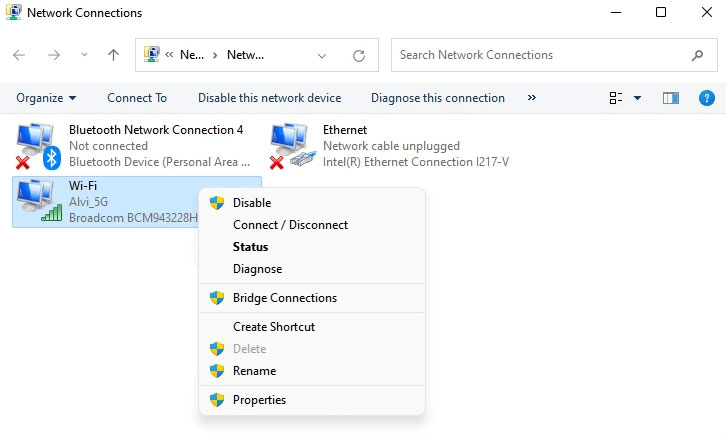
- Now, the Network Connections window will open. You’ll have to select either Ethernet or WiFi, depending on which you are using.

- In our case, we are using a WiFi network, therefore, right-click on it and select the properties options.
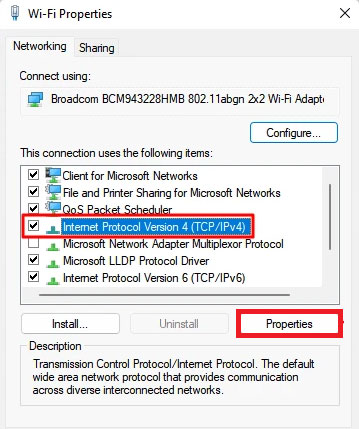
- After that, locate and checkmark the Internet Protocol Version 4 (TCP/IPv4).

- Then, hit the Properties option. Now, use any of the following DNS under the Use the following DNS server address option and hit the Ok button.
-
- Preferred DNS server: 8 . 8 . 8 . 8
- Alternative DNS server: 8 . 8 . 4 . 4
That’s it. Now, as soon as you reboot your PC, your internet speed will automatically get enhanced.
2. Limit Bandwidth For Updates
There is an in-built feature in which Windows automatically monitors and tweaks some changes on your Bandwidth depending upon your uses.
So, this may be the main culprit for the slow internet issue, and you have to remove the limit. Therefore, to do this, follow the steps as mentioned below:
- Firstly, right-click on the Start menu and select the Settings option.
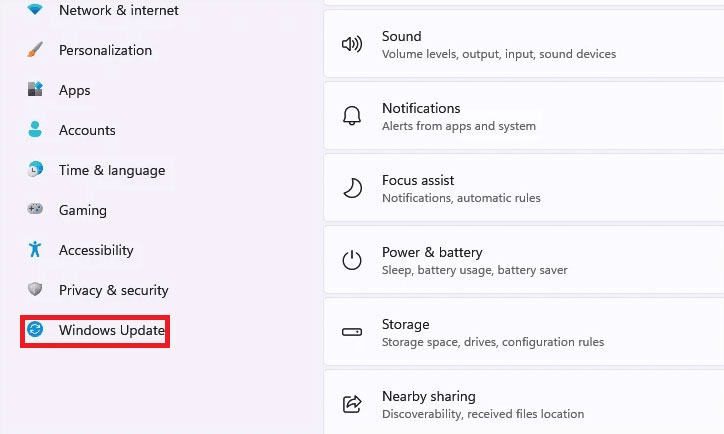
- Then, switch to the Windows Update tab and go to the Advanced options.

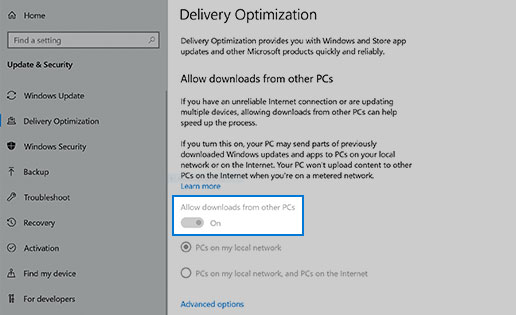
- After that, click on the Delivery Optimization located under the Additional options.
- Next, if you don’t want to share your Windows updates with other PCs, simply toggle the button to the Off position.

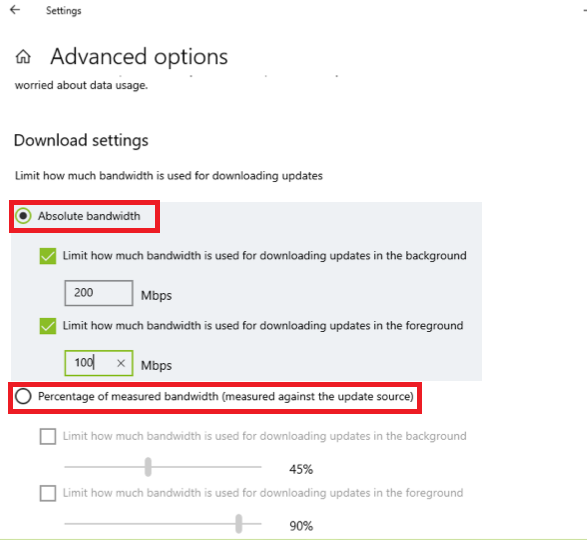
- Now, to limit the Bandwidth of your upload and download speed, select the Advanced options.
- After that, two options will appear: The first one is to set the Absolute Bandwidth, in which you need to checkmark both the boxes and enter the relevant limit for Bandwidth in both the text fields.
- The other one is, Percentage of measured Bandwidth, so as shown in the given image, checkmark both the boxes. Also, drag the slider to set the value for both as per your need.

- Then, under the upload setting section, checkmark the two boxes present there and drag the slider to the value as per your need.
That’s it. Now, close that window and reboot your Windows 11 PC, and then you will notice that your internet speed will increase.
3. Close Background Programs Consuming Your Data
If there are many applications running in the background consuming your data, then you need to close them as it slows down your internet performance. So, to do this, follow the steps mentioned below:
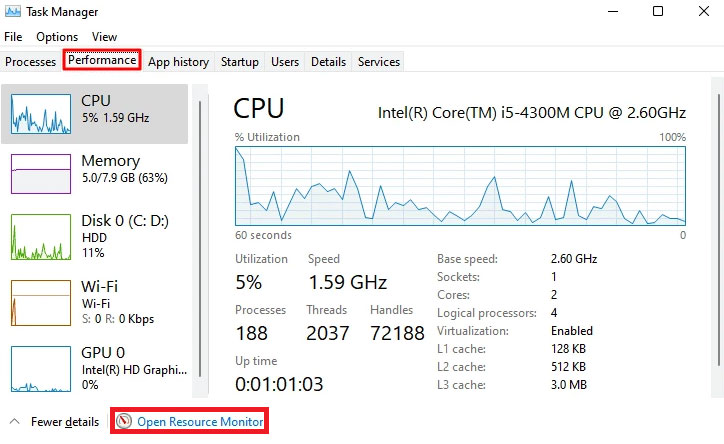
- Initially, right-click on the Start menu and choose the Task Manager.
- Now, switch to the Performance tab and hit the Open Resource Monitor option.

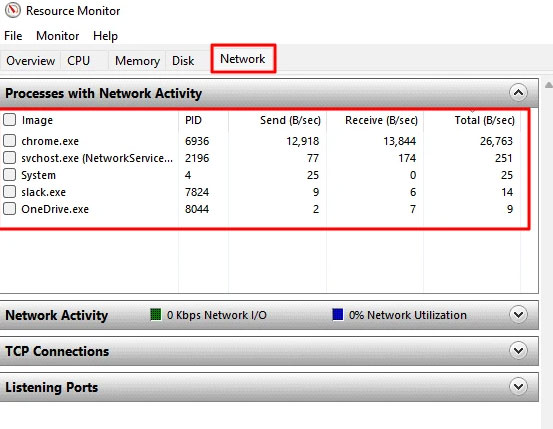
- After that, shift to the Network tab. Then, locate the program that has a higher value of Send and Recieve columns.

- Now, once selected, right-click on it and hit the End Process button.


Note: Keep in mind that you do not need to end every task present in that list as some might be your system file that is running, and forcing them to stop will cause severe damage to your data.
4. Scan Your PC For Malware or Viruses
If any kind of malware or viruses are present on your PC, you may have to encounter various issues like slow connectivity problems. So, to fix this, you have to scan and remove all the malware or viruses present on your Windows PC.
- Search for Windows Security and open it. Then, navigate to the Virus & threat protection section.
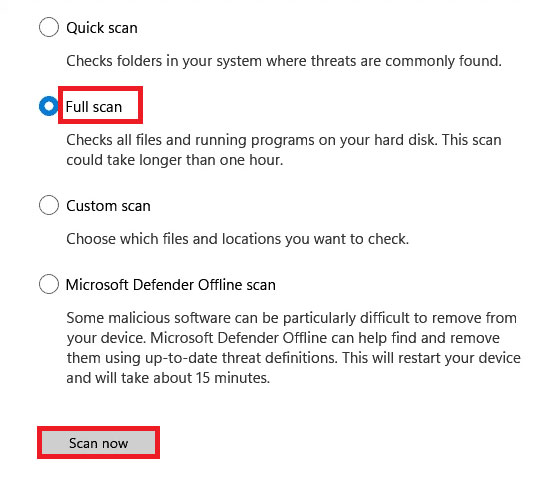
- Now, instead of clicking the Quick Scan button. You can hit the Scan Options button.
- Then, select the Full Scan option and hit the Scan Now button. Now, wait until it gets finished.

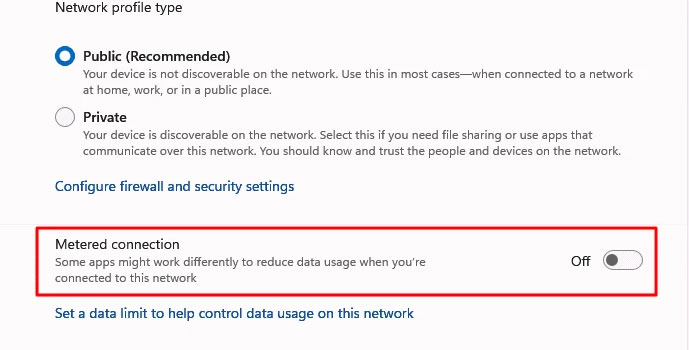
5. Turn Off Metered Connections
If you have enabled this option on your PC, then you have to disable it, and to do so, follow the steps:
- Firstly, press Win+I to open the Windows 11 settings app.
- Then, navigate to the Network & Internet tab and click on the Ethernet or WiFi, whichever you are using.
- Then, click on the network that you are connected to.
- Finally, toggle the button located in front of Metered connection to Off position.

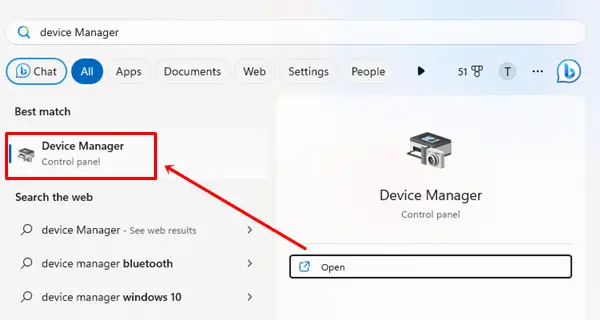
6. Get the Latest Network Driver
The network driver is essential to connect your Windows 11 to the internet. Outdated or incompatible network drivers can lead to low-speed internet. Therefore, it’s always recommended to update the driver to get reliable and satisfactory internet speed.
- Click on the Windows icon, search for Device Manager, and Open it.

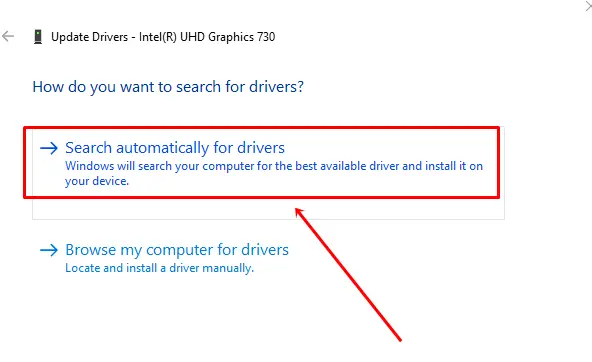
- Then, double-click on the Network Adapter.
- Next, right-click on the driver, and choose Update driver.

- In the next step, click on Search automatically for drivers.


7. Turn Off Windows Firewall Service For a While
Windows firewalls play a critical role in protecting our Windows from unauthorized access, viruses, and malware. Consequently, it also affects the internet speed very often. So turning off its service might help. However, disabling a firewall for too long is not recommended.
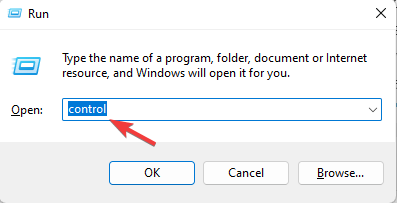
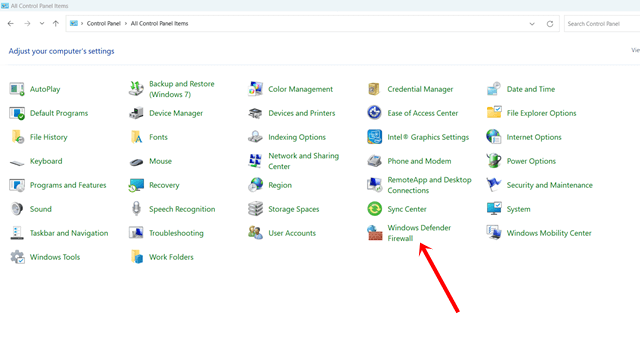
- Firstly, press Windows + R to open Run, type Control Panel, and hit the Enter button.

- Then click on Windows Defender Firewall.

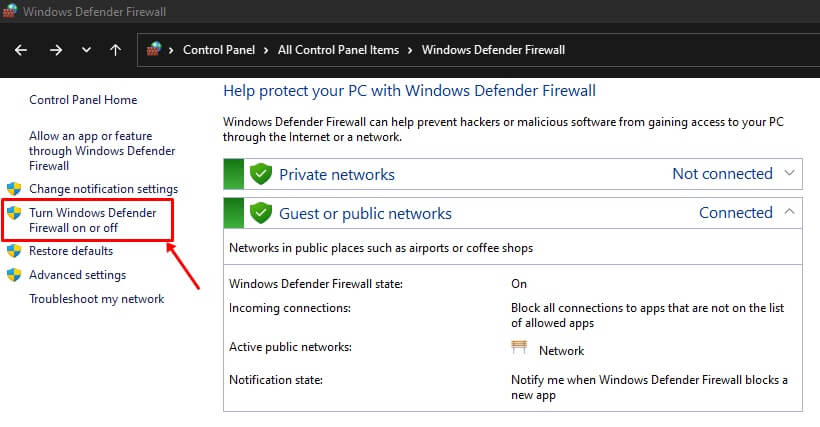
- Next, select Turn Windows Defender Firewall On or Off.

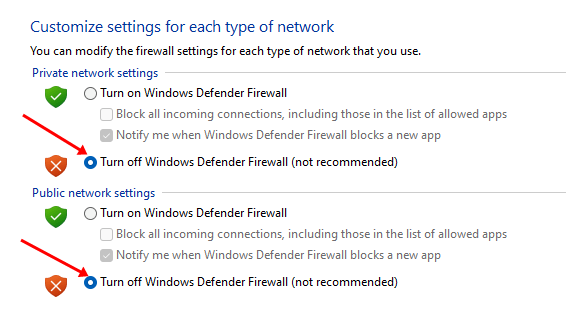
- Now Select both the private and public network box of Turn off Windows Defender Firewall.

8. Run Network and Internet Troubleshooter
Windows 11 has come along with an inbuilt network and internet troubleshooting. It can help to fix any issues regarding the network and internet.
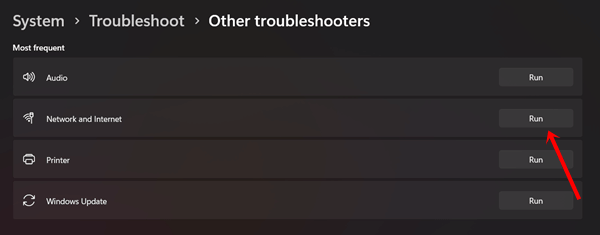
- Open Settings > System > Troubleshoot.
- Then select Other Troubleshoot.

- Now you can see the Network and Internet, click on the Run button, and follow the on-screen instructions.


Conclusion
So, these are some tricks that you need to try if you also want to increase your Internet speed on Windows 11. We hope the method mentioned in this guide helps you.
Also, we regret if any of the methods did not work in your case, as these were just tricks. But, if you know any method that will surely do the same, then mention that in our comment box down below.


