DLL files are essential for Windows, and some programs may not work properly with certain DLL files. If you are trying to run a program on your PC but keep facing the Msvcr70.dll not found error, then that means the program cannot access that particular DLL file. The complete error message may read-
‘This application failed to start because msvcr70.dll was not found. Reinstalling the application may fix this problem.’

This error message indicates that the Msvcr70.dll file is either deleted, corrupted, or misplaced. Errors like this are common after Windows updates, installing software, or making any other changes to the system. This article lists all the possible ways to fix Msvcr70.dll not found an error in Windows.
Fix Msvcr70.dll Not Found Error in Windows
Windows keeps showing Msvcr70.dll not found error when launching an application. Given below are some
1. Run SFC Scan
SFC or System File Checker is an inbuilt command line tool to scan your PC for corrupted files and fix it. You can run the SFC command through the Command Prompt to fix all the corrupted files, including the Msvcr70.dll file. Given below are the steps to do so-
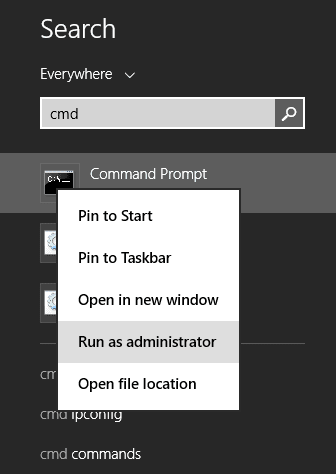
- Press the Windows key and type CMD. Select Command Prompt and then click on Run As Administrator.

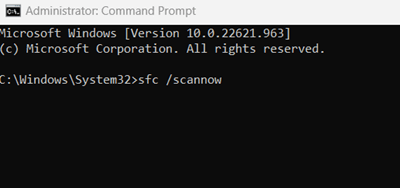
- Type and execute the command given below-

-
sfc /scannow
-
- Wait till the process completes, and then restart your PC.
2. Run DISM Scan
DISM command can be used to repair system images if any issue occurs. If the Msvcr70.dll not found error is not solved by the SFC scan, then you should run the DISM scan on your PC. Follow the steps given below to run the DISM scan-
- Launch Command Prompt as administrator on your PC.
- Now, execute the following commands one after another-
-
DISM /Online /Cleanup-Image /CheckHealth -
DISM /Online /Cleanup-Image /ScanHealth -
DISM /Online /Cleanup-Image /RestoreHealth
-
- After you have executed the above commands, close the Command Prompt and restart your PC.
3. Update Windows
If there are any pending updates available, then you should install them. You can update your Windows to the latest version by following the steps given below-
- Open Settings by pressing Windows + I key combo.
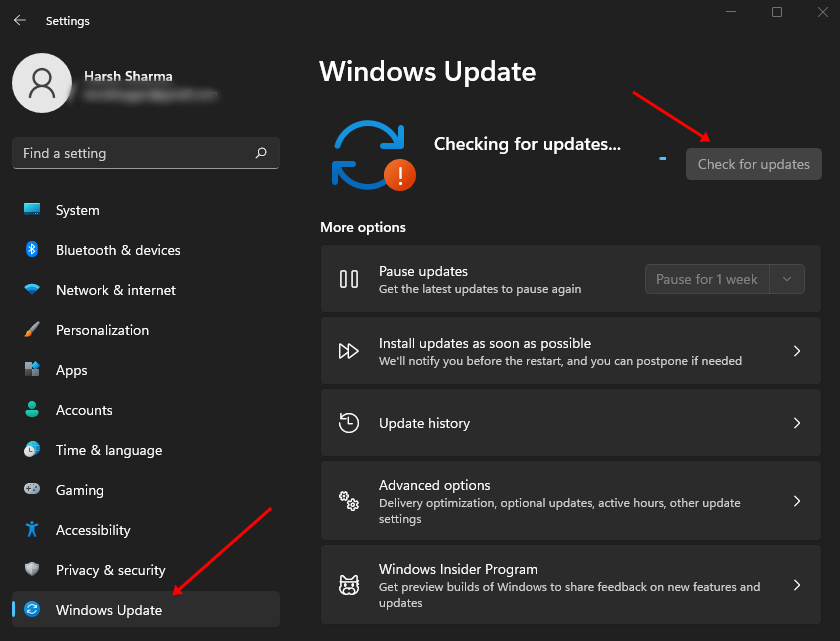
- On the left sidebar, click on Windows Update.
- Now, click on the Check for Updates button.

- Install all the updates available and then restart your PC.
4. Reinstall the Program
If you are getting the Msvcr70.dll while trying to launch a certain program, you should try reinstalling that program. The problem may be with the app itself; reinstalling that app should fix it. You can do it by following the steps given below-
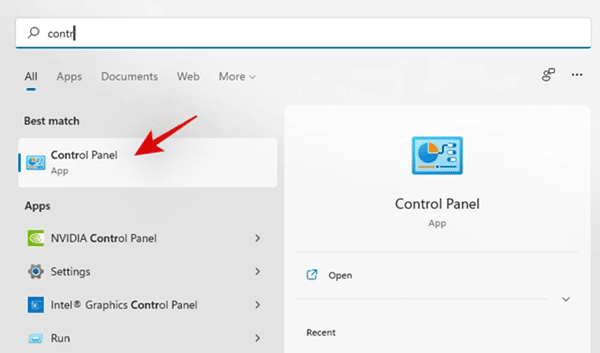
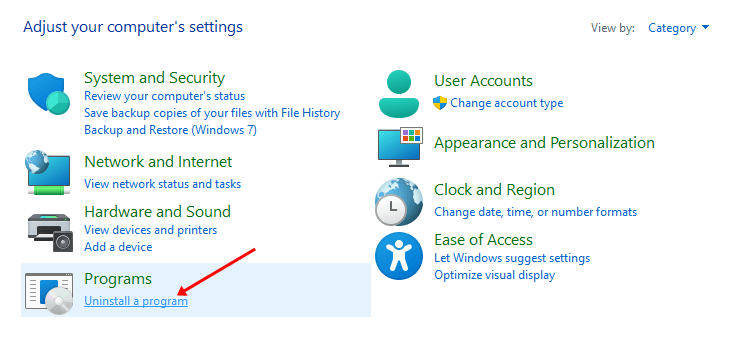
- Press Windows + R keyboard shortcut, type Control, and press Enter.

- Under the Programs, click on Uninstall a Program.

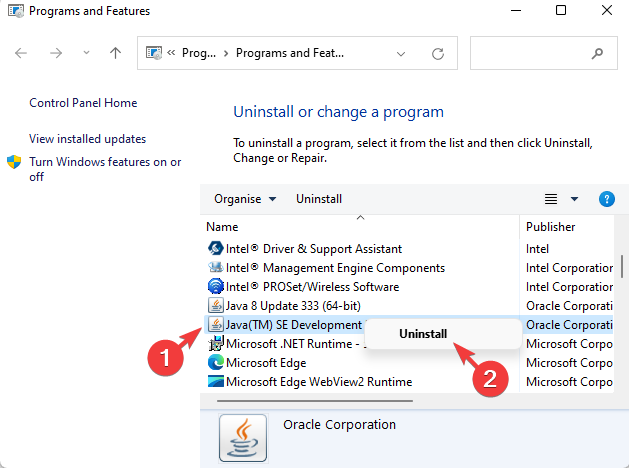
- Right-click on the program causing the issue and click on Uninstall; confirm uninstalling the program.

- Once done, download the program’s setup file from the internet and run the installer.
- After installing the program, run it on your PC; you should no longer face the issue.
5. Perform System Restore
If this issue is encountered after installing an update, uninstalling a driver, adding a new program, or making any such changes, you can perform a system restore. This will revert the system and probably fix any damage done to the Msvcr70.dll file by the changes you have made.
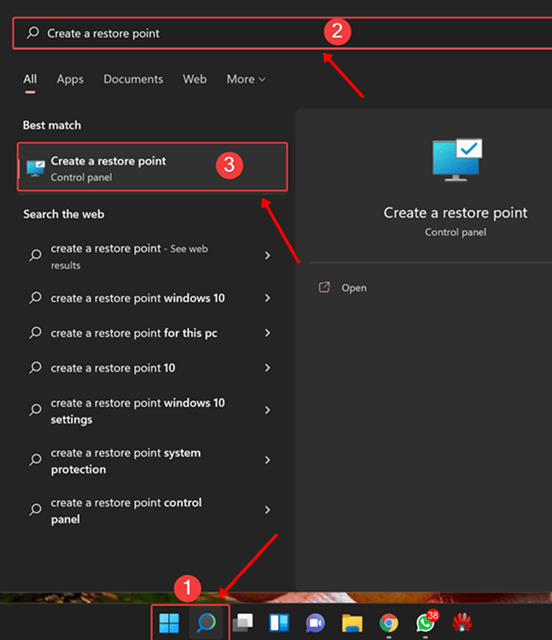
- Click on the Start icon, search for Create a restore point and open it.

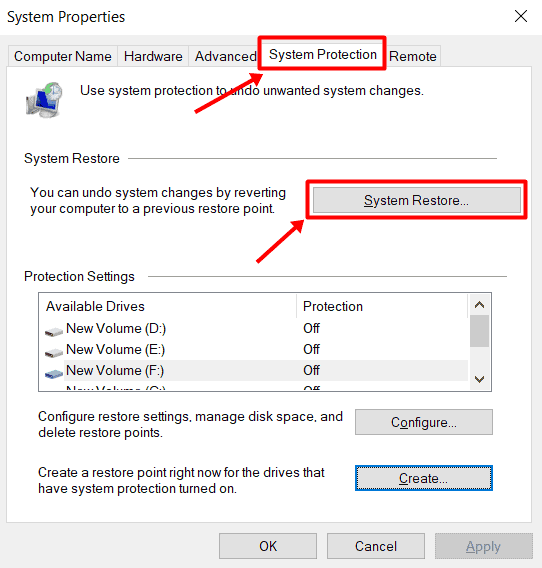
- Now, click on the System Restore button.

- If you want to go with the suggested restore point, then select Recommended restore; else, select Choose a different restore point. Click on Next to continue.
- If you select the ‘Choose a different restore point’ option, you must select a restore point manually and then click Next.
- Click on the Finish button, and the system restore process will start.
- Your PC may restart a few times; you won’t face this issue once the process is completed.
Final Words
The above steps should fix Msvcr70.dll not found error in Windows. However, if you still get the same error after following all the steps mentioned above, you will have to reset/reinstall Windows. This will clear all the settings and files and give you a fresh start without such issues.


