Windows Update brings new features and bug fixes to the operating system. But that’s not always the case; sometimes, the latest Windows update may come with some underlying problems and bugs and may disrupt the performance of your PC. If you face some issues after installing an update, then you have the freedom to uninstall the system and restore the changes.
You can uninstalling the Windows Update from the Settings as well as from the Control Panel, of course, that’s the universal way of doing that. But sometimes, Windows may throw some issues like ‘Not all of the updates were successfully uninstalled’ when you try to uninstall an update.
This issue is generally encountered when the update files are running in the background, making it difficult for Windows to uninstall the update. So, what do you do to successfully uninstall these updates? Here’s a troubleshooting guide to fix the ‘Not all of the updates were successfully uninstalled’ error and uninstall the updates without any issues.
Fix ‘Not All of the Updates Were Successfully Uninstalled’ Error
1. Use DISM Method
If you are facing a problem uninstalling updates the normal way, then you can use the DISM method to do so. The steps given below will help you with that-
- Press the Windows + R key combo, and then type CMD. Press Ctrl + Shift + Enter to launch Command Prompt as administrator.
- In the Command Prompt window, execute the command given below-
-
DISM /Online /Get-Packages | clip
-
- Now, press the Windows key and open Notepad from the Start Menu.
- Press Ctrl + V to paste the output of the previous command in the Notepad.
- You will see all the updates in the text. Search for the update you want to uninstall and copy the Package Identity of the update.
- Now, execute the following command in the Command Prompt-
-
dism /Online /Remove-Package /PackageName:Package_ID
-
Note– In the previous command, replace Package_ID with the Package Identity that you copied in step number 5.
2. Uninstall Update Using Terminal
Another method to uninstall the update is through the Terminal window, i.e., Command Prompt or Windows PowerShell. This method is similar to the DISM method of uninstalling the updates.
- Press the Windows + X keys together, and click on Terminal (Admin).
- When you see the UAC prompt, click on the Yes button.
- Now, type the following command and press Enter to execute it-
-
wmic qfe list brief /format:table
-
- This will list all the updates that were recently installed on your system. From the list, copy the KB number of the update that you want to uninstall.
- After this, execute the following command-
-
wusa /uninstall /kb:number
-
- Note- In the previous step, replace the number with the KB number of the update you copied before.
3. Reset Windows Update Component
If you are facing issues uninstalling the update even with the previous two methods then you can try resetting the Windows Update components and then uninstall the update again. The steps given below will help you with that-
- Press the Windows + X key combo, and click on Terminal (Admin).
- Now, reset the Windows Update Component by executing the commands given below one after another-
-
net stop wuauserv -
net stop cryptSvc -
net stop bits -
net stop msiserver -
ren C:\Windows\SoftwareDistribution SoftwareDistribution.old -
ren C:\Windows\System32\catroot2 catroot2.old -
net start wuauserv -
net start cryptSvc -
net start bits -
net start msiserver
-
- Once done, try uninstalling the updates again.
4. Make Changes to Registry
This is a bit of a technical step but if followed correctly, it can help you fix the issue and uninstall the update successfully. Below are the steps to do so-
- Click on the Start icon, type Registry Editor in the Start Menu, and press Enter to open it.
- Navigate to the following path in the Registry Editor-
-
HKEY_LOCAL_MACHINE\System\CurrentControlSet\Control\Print
-
- On the left pane, right-click on Print, hover over New, and then click on DWORD (32-bit) Value.
- Set the name of the new DWORD as RPCAuthnLevelPrivacyEnabled and save it.
- Now, double-click on the new DWORD you just created to edit it.
- Set the Value Data to 0 and click on OK.
- Now, close the Registry Editor and restart your PC.
- After the restart, try uninstalling the update you were facing issues with.
5. Restart the Windows Update Service
Still facing the same issue? The issue can be caused due to some glitch with the Windows Update service which is essential to install as well as to uninstall updates. You can restart the Windows Update service to solve this glitch and fix the issues.
- Open the Start Menu, search for Services, and open it.
- Search for Windows Update in the Services window.
- Right-click on this service, and then click on Restart from the context menu.
- After this, check if you can uninstall the update or not.
6. Scan System for Virus
You can also face this issue if your system files are exploited by viruses. Windows comes with Windows Security (the default Windows antivirus) which you can use to run a Virus scan. Here’s how to do it-
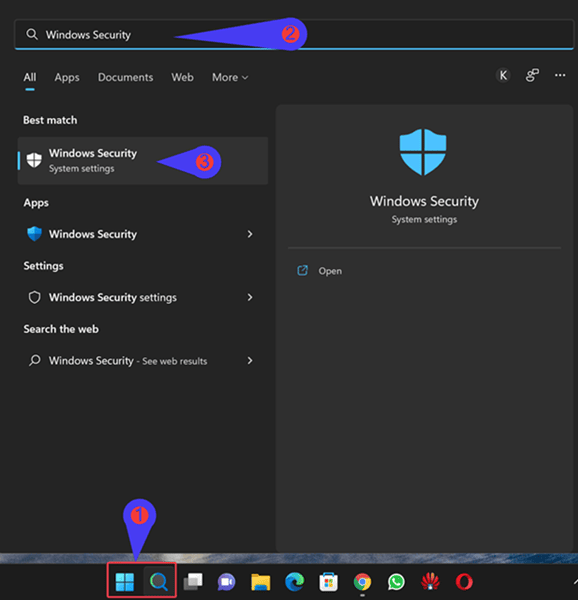
- Click on the Windows icon, search for Windows Security, and click on it.

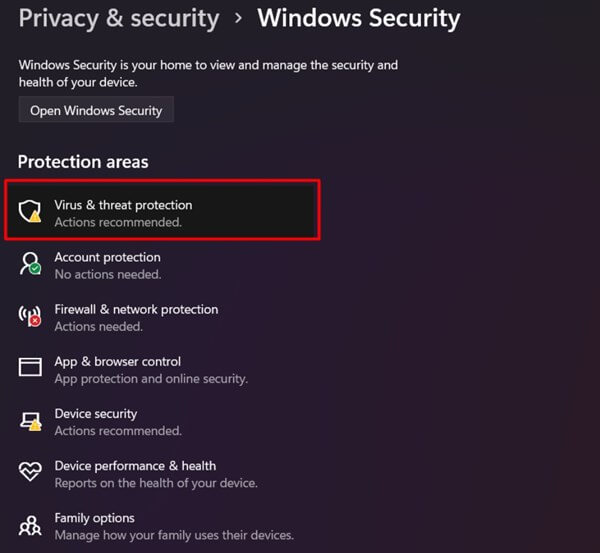
- Next, click on Virus & Threat Protection.

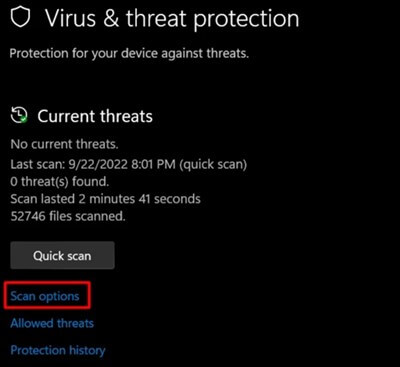
- After this click on Scan Options.

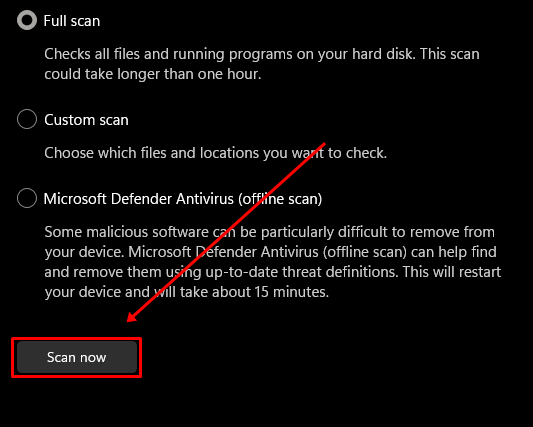
- From the given options, select Full Scan and then click the Scan Now button.

7. Clean Boot System
When you clean and boot your system, your PC will run without unessential services, and you will be able to uninstall the update. To clean boot your system, follow the steps given below-
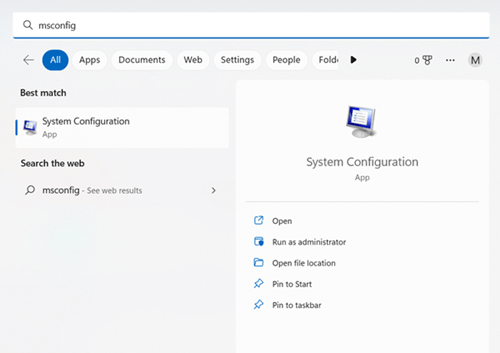
- Open the Start Menu and then launch System Configuration.

- Click on the Services tab in the System Configuration.

- Now, check the Hide All Microsoft Services option and click on Disable All.
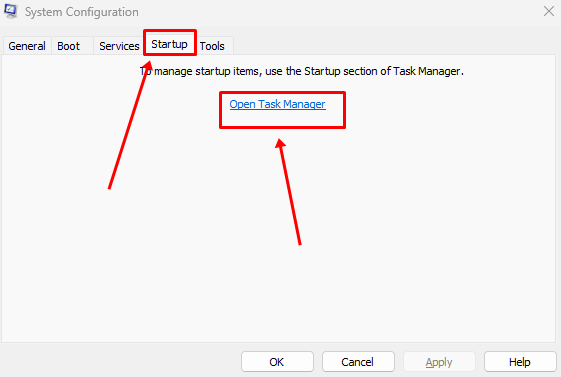
- After this, click on the Startup tab and then click on Open Task Manager.

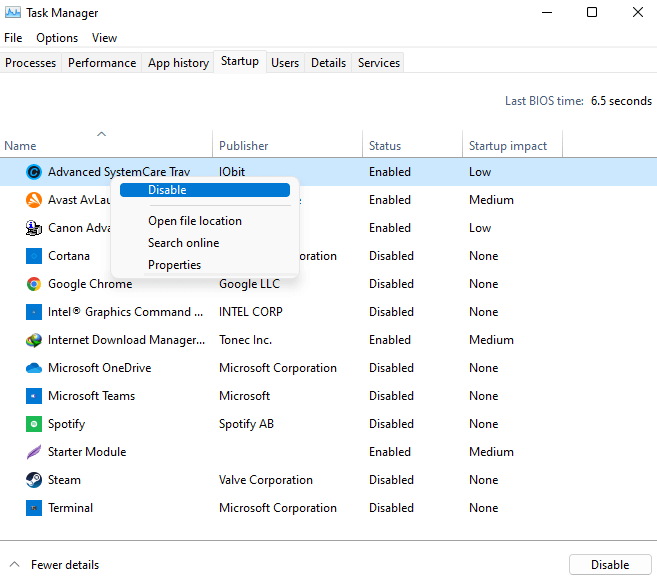
- Right-click on the startup app, and then click on Disable. Do this for all the startup apps.

- After this restart your system to clean boot it.
- Try uninstalling the update now and see if that fixes the issue.

8. Perform System Restore
Your system automatically creates a restore point when you make some significant changes to your system. When you download an update, a restore point is created on your system before the update is installed. You can restore your system using this restore point and all the recently installed updates will be reverted.
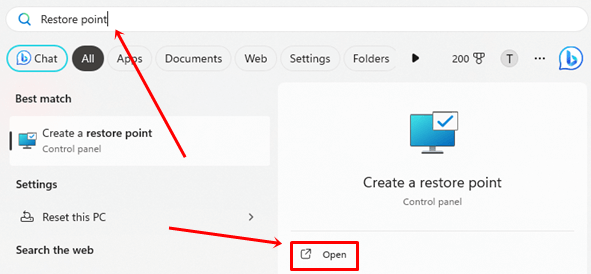
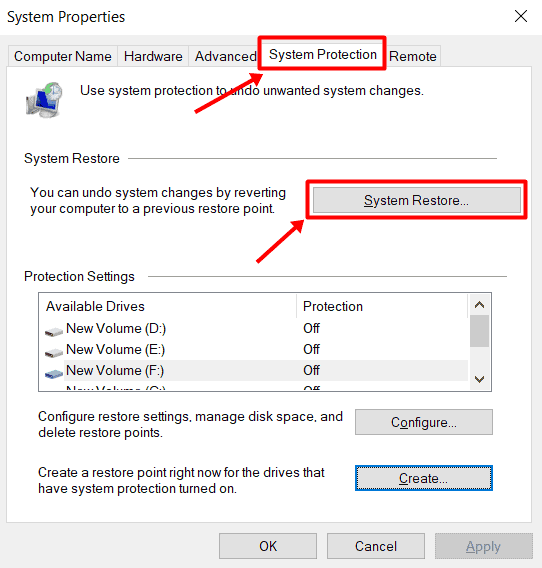
- Open the Start Menu, search for Create a restore point and press Enter.

- Now, click on the System Restore option.

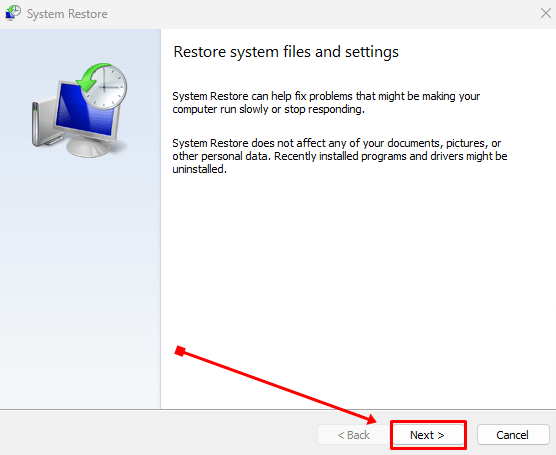
- In the System Restore window, click on Next.

- Select the restore point created before installing the update and click on Next.
- After this click on Finish for the changes to take place.
Bottom Line
At times, you may find the need to uninstall the Windows Update, especially if the update came with some bugs or potential issues. You cannot uninstall all the updates directly and some may throw the ‘Not all of the updates were successfully uninstalled’ error. This article lists all the methods that you can follow to fix this issue and uninstall the updates from your system.


