Sometimes, when you update your Windows, your system may start working slowly rather than fast. You may also find your PC to lag and be inefficient for general work. Many users report this issue; if you are facing it, you are not alone.
There can be many reasons behind the Windows 11 lagging after an update. This problem can arise due to low system storage, outdated drives, multiple apps running simultaneously, and various other reasons.
If this problem arises, there is no need to worry about it. There are several ways to fix the problem, which are discussed in the following article.
How to Fix Windows 11 Lag After an Update
Does your PC keep lagging after installing the latest update? Below are some troubleshooting steps to fix lagging issues on Windows 11 after installing the update.
1. Run Virus Scan
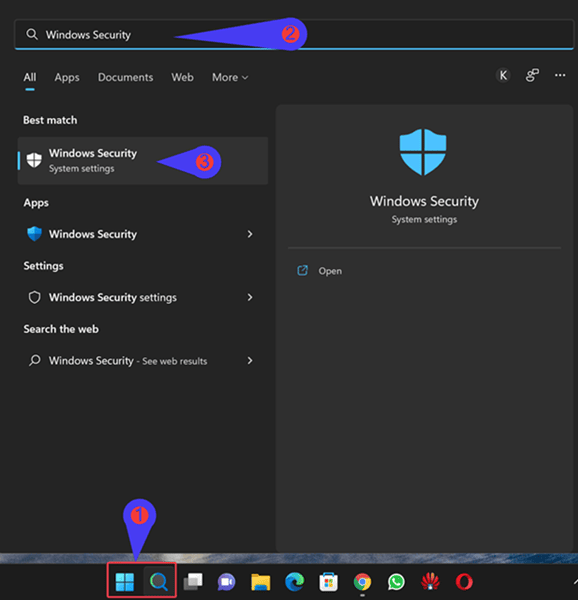
This issue can arise due to the virus or malware in your system. This can be a major reason behind the slowdown of your system. You can run a Windows Security scan to fix the issue. To do so, follow the steps given below-
- Go to the Start menu and search for Windows Security and open it.

- Click on Virus & threat protection.

- Now, click on Scan Options.

- Select Full Scan and click on Scan to scan your PC for viruses.
- Once done, restart your PC, and you will no longer face the issue.


If you use a third-party antivirus, then you can also use it to scan your PC for viruses.
2. Disable Startup Apps
Your PC may also lag due to the unnecessary apps enabled at the startup. Disable the startup apps to improve the performance of your PC.
- Open Start Menu, and then from here, open Settings.
- Head to Apps, and then select the Startup.

- Now, disable the unnecessary apps that are not in use and cause your device to run it slow.

- Lastly, Restart your PC to save the changes.


3. Update Drivers
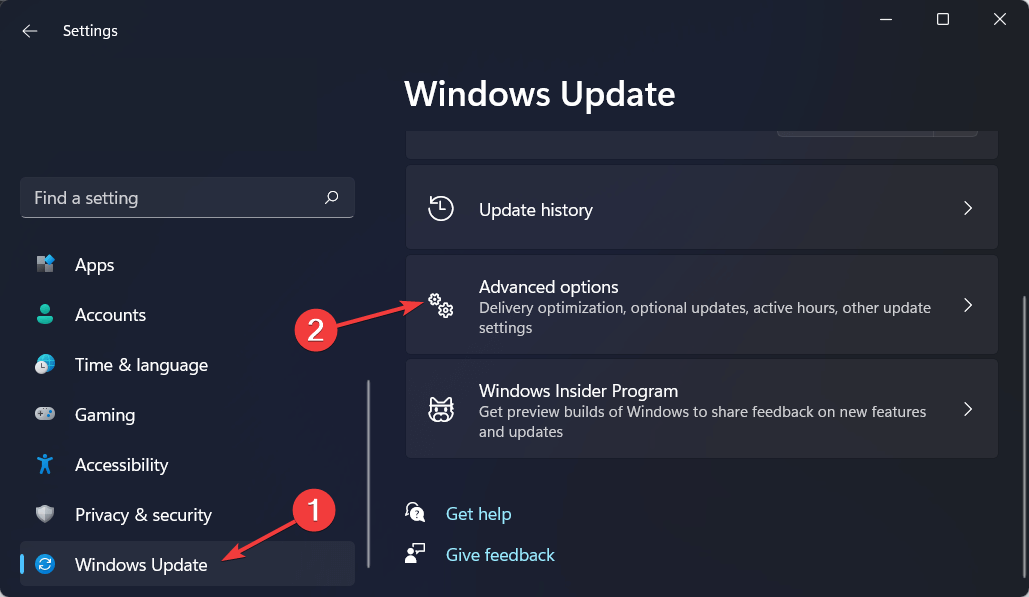
Another thing that you must do is update the drivers. You can do so from the Settings app on your PC. Given below are the steps to update your drivers-
- Go to the Settings app on your PC
- Head to the Windows Update option in the left sidebar and select Advanced options.

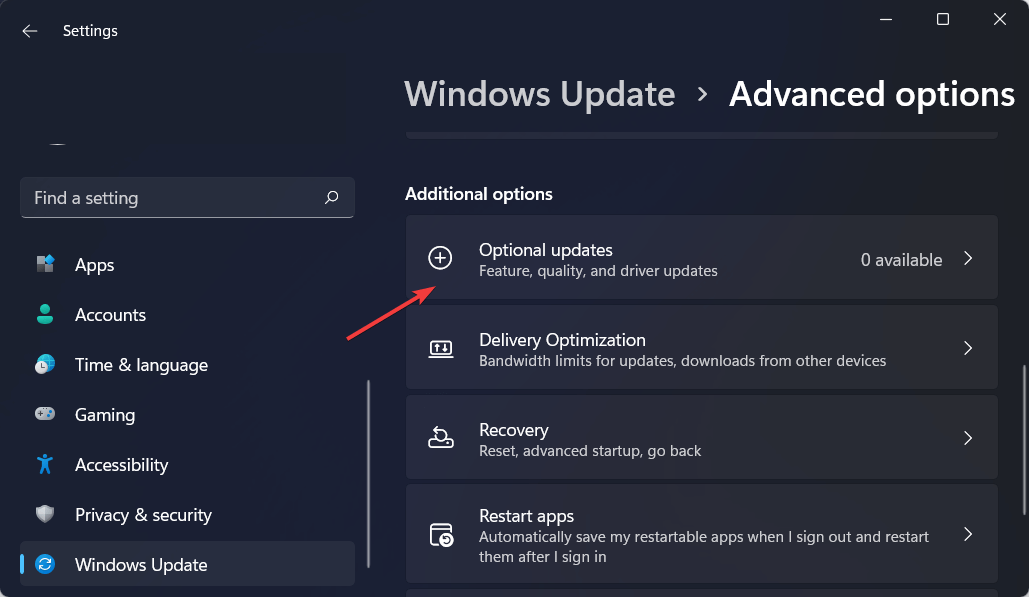
- Now, click on the Optional updates option.
- Select all updates and click on the Download and Install button.
- Once the updates are installed, restart your PC.
- Once done, you should no longer face the lagging issue.
4. Remove Unwanted Apps
This issue can also develop due to third-party apps present on your device. You need to uninstall all the unnecessary apps present. For this, follow the given steps below-
- Press Windows + I to open Windows 11 Settings.
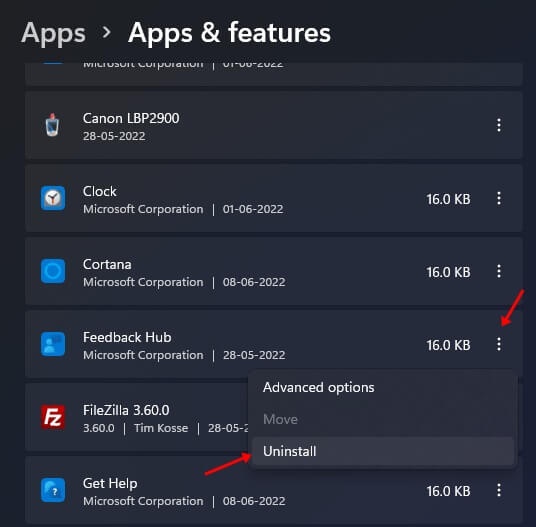
- On the left sidebar, click Apps and select the Apps and Features option.

- Then, click on the three dots next to the app you want to remove.
- Click on the Uninstall option and then confirm it.


5. Free Up Storage
When there is no storage in your device, it automatically starts running slowly. You can clear the temporary files on your PC to free the storage. To do so, follow the steps given below-
- Go to the Start menu, search for Settings and click on it.
- There, under the System tab, go to the Storage option.

- Then, click on the Temporary Files and select the files you want to remove.

- At last, select the Remove Files options to remove them and free up storage in your device.


6. Go Back To the Previous OS Version
The problem may often be with the update, due to which your PC may start lagging. Revert to the previous OS version to fix the issue.
- Go to the Start menu and click on Settings.
- Under the System tab, click on the Recovery option.

- Click the Go back button and follow the on-screen instructions to revert your system to the old OS version.

Note- This will work if it has been only ten days since you installed the update. After ten days, this option will be grayed out.
7. Perform System Restore
If you still encounter this issue, then you should try performing a system restore. Your system creates a restore point before every change, and your system will have a restore point before the update was installed. You can revert back to that time and fix the issue. To do so, follow the steps given below-
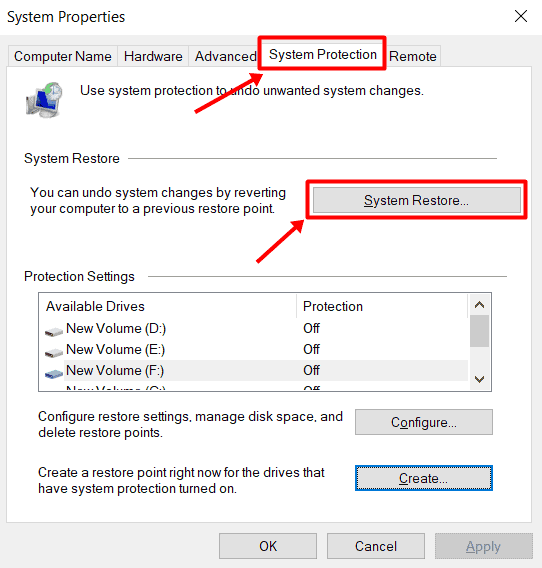
- Press the Windows key, search for Create a restore point and press Enter.

- Here, click on the System Restore option.

- Now, select the restore point you want to revert back to.
- If you want to see what changes will be made to your system, click on Scan for affected programs.

- Click on Next to perform a system restore.
- Once done, click on Finish, and you will be good to go.


8. Download Optional Updates
Sometimes Windows misses some of the updates that are needed to work our system smoothly. You can download Windows optional updates using the following steps.
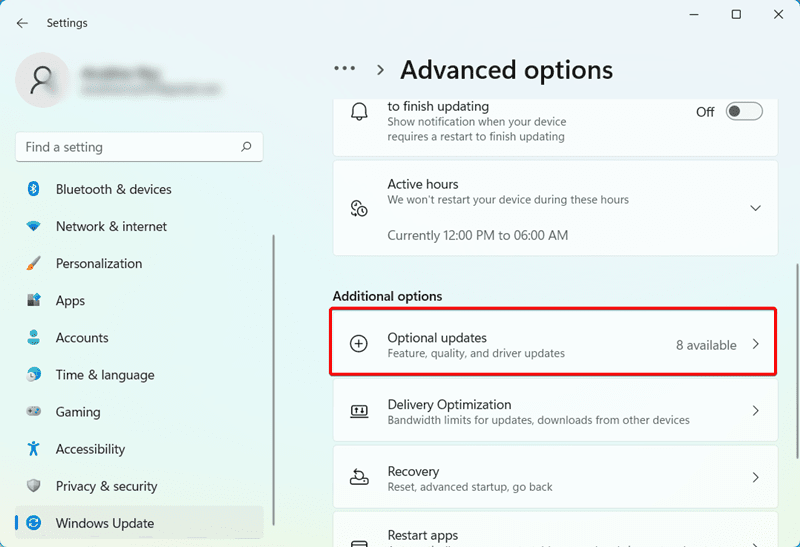
- Open Windows 11 Settings, then go to the Windows Update section.
- Click on Advanced Options > Optional updates.

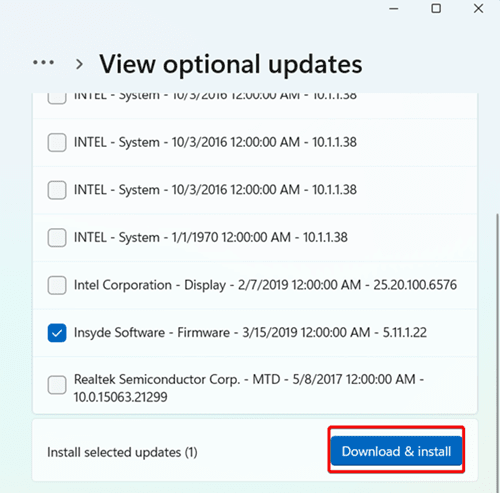
- Now you will see a list of driver updates; checkmark all the updates and Click on the Download & install button.

- After downloading all the updates, restart your system.
9. Run Disk Cleanup
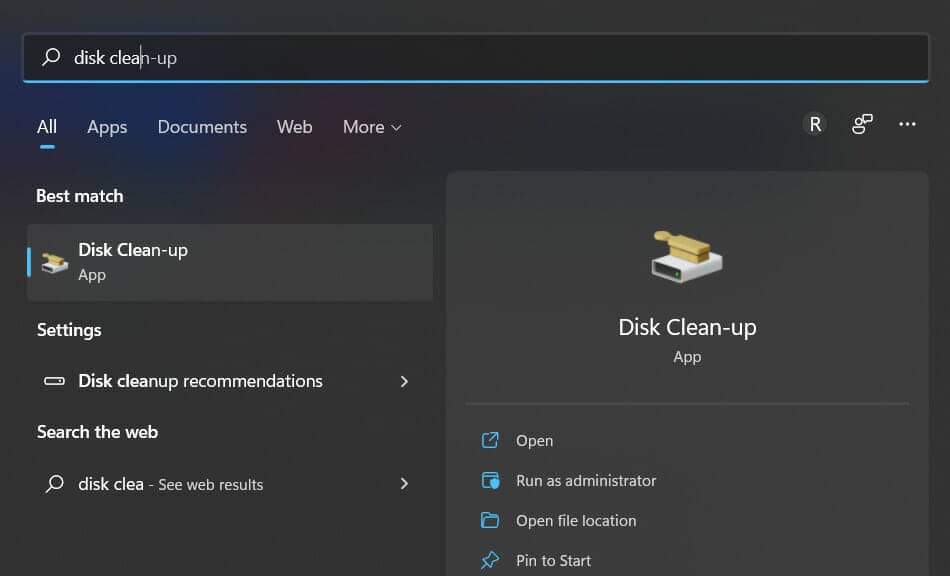
Disk Cleanup is an inbuilt Windows utility app that will help you to remove redundant and unwanted files. To use this utility, follow our below steps.
- Click on the Windows menu, search for Disk Cleanup and Open it.

- Select the drive on which you want to run disk cleanup, and click OK.
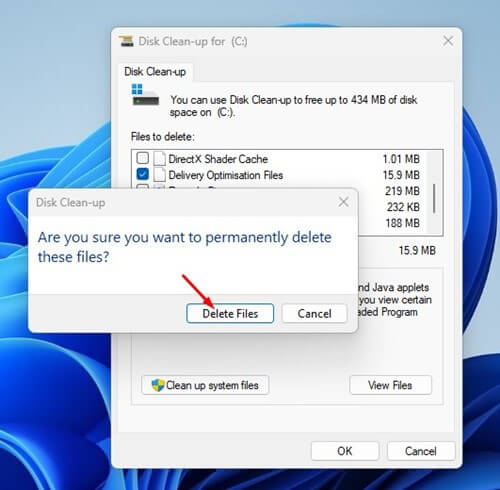
- In the next window, you have to tick which files you want to delete in this process.
- Click on OK button and it will ask for confirmation, then click on Delete files.

10. Turn off Visual Effects
Maybe be latest Windows update is heavy and computer hardware unable to handle the resources, so you can turn off visual effects to fix the lag problem.
- Open the Windows search bar and type Advanced System Settings and hit enter.

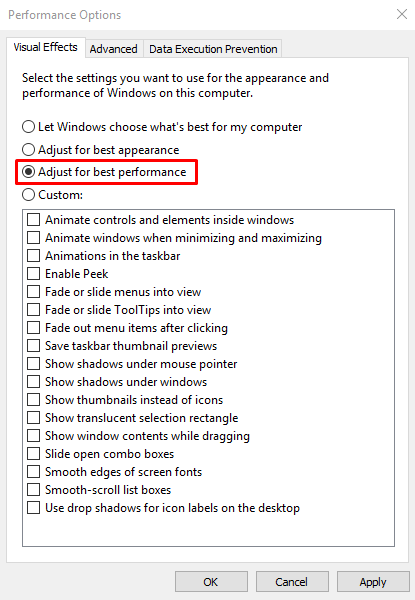
- Go to Advanced tab and click on Settings under Performance.

- Now, select Adjust for best performance and it will remove all visual effects.

- Click on Apply and OK button to save settings.


Conclusion
These were some troubleshooting methods to fix the Windows 11 lag after an update. This will help your system run smoothly, and you should no longer face Windows 11 lag issues.


