Old useless files can take up a major chunk of your storage. Not only do these old files take up your storage but they can also slow down your PC significantly. If you find your PC running out of storage, then you can delete these old files.
But doing this manually can be time-consuming especially if you have many files. Many people don’t clear old files, like desktop files, downloads, recycle bins, etc., for a very long time, and with time, they pile up, making it a time-consuming process to delete them.
But what if I tell you there are some ways through which you can delete old files automatically? This can be a lifesaver for people whose PC is low on storage and running slow. This article will guide you with some ways to automatically delete old files on Windows 11.
Ways to Automatically Delete Old Files on Windows 11
Obsolete old files are a headache for real, and what’s a bigger problem is deleting them. Fortunately, there are some ways to automatically delete old files on Windows 11 that won’t take your time-
1. Using Storage Sense
Storage Sense is a storage management feature that you get with Windows 11. With Storage Sense turned on, your PC will automatically free up space by deleting old files. Here’s how you can turn it on-
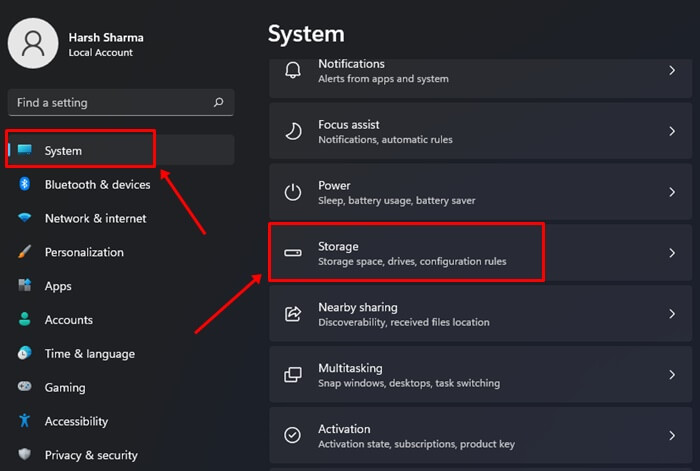
- Launch the Settings app using the Windows + I keyboard shortcut.
- Under the System tab, click on the Storage option.

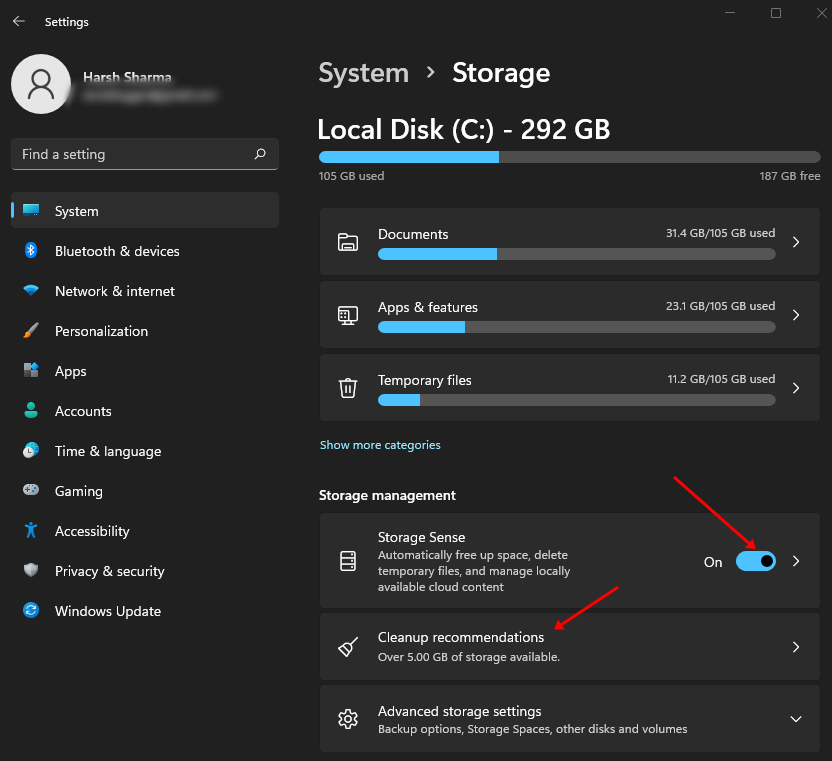
- Here, under the Storage Management section, you will see Storage Sense; turn it on.

- Now, click on the arrow next to the Storage Sense to customize the option.
- Click on the drop-down menu under Run Storage Sense and select During low free disk space (default).

- Then click on the drop-down menu under ‘Delete files in my recycle bin if they have been there for over’ and set it to 14 days. This is an optional step and you can let it be unchanged.
- Click on the ‘Delete files in my Downloads folder if they haven’t been opened for more than’ drop-down menu and select a time period. You can leave it to default if you don’t want to delete the download files.
- Once done, click on the Run Storage Sense Now button.

2. Using Command Prompt
Another way to automatically delete old files on Windows 11 is using Command Prompt. Here’s how you can use the command prompt to do so-
- Press the Windows + R key combo, type cmd, and then press Ctrl + Shift + Esc keys together.
- A UAC prompt will open up; click on the Yes button to continue.
- Execute the given below command-
ForFiles /p "C:\path\to\folder" /s /d -30 /c "cmd /c del /q @file"
Note– Here replace C:\path\to\folder with the storage path where you want to delete files. For instance, if you want to delete files of New Folder in C drive, then replace it with C:\New Folder.
The above command will delete files from the given path that were modified within the last 30 days. It will also delete files from the search folder, and won’t ask you the permission to delete the file.
3. Using Task Scheduler
As the name suggests, you can use Task Scheduler to schedule some tasks on your PC. One of the effective methods of using it is setting a schedule to delete old files automatically on your Windows PC. Here’s how to do that-
- From the Start Menu, launch the Task Scheduler.
- Here, right-click on Task Scheduler Library and then on New Folder. You can set any name for the task scheduler.
- Now, right-click on the new folder that you have created, and then click on Create Task.
- Under the General tab, Enter the name of the task in the next window.
- Now under the Security Options section, select Run whether user is logged on or not, and uncheck the Do not store password option.
- Click on the Triggers tab now, and click on the New button.
- Click on the drop-down menu next to Begin the task and select On a Schedule option.
- Set Actions to Start a program.
- Under the Program/Script text field, enter ForFiles.
- Now, in the text field next to the Add Arguments box, enter the following command-
-
/p "C:\path\to\folder"/s /d -30 /c "cmd /c del /q @file"
-
- Now, head to the Settings tab, and check the checkbox saying Allow tasks to be run on demand and Run task as soon as possible.
- Also, check the checkbox saying It the task fails, click on the drop-down menu next to it, and select a suitable time frame.
- Once done, click on OK and close Task Scheduler.
Bottom Line
It is a wise choice to delete old files on your PC. This makes your PC efficient by enhancing its performance. However, if you don’t want to do it manually then this guide will help you with the automatic methods to it. You can follow the above guide to automatically delete old files on Windows 11.


