If you are looking for fixes for the “Access Denied” error when opening an external hard drive, follow our super simple step-by-step process on how to fix external hard drive access denied error on Windows 11.
Regardless of our system and capacity, getting an error is always frustrating. No matter the purpose of using external hard drives, we panic if we can’t accomplish it due to this error.
However, it doesn’t mean that you can’t fix it. There are easy processes to fix these issues. So without hesitation, let’s begin. But before this, let’s learn about the reason for the inconvenience.
What Caused Access Denied Error on Windows 11
Windows users often complain about access-denied errors when accessing an external hard drive. This is one of the common errors that tells us there are some reasons to encounter the issue.
- Malware and virus-infected hard drive.
- Inaccessible hard drive.
- Ownership issue.
- Faulty or corrupted hard drive.
- Faulty connection or hardware problem.
How to Fix External Hard Drive Access Denied Error on Windows 11
Here are some proven methods to fix hard drive access-denied errors in windows 11 that you should use by following these steps.
1. Scan Drive on File Manager
The brand new File Manager of Windows 11 is more efficient than before. However, you can scan or check the drive. Here’s how:
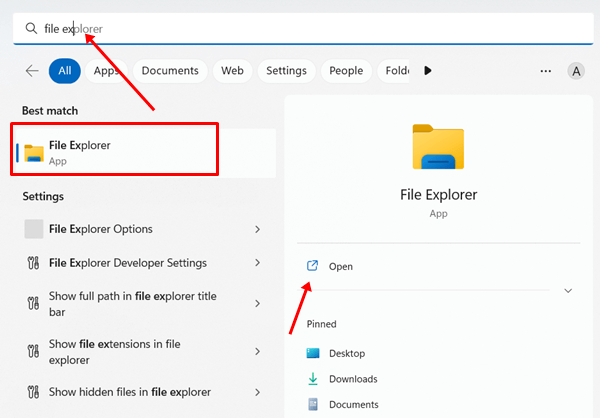
- Click Windows start > search for File Manager > open it.

- Now go to This Pc.
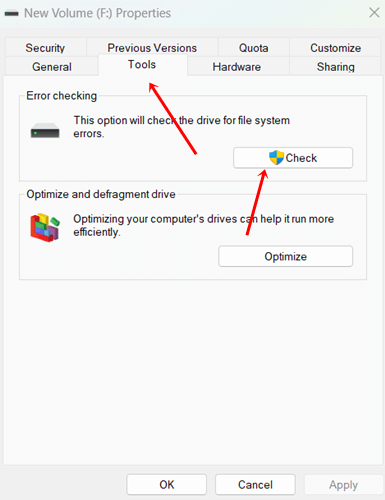
- Select the external drive and right-click on it. Then select Properties from the list.

- A new window will open, head over to Tool, and click Check.

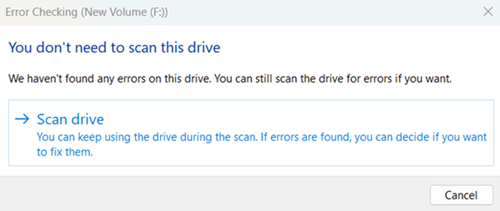
- The error-checking windows show what the problem is with the drive. Otherwise, you can start the scan process of the drive.


2. Check the Connectivity Issue
Scanning the drive is always good before any advanced troubleshooting method. Similarly, checking connectivity issues is another prerequisite you must follow.
You have to check whether the connector is working perfectly fine or not. Furthermore, the USB port sometimes comes out faulty, so you must pay attention to it. Finally, don’t forget to test the cable as well.
And lastly, take a closer look at the drive. Without a proper connection, your system will send this kind of error. So ensure that there is no problem between the drive and its connectivity.
3. Perform CHKDSK
CHKDSK has always been beneficial when it comes to any disk-related issues – be they internal or external disk issues. So performing CHKDSK is the ideal method.
- First of all, connect your external hard drive.
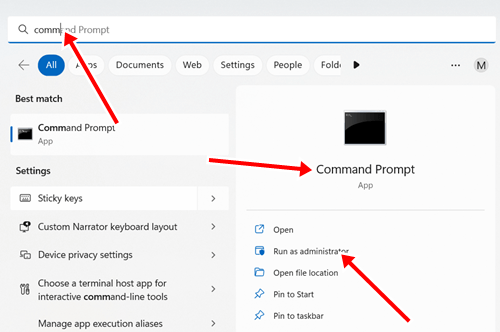
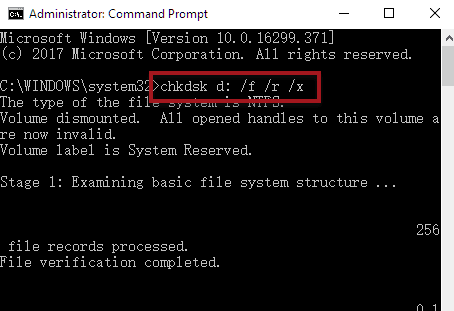
- Press Windows start > search for Command Prompt > click on Run as administrator.

- Now copy this command to paste it over CMD.Don’t forget to add your external drive letter instead of the drive name.
chkdsk /f (drive name):
 Within a few minutes, your drive will be scanned and fixed. After that, you can check whether the drive is accessible or not.
 Within a few minutes, your drive will be scanned and fixed. After that, you can check whether the drive is accessible or not.
4. Become the Owner of the External Drive
The problem can be shown due to the ownership problem of the drive. Until you take ownership, the system will send this error.
- Click Windows start > search for File Manager > open it.
- Next click on This Pc.
- Select the external drive and right-click on it. Then select Properties from the list.
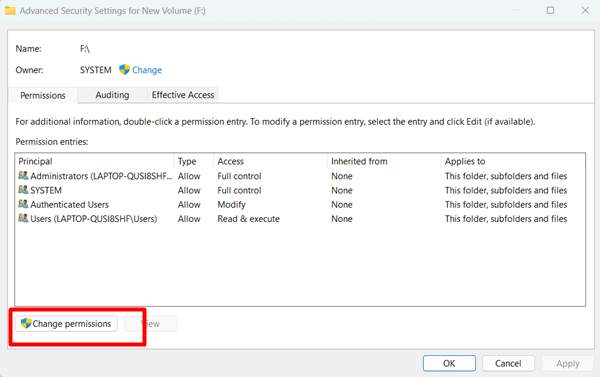
- A window will open, head over to Security, and click the Advanced options.

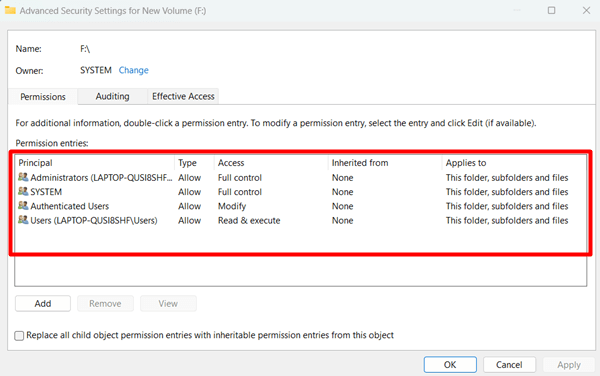
- Next click on the Change permission.

- Now double-click on the username you want to give permission.

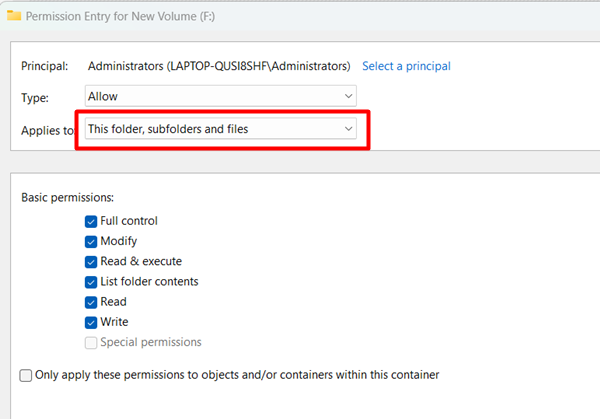
- On the next page you will get a dropdown menu name as Applies to; now select This folder, subfolders, and files from the list.

- Finally, click on the Ok button to save these changes. Then restart your system, if the drive ownership issue causes it, it will be fixed.

5. Enable Administrator Account
Here is another useful method that you can do to fix the access denied error. This will allow access to restricted files, folders, and paths.
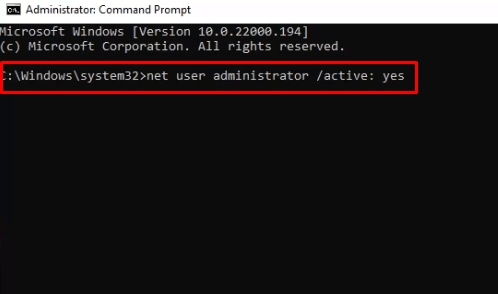
- Press Windows start > search for Command Prompt > click on Run as administrator.
- Copy this command, paste it on the CMD, and hit the enter button.
net user administrator /active:yes
 It will enable an administrator account. Use this command to disable it.
net user administrator /active: no
 It will enable an administrator account. Use this command to disable it.
Remember that, if you disable the account administrator, you will encounter the same problem again. When you don’t need these changes, you can revert it accordingly.
6. Temoparary Disable Third-Party Antivirus Software
No wonder antivirus software is a much-needed element to keep our saved data and information safe and secure. Even it is helpful against viruses and malware attacks.
Antivirus software works on basis of their algorithms, many users also found that the tool doesn’t allow the installation of specific apps. So antivirus software could be the reason for the access denied issue.
Don’t need to delete the software, you can disable it for some time to check whether the access denied has gone or not.
7. Reset User Permission
If you need to change any custom access rules, perform this method on your system on the counter of the access denied error.
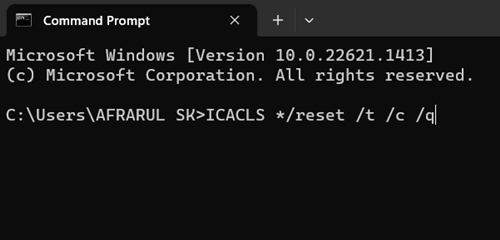
- Press Windows start > search for Command Prompt > open it.
- After that, copy this command, and paste it on the CMD, then hit enter.
ICACLS */reset /t /c /q
 This will restore the default permission.
 This will restore the default permission.
8. Change the Drive Letter
Windows uses different letters to specify different drives. However, the system also allows changing the drive letter. So here we will change the external drive letter.
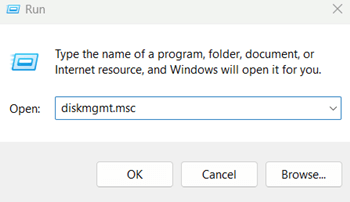
- Open Run > diskmgmt.msc > OK or Enter.

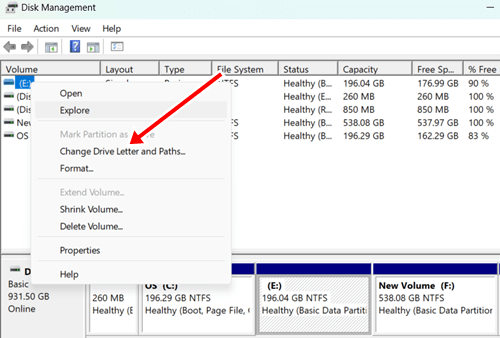
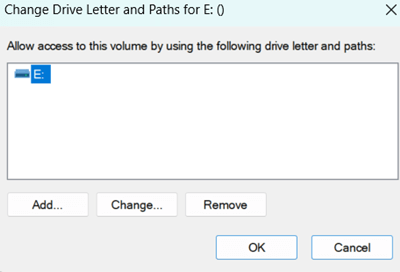
- The windows Disk Management tool opens in front of you. Next, right-click on the external drive and select Change Drive Letter and Paths.

- Then select the Change option.

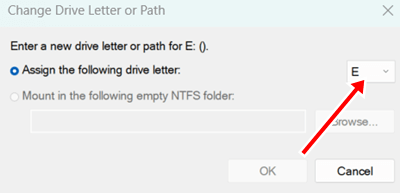
- You will get a drop-down menu in the next window to change the drive name. Now select any name which has not been assigned to other drives. It will make your drive accessible. However, re-connecting the external drive will revert to its default name.

Final Words
Using an external drive to keep more data always makes sense. However, if you’re having trouble to use, these are the proven method of how to fix external hard drive access denier errors. I hope you have gained enough information. If you still need help, feel free to ask in the comment section.


