Unicode is a character encoding system that provides unique numbers to each character. Unlike the early character encodings, Unicode has the solution for every character regardless of the platform, language, or program. This makes it the most reliable option, which maximum developers now use to create new programs.
Unicode refers to a set of numbers, symbols, or letters of any language across the globe. Hence, it makes it possible to view any specific Windows program in Japanese, which might have actually been written in English or vice-versa.
However, you might face difficulties while working with OS or programs that might use several character sets. In such a case, you will have to change the auto-language for the non-Unicode program.
Also Read- Fix Black Desktop Screen On Windows 10
Steps to Fix Language Issues For Non-Unicode Program in Windows 10
Let us see how we can change the automatic non-Unicode program language in Windows 10 via Control Panel
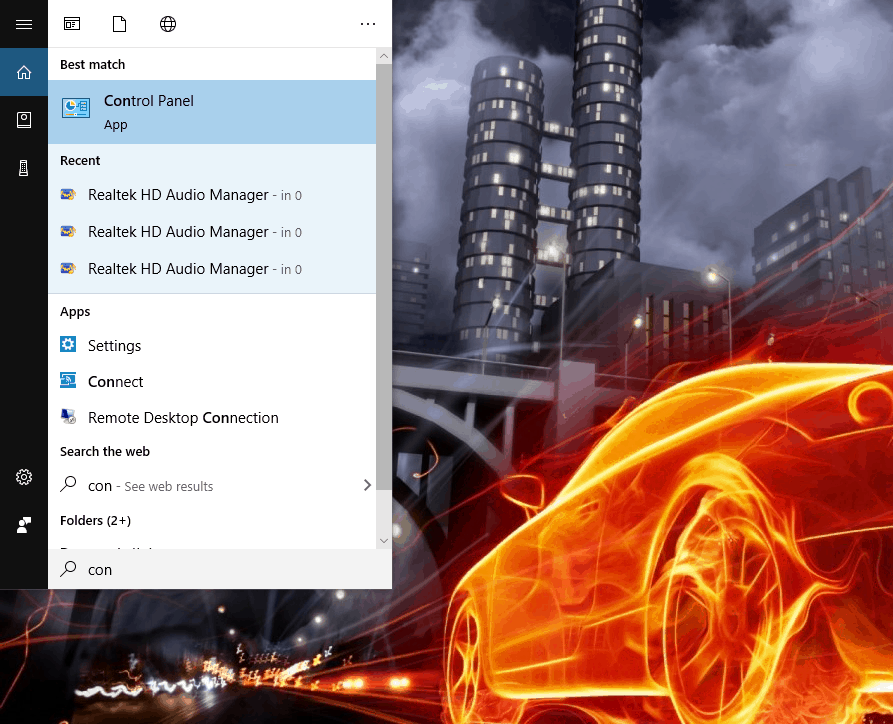
- Go to Windows Control Panel in the Start menu.

- Click on the View by option and select category.
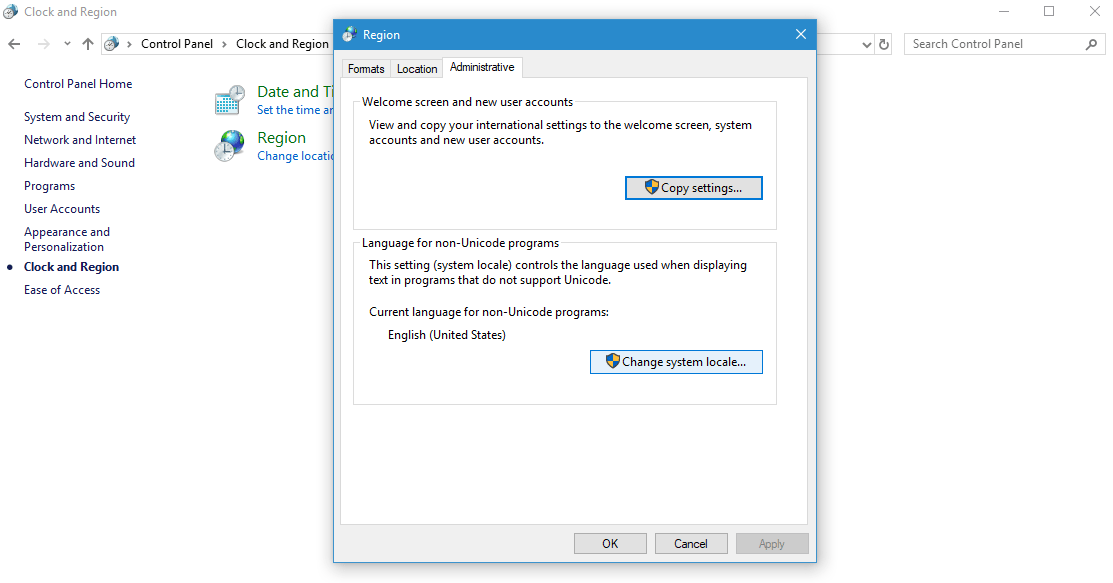
- In the Clock & Region Window, click on Region. This will display the Region dialogue box on your screen.

- Now from the dialogue box, click on the Administrative tab. Next, click on the Change System Locale button under Language for Non-Unicode programs.

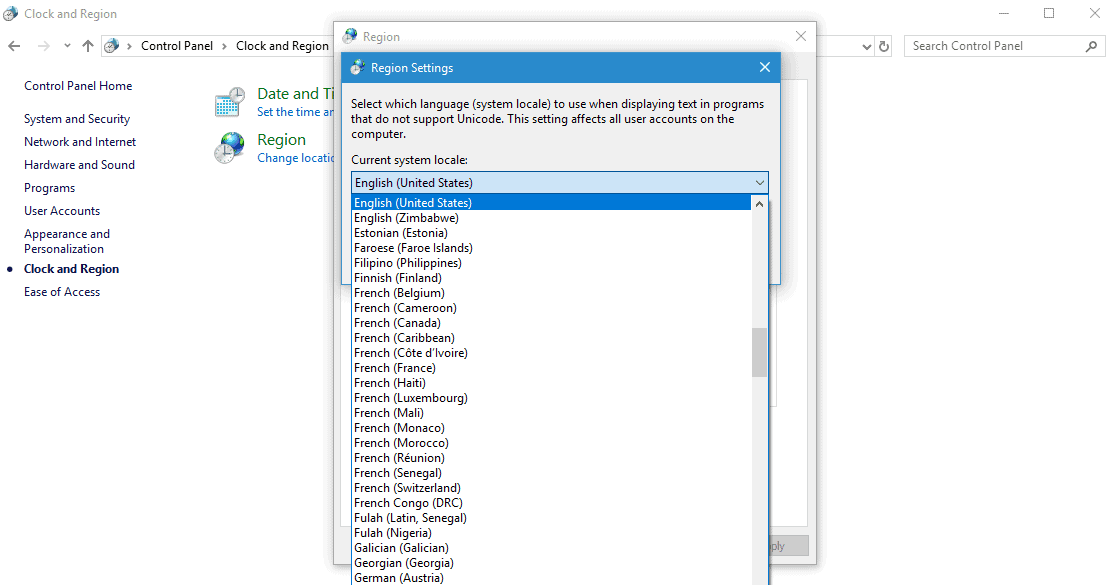
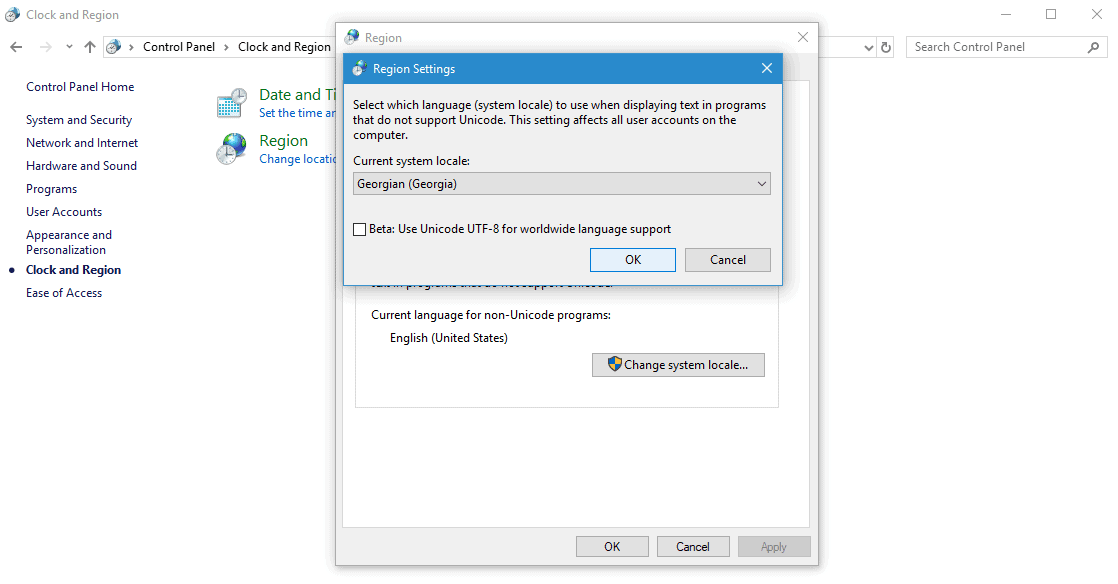
- You can see the English (United States) is set by default in the Change System Locale section. Change it to any other language as per your preference.

- Lastly, click on the OK button to save the change settings.


From Editor’s Desk
So this is how you change the by default language for the non-Unicode program. Hence, this will help you further work on OS or software that uses numerous character sets. Also, feel free to share your experience with Unicode and tell us if these steps were really helpful to you.


