Windows 8.1 was kind of a successor to the Windows 8. Microsoft released Windows 8.1 back in 2013 to address the issues of the Windows 8. Though Windows 8.1 was not liked by many users, still many opted for it. But the sad part is, that Microsoft ended the support for it back in January 2023, so you won’t be getting any updates and security support if you still have it on your PC.
As of writing this guide, Microsoft only supports Windows 10 and 11, and if your PC is running on Windows 8.1 it’s time to upgrade to the latest supported version. You can upgrade to Windows 10 if you are currently on Windows 8.1, directly without losing any data. Go through this article to know how.
System Requirements to Run Windows 10
Though many Windows 8.1-supported laptops and PCs released back then were compatible with Windows 10, it is still a safe bet to check whether your PC meets the system requirements to run Windows 10. Here are the system requirements for running Windows 10-
- Processor- Processor with at least 1GHz frequency or SoC
- RAM- At least 1GB RAM for 32-bit system and 2GB RAM for 64-bit system
- Storage- At least 16GB RAM for 32-bit system and 32GB RAM for 64-bit system
- Graphics Card- The Graphics card should be compatible with DirectX 9 or higher with support for the WDDM 1.0 driver
- Display- Display with an 800×600 pixels resolution.
Steps to Upgrade to Windows 10 from Windows 8.1
If your system meets the minimum requirement to run Windows 10, then you can continue with the steps given below to upgrade your system from Windows 8.1.
1. Take a Backup of your Files
The first thing that you ought to do is take the backup of your files. Even though you can directly upgrade from Windows 8.1 to Windows 10, it is always a safe option to keep a backup of your files in case anything goes wrong during the process. Use an external storage to store your files or copy the files to some other partition of your PC.
2. Get Windows Media Creation Tool
Once you have the backup of your files, you need to download the Windows Media Creation Tool. You can download this tool from the Microsoft’s website by following the steps given below-
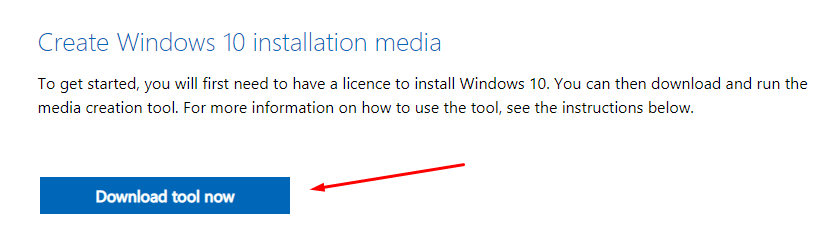
- Head to Windows 10 official download page by clicking on this link.
- Under the Create Windows 10 Installation Media section, click on the Download Tool Now button.

- Windows 10 media creation will be downloaded on your PC.
3. Upgrade to Windows 10
Once you have the Windows 10 Media Creation tool ready, you can upgrade your PC to Windows 10 from Windows 8.1. For this, follow the steps given below-
- Open the File Explorer using the Windows + E keyboard shortcut.
- Head to the Downloads folder, and then double-click on the media creation tool to run it.
- Click Yes on the UAC prompt to continue.
- The first screen will be license terms; click on Accept to accept them.
- Next, select Upgrade this PC Now option and click on Next.

- The media creation tool will now download Windows 10.
- Now, follow the on-screen instructions to upgrade your PC to Windows 10.

Once done, you will see the setup wizard through which you can customize your Windows 10 and set it up for first use.
When you first use Windows 10, you will see that all the apps from Windows 8.1 may not work on it. You will have to reinstall the apps that no longer work on Windows 10.
Bottom Line
The above steps should help you upgrade from Windows 8.1 to Windows 10. When upgrading to Windows 10, ensure your PC meets the minimum requirement to run it and also take a backup of your files. You can follow the above steps to get Windows on your PC without deleting your files and apps.


