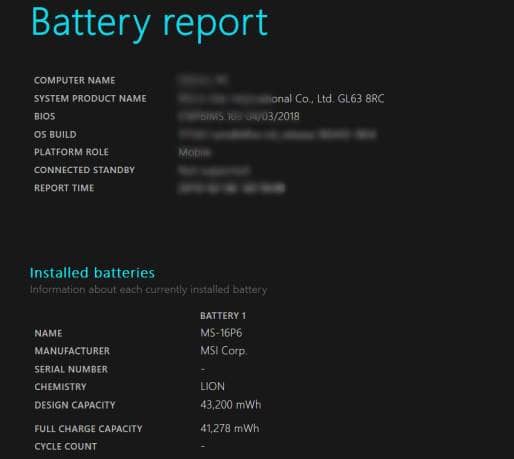
Undoubtedly, Battery is one of the critical parts of the laptop. The charge carrier that powers your laptop should not be neglected and must be checked regularly to avoid any unwanted consequences. Any fault in it or the overtime health degradation can affect the hardware ultimately and ruins your experience.
Thus, keeping an eye on how it’s performing is suggested. One such metric you should keep checking is the battery report, where you can see the battery’s cycle count. This is the number of times your device’s battery has fully drained. One cycle counts as vanishing your charge from 100% to 0%.
This is an important metric, as all laptops come with a predefined number of battery cycle counts, after which they’ll not be efficient. You may see the battery charged up to 100% but drains to 50% in a matter of minutes and unlike the initial times. Thus, keeping a tab on this is needed. Here’s how to check;
Also Read- Must Have Software For Windows 10
Steps to Check Battery Cycle Count in Windows 10 Laptop
For this, you can either go through Command Prompt or Windows PowerShell. We take Command Prompt as an example, and here’s how to do it.
- Open Command Prompt on your laptop. For this, go to Start Menu and type cmd, and hit Enter. This will open the Command Prompt window.
- Here, type the following command,
powercfg /batteryreport
- Hitting Enter after typing the above command will generate the battery report, and you can see the path where it is stored.
- Navigate to that path in your device and find the file named Battery Report.
- Open it, and go through the Installed Batteries section to find the Battery Cycle Count.
That’s it. Now you can judge how good is your laptop. Also, you can find other battery helpful metrics to make a decision accordingly.


