Checking out the specifications of your computer might be helpful in many ways. There might be a situation like if you want to upgrade the system’s hardware or software. If you’re going to install a new program, you must first check out the program’s requirements and compare it with your existing computer hardware. Sometimes running heavy programs cause damage to computer components.
So, want to know the methods to check the full technical specification of Windows 10 PC? Below, we have provided a complete guide on checking Processor, GPU, RAM, and Motherboard Specifications. If you want to get more details about your hardware, you can search the device name and number on the internet like motherboard code, processor series, etc.
How to Check Computer Specifications
To know the system’s basic specifications like Operating System, RAM, Processor, and other details, you can easily check out by following the given steps.
- Click on the Windows Start button and tap on the Settings icon.
- Windows Settings window will appear, from there click on System.

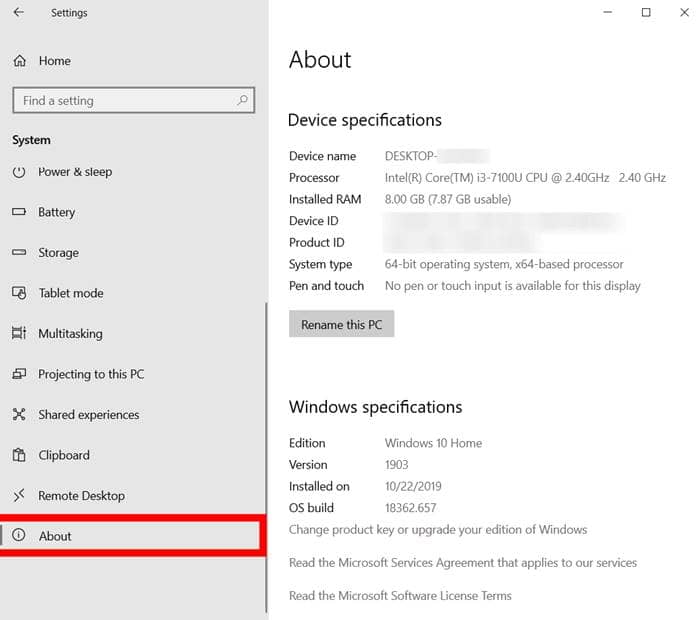
- Scroll down and click on the About option on the left side.
- Here you will see Device and Windows specifications.


How to Find Out What Motherboard Your System Have
The motherboard is the main circuit board in the computer and one of the system’s most important parts. It connects all the elements and peripherals of the PC. So, it is better if you know what motherboard is there in the system.
Try out the following steps:
- Press Windows Key + R to open a run dialog box and enter msinfo32 and hit enter.
- Once the window is open, you must check out BaseBoard Manufacturer, Product, and Version.


How to Find Out How Much RAM Your System Have
RAM stores the information used by the computer. How much RAM is needed on your PC depends on the programs you use; if you use more programs, you will need more RAM. So, if you want to find out how much RAM you have, check out the given steps.
- In the Windows search menu, type in RAM
- Click on View RAM info.
- It will show how much RAM you have installed and how much is used.

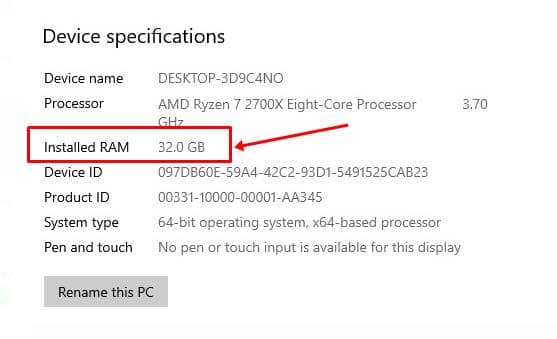
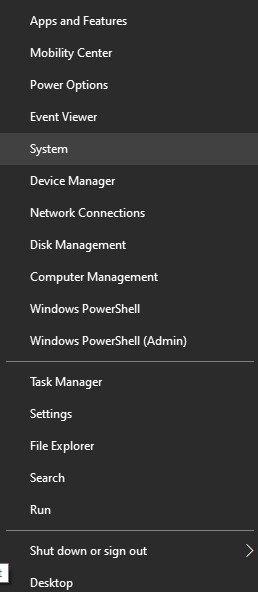
- OR right-click on the Windows Start Menu and select System.
- Scroll down, and under Device specifications, you will see installed Memory (RAM).
Also Read- How to Test RAM Using Windows Memory Diagnostic Tool
How to Check What Graphics (GPU) Your System Have
GPU is designed to load high-resolution images or videos quickly. It is effortless to find out what Graphics are available on your system. Do the following:
- Right-click on the Start Menu or you can type in Device Manager in the search bar.
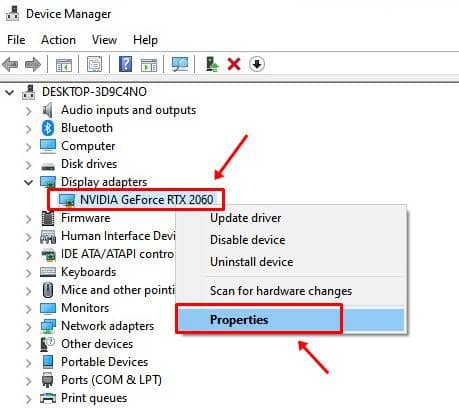
- Open Device Manager and click on the arrow next to Display adapters.
- Here you will see what GPU is there in your system.
If you want to know the Manufacturer name, then:
- Select the GPU name and do right-click on it
- From the menu, select Properties

- Now, click on General and look for the Manufacturer’s name.
Related Post- Enable the Hidden Performance Monitor Panel of Windows 10
How to Check What Processor (CPU) Your System Have
In simple language, we can say that the CPU is the computer’s brain as it sends signals to other parts of the PC. You can easily find out what processor is there on your Windows 10.
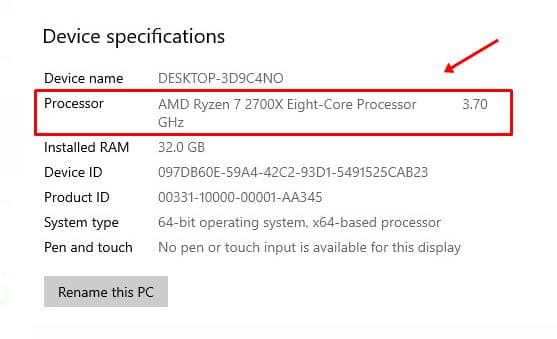
- Do right-click on the Windows start menu and tap on the System option

- In Device specifications, you can see the ‘Processor,’ which shows the CPU your system has.
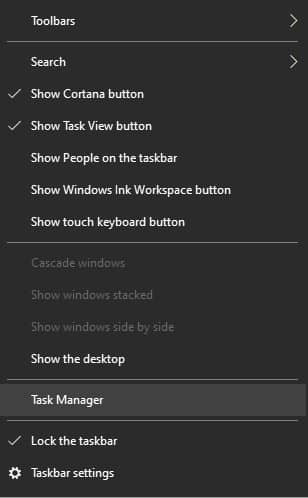
- The other method to check out CPU is by Task Manager.
- Do right click on the Windows search bar.
- Click on Task Manager

- A window will pop-up; there, click on More Details.
- Now click on the Performance tab.
- On the left side, click on the CPU option.
- Here you will see the type of CPU you have.
Now, you are aware of the specifications of your computer; you can make a better decision on upgrading your system or not. Or you can also check out the details just for the sake of knowledge.
Also Read- How to Full Scan Your Windows 10 PC Using Microsoft Defender


