Autorun is a helpful feature of Windows 11. If autorun is turned on the moment you insert a flash or CD drive or USB in the computer, it will look through for the content of the drive or disc and then run any program within that is identified as autorun. However, virus creators frequently use this feature to distribute their viruses.
If a pendrive is placed into a computer infected by a virus, it creates an image of itself in the pendrive and marks the drive as an autorun. The next time the Pendrive gets placed in a different computer and autorun is activated, the virus will run and the computer gets infected.
In the current era where malware and viruses are evolving day by day, we recommend you to turn off AutoRun or AutoPlay on your windows 11 computer. We have a comprehensive guide to the diable autorun feature if you don’t know how to do that.
Also Read- How to Disable Ads in Windows 11 File Explorer
Best Ways to Disable AutoRun and AutoPlay in Windows 11
1. Disable AutoPlay Using Windows 11 Settings
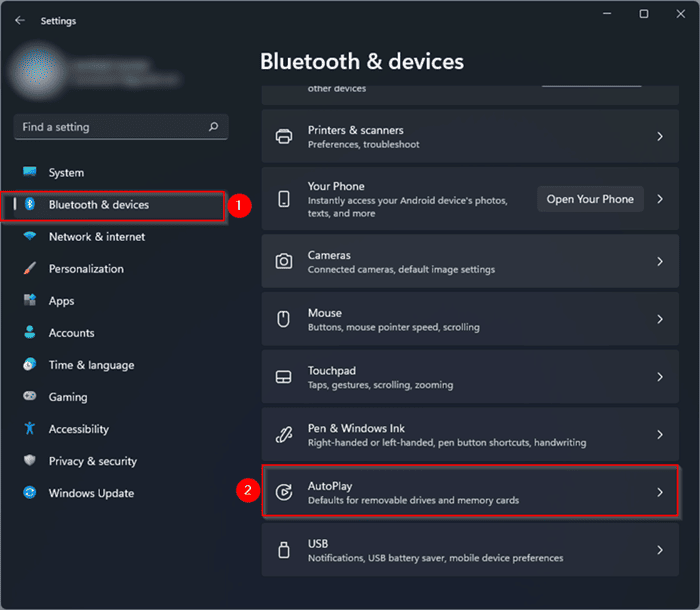
- Press Windows + I button to open the settings app.
- Select Bluetooth & devices from the left menu.
- Now from the right option locate AutoPlay and click on it.

- On the next screen, you see a window where you see the option Use AutoPlay for all media and devices. You simply just need to toggle to the OFF button.

- Now you successfully disable Autoplay for USB or Flash drives.
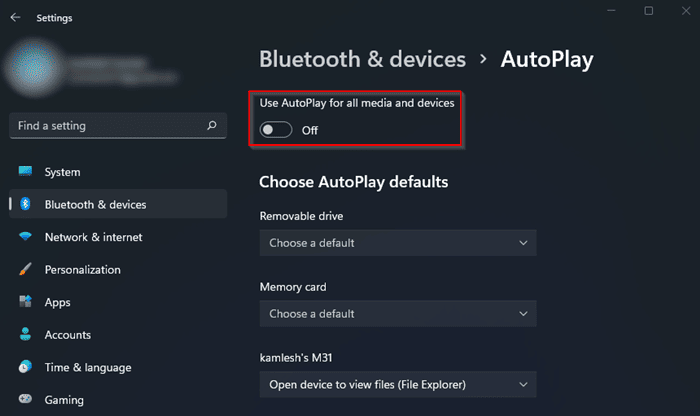
On the autoplay windows, you see a custom option for removable devices. By default you can see Choose a default option. just drop down the menu and select Take no action.
2. Disable AutoPlay Using Group Policy Editor
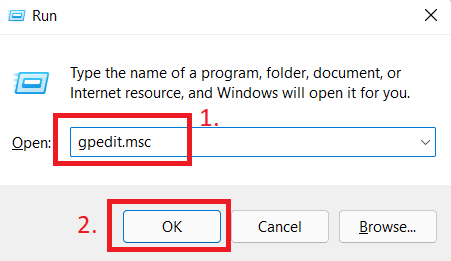
- Firstly Press Windows + R button and type gpedit.msc and hit enter to open local group policy editor.

- After that you need to follow the below path:
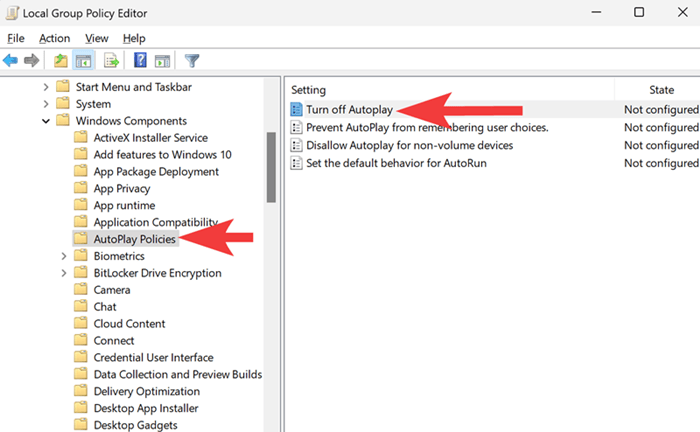
Computer Configuration > Administrative Templates > Windows Components > AutoPlay Policies
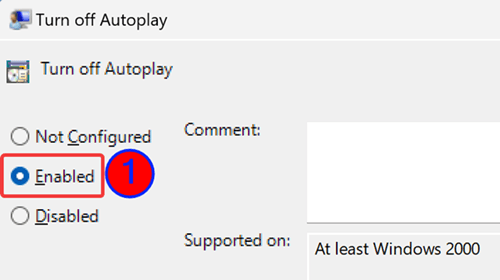
- Now on the right side of AutoPlay Policies. You need to locate the Turn off AutoPlay policy.

- Just double-click on it to open the properties. Now click on the Enabled button and Apply > Ok.

3. Disable AutoPlay Using Control Panel
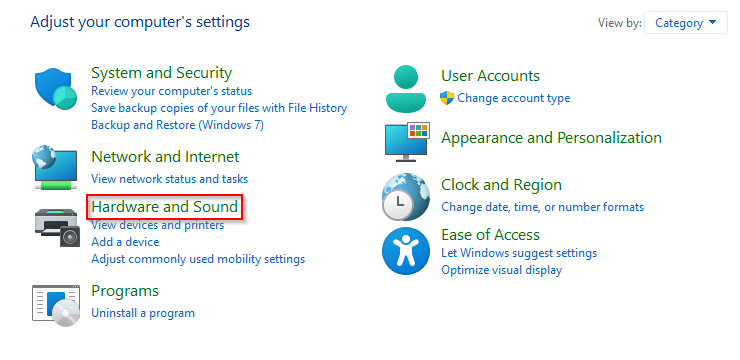
- Click on the start menu and open the control panel of windows 11.
- After that Locate and click on Hardware and Sound.

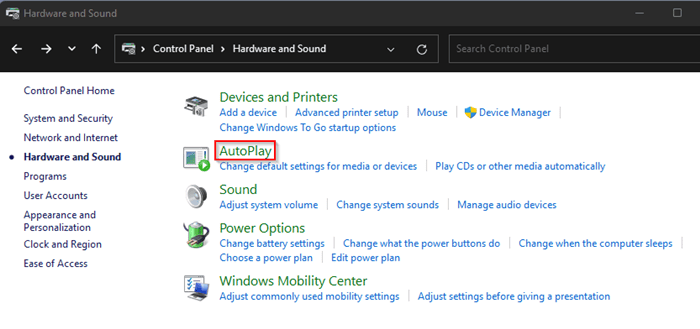
- On the Hardware and Sound section, you can see the AutoPlay option on the right side. Click on it.

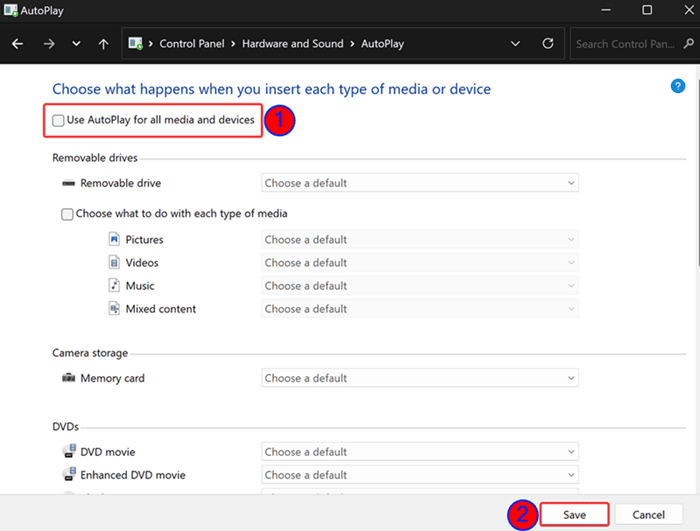
- Now you can see all the autoplay options. Where you need to uncheck the Use AutoPlay for all media and devices option for all devices.

- If you want to apply custom settings for a specific removable disk or flash drive. you can choose it from the below options. Or Select Take no action and save settings.
Above are all the ways to disable autorun and autoplay options for windows 11. You can stop USB or flash drives from autorun the media, so your computer does not get infected. If you face any kind of problem in this article. Let us know in the comment section.


