Facing Error code 0x80070490 while installing Windows 11. Error code 0x80070490 is an update error that you may encounter while updating your PC to Windows 11. This error isn’t something you would usually experience, but users have come up with it recently. This error interrupts you from installing Windows 11 on your PC and while you face this error, you will not be able to update to Windows 11.
There are some common reasons you may face this error: corrupted system files, third-party antivirus interfering with your system, etc. There is nothing to worry about if you are facing this issue as in this article, we will list some troubleshooting steps to fix error code 0x80070490 while installing Windows 11.
Also Read- Fix Windows 11 Error System Thread Not Handled
Fix Error Code 0x80070490 in Windows 11 Update
We have mentioned some of the troubleshooting steps to fix the error code 0x80070490 while installing Windows 11 given below-
1. Run Windows Update Troubleshooter
The first thing you should try doing is running the Windows Update troubleshooter. To do so, follow the steps given below-
- Open the Settings app on your PC by pressing the Windows + I key combo.

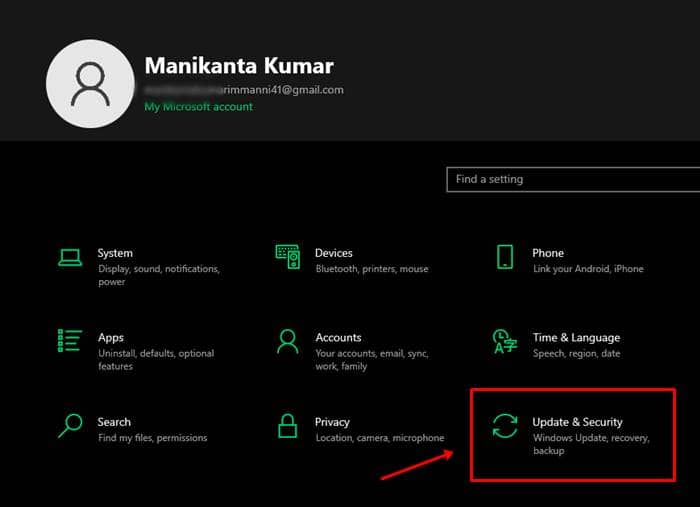
- Head to the Update & Security section in the Settings app.

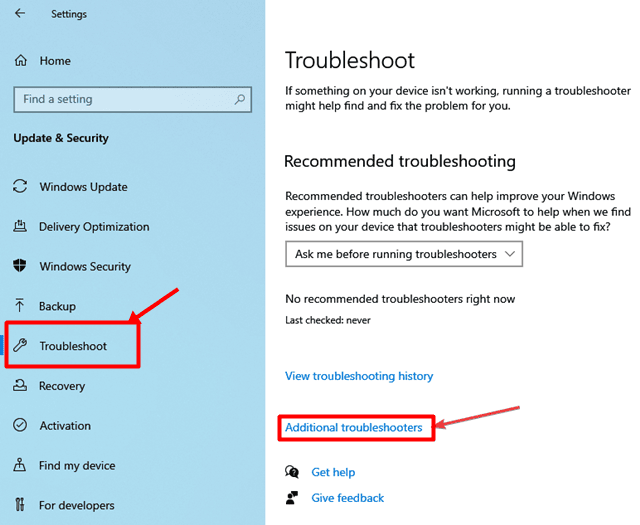
- Here, on the left sidebar, click on Troubleshoot, and then on the right side, click on Additional troubleshooters.

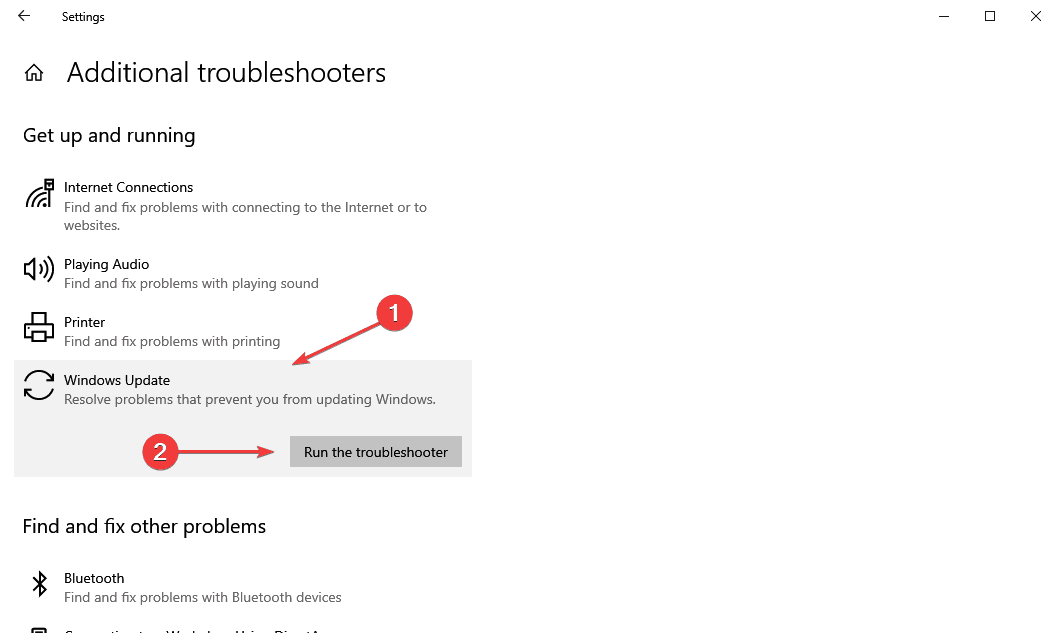
- Here, select Windows Update and then click on Run the troubleshooter.

- Now follow the on-screen instructions to run the Windows Update troubleshooter.

2. Ensure Essential Services Are Running
The next thing to do is ensure that all the essential services are running. You can do so by following the steps given below-
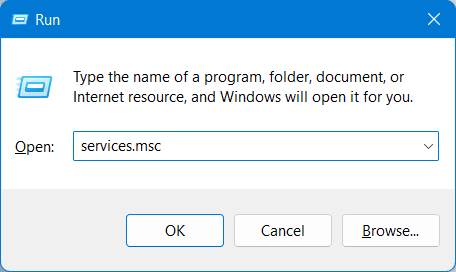
- Press Windows + R button to open the Run dialog box and type services.msc and hit enter.

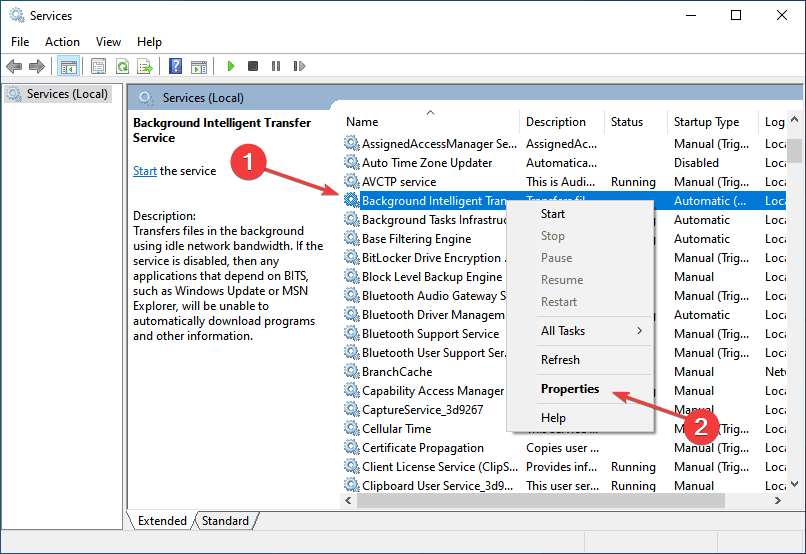
- In the Services app window, search for Background Intelligent Transfer Service.
- Right-click on this service and then click on Properties.

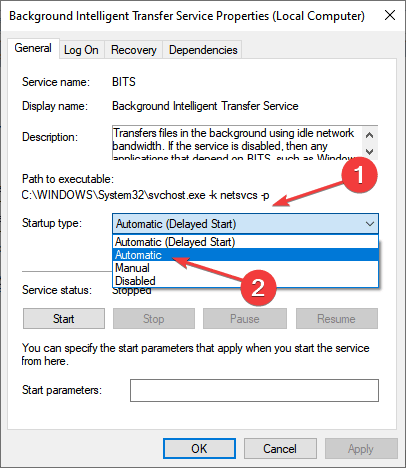
- Now, set the Startup type as Automatic. Click on the Start button if the Service Status is marked as Stopped.

- Click o Apply and then click on OK to save the changes.
- Now, do the same for Cryptographic and Windows Update services.

3. Uninstall Third-Party Antivirus
You may also face this issue because of third-party antivirus interfering with the proper functioning of the PC. You should try uninstalling the third-party antivirus and then check if you still face the issue or not. You can follow the steps given below to uninstall third-party antivirus from your PC-
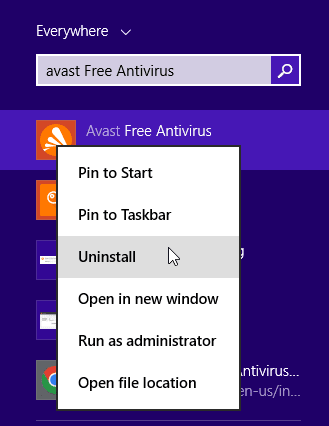
- Open the Start Menu, and search for your antivirus application.
- Right-click on your antivirus from the search result, and click on Uninstall.

- Now follow the on-screen instructions to uninstall the antivirus.
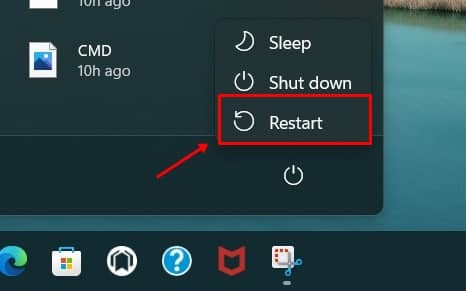
- After uninstalling the antivirus, restart your PC and see if it fixes the issue or not.

4. Run SFC And DISM Scan
Another troubleshooting step is running the SFC (System File Checker) and DISM (Deployment Image Servicing and Management) scan. SFC and DISM scans fix any issue on your PC because of corrupted system files. To run the SFC scan on your PC, follow the steps given below-
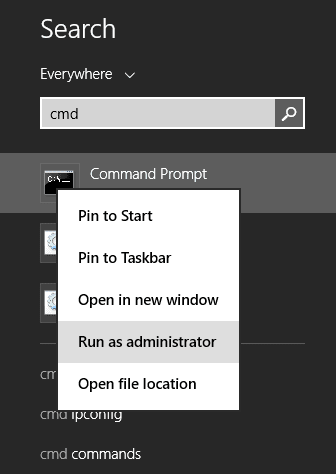
- Open the Start Menu by pressing the Windows key on your keyboard.
- In the Start Menu, type CMD. Right-click on Command Prompt from the search results and click on Run as administrator.

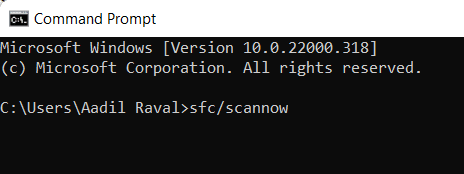
- In the Command Prompt, type the command sfc /scannow and execute it.

- After the process is completed, close the Command Prompt and restart your PC.
This should most probably fix the issue you have been facing and now you should be able to upgrade to Windows 11 easily. However, if you still encounter the error, you should try running the DISM scan. Given below are the steps to run the DISM scan-
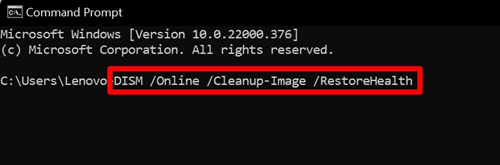
- Run the Command Prompt with administrative privileges.
- Type the below command and hit enter
DISM.exe /Online /Cleanup-image /Restorehealth
- Now close the Command Prompt and restart your PC to fix the issue.
5. Manually Install Windows 11
If you are still unable to install Windows 11 and face the error code 0x80070490 while installing Windows 11, you should try manually installing Windows 11. You can use the Windows 11 installation assistant to install Windows 11 on your PC.
Final Words
If you face error code 0x80070490 while installing Windows 11, we have covered you with the fixes. Following the troubleshooting steps in this article, you will be able to fix the issue you have been facing.


