Java settings can be changed from the Control Panel. However, upon looking up the Java in Control Panel, users have reported that it is missing. This issue is faced by the user due to reasons such as bugs in the system, having an outdated version of the Java installed, installation directory being altered, Java not present on the system, and various other reasons.
If you face this issue on your PC then you will be able to fix it with some workarounds given below. In this article, we will be discussing various ways to fix Java Applet Missing from Control Panel on your Windows PC.
Also Read- How to Install RSAT on Windows 11
Fix Java Applet Missing from Control Panel
If you cannot find Java in the Control Panel on Windows 11 pc, then you can follow the steps given below to fix this issue.
1. Enable Java
The very first thing that you should do is enable Java in Control Panel. The steps given below will help a user to enable Java in the Control Panel-
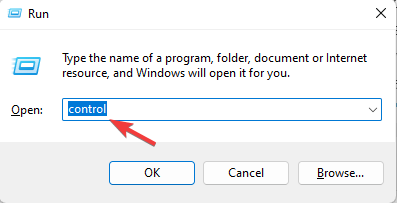
- Press Windows + R key on your keyboard, type Control press Enter. The Control Panel will get launched.

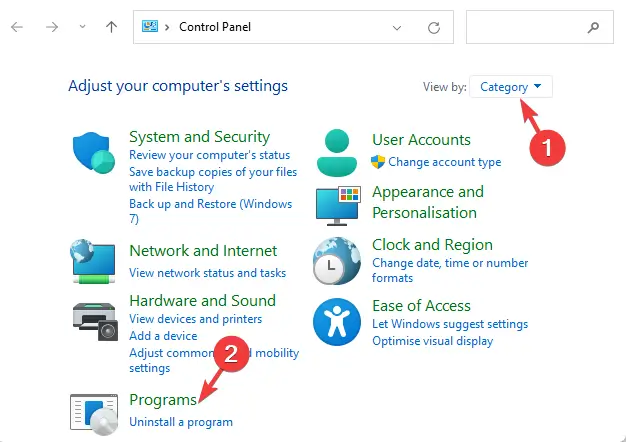
- Here, click on the Programs option.

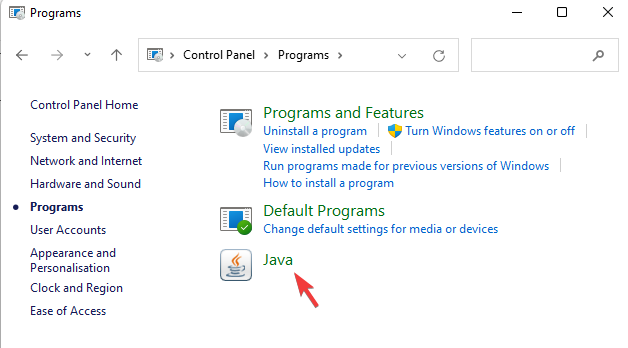
- Next, click on the Java option to open Java Control Pane.

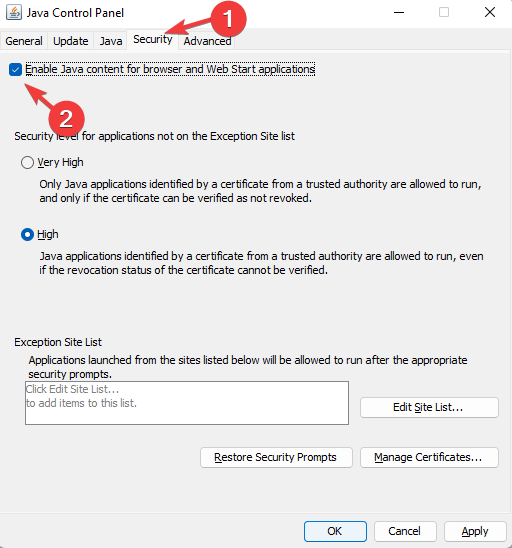
- Head to the Security tab and there check the checkbox for Enable Java content for browser and web start applications.

- Click on the OK and then on Apply to save the changes made.
You should no longer face the issue after trying this fix. However, if you still face the issue, then you should move to the next troubleshooting steps in this article.
2. Run Java Through Run Dialog Box
Another way to fix this issue is by running the Java through the Run Dialog Box. To do so, follow the steps given below-
- Press Windows + R key combo to open Run Dialog Box.
- Type the given below paths and hit Enter to open them-
C:\Program Files\Java\jreJAVA_VERSION\bin\javacpl.exe
Or
C:\Program Files (x86)\Java\jreJAVA_VERSION\bin\javacpl.exe
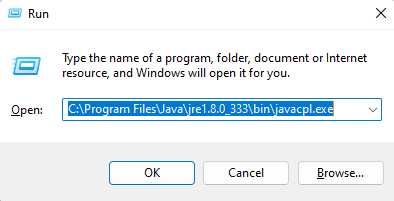
Note- You can run any command from the above two comes. In the given command, replace the jreJAVA_VERSION with the Java version that is already installed on your PC.
This will run Java on your PC and you should now no longer face the issue.
3. Reinstallation of Java Applet
If you still face the issue, then you should try reinstalling the Java Applet. It is the most common way to get back a Java applet if it’s missing from the Control Panel. For re-installing the Java applet, steps are given below-
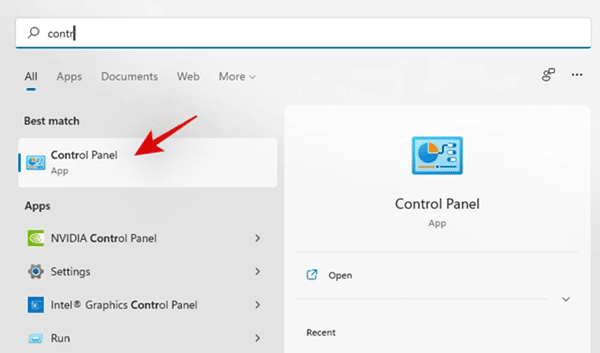
- Open Start Menu, search for Control Panel, and open it.

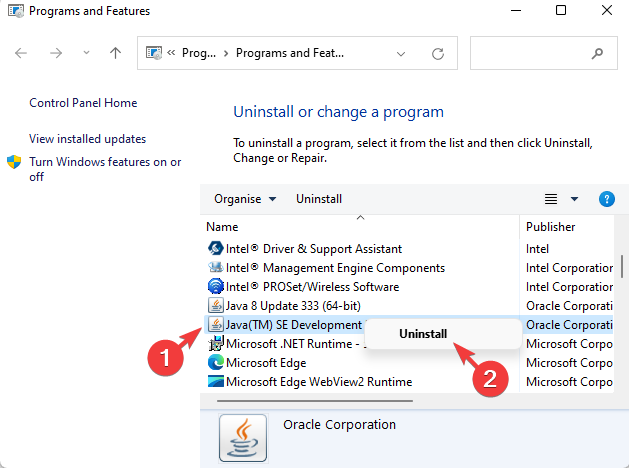
- Here, under the Programs section, click on Uninstall a program.
- Right-click on the Java program and then click on Uninstall option. Confirm uninstalling the Java program.

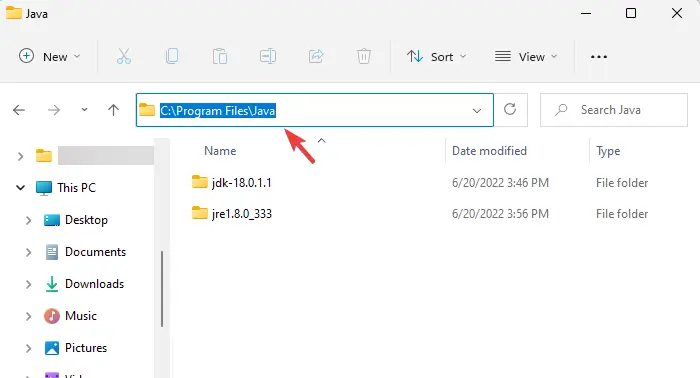
- Now, press the Windows + E key combo to launch File Explorer.

- Here head to either of the two paths-
- C:\Program Files (x86)\Java
- C:\Program Files\Java
- Delete all the folders and files here.
- Head to the official website of Java and download the Java application from the website.
- After downloading the Java application install it on your PC and you will now not face the issue.
Conclusion
In this article, we have discussed some steps to help fix Java Applet missing from Control Panel. If you don’t find Java in the Control Panel, then this article will help you with it. Following the above steps, you will be able to fix the issue you have been facing.


