Want to record audio in Windows 11? Then you need to follow this guide to know two easy ways that allow you to record sound in the latest Windows OS. You may not know, but Microsoft provides a native app exclusively for recording in Windows 11. All you need to do is just access this application and start to record audio in Windows 11.
Apart from the official app, you can use third-party apps to record audio in Windows 11. This guide mentions a popular audio recording app that can be easily used on Windows OS for recording sound.
1. Record Audio in Windows 11 Using the Native App
The built-in app from Microsoft for audio recording goes by Sound Recorder. Earlier, it was used to have the branding Voice recorder app. This app supports recording output in various popular audio formats. You can have your recorded audio in MP3, FLAC, WMA, WAV, and M4A.
You do not have to worry about the audio quality. The recorded output will be of high quality. Let’s go to the steps now and see how to record audio in Windows 11.
- Press Windows + S to invoke the search console.
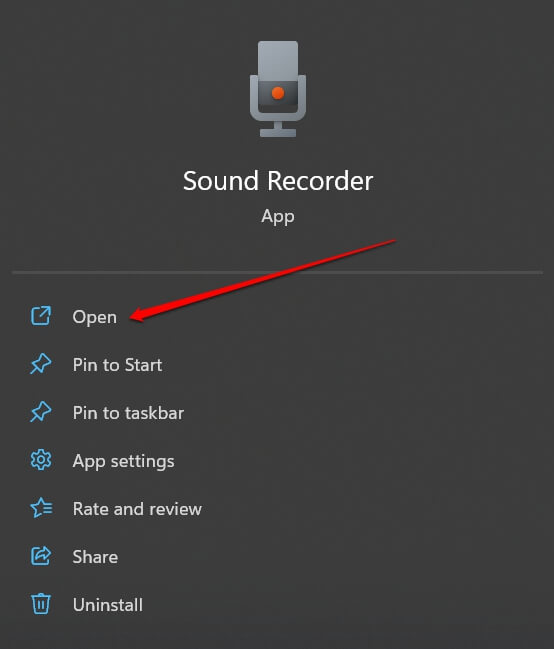
- In the search box, type Sound Recorder and wait for the Sound recorder app to show up in the result.
- Then press on Open to access the app.
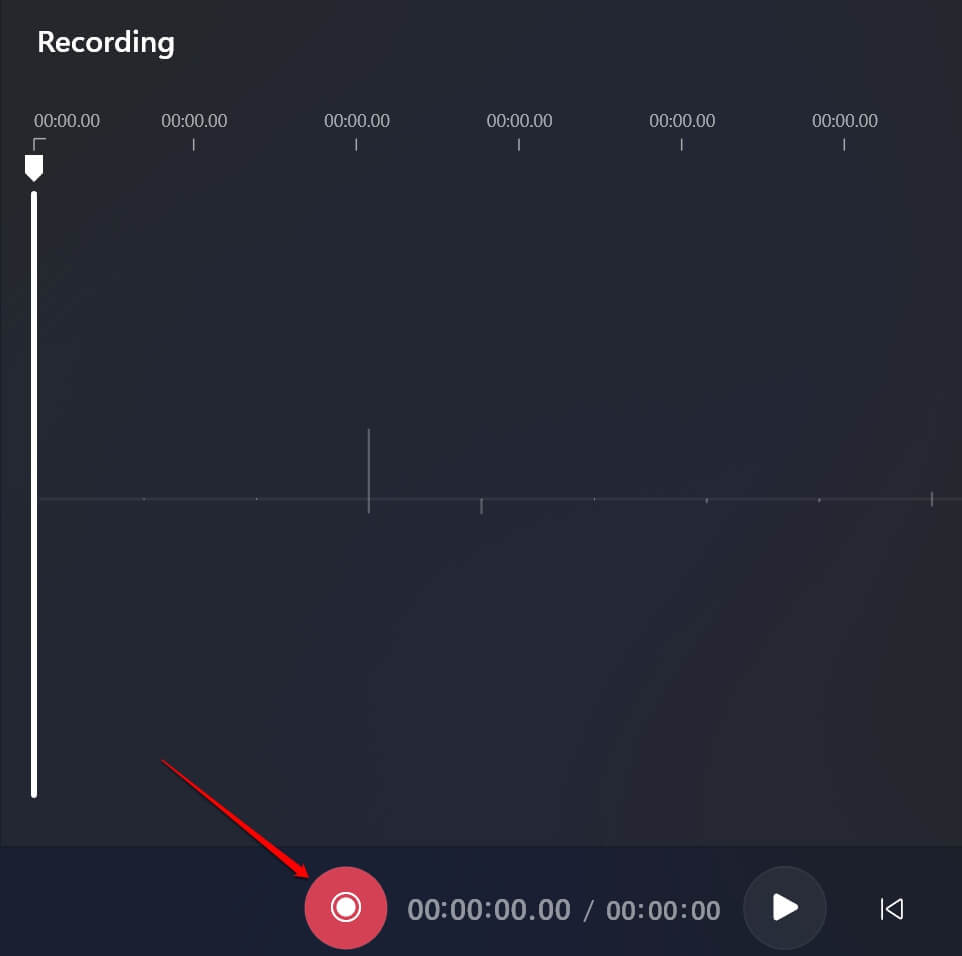
- In the interface of the Sound recorder app, you will see a round red button. It is the button you press when you are ready to record audio in Windows 11.
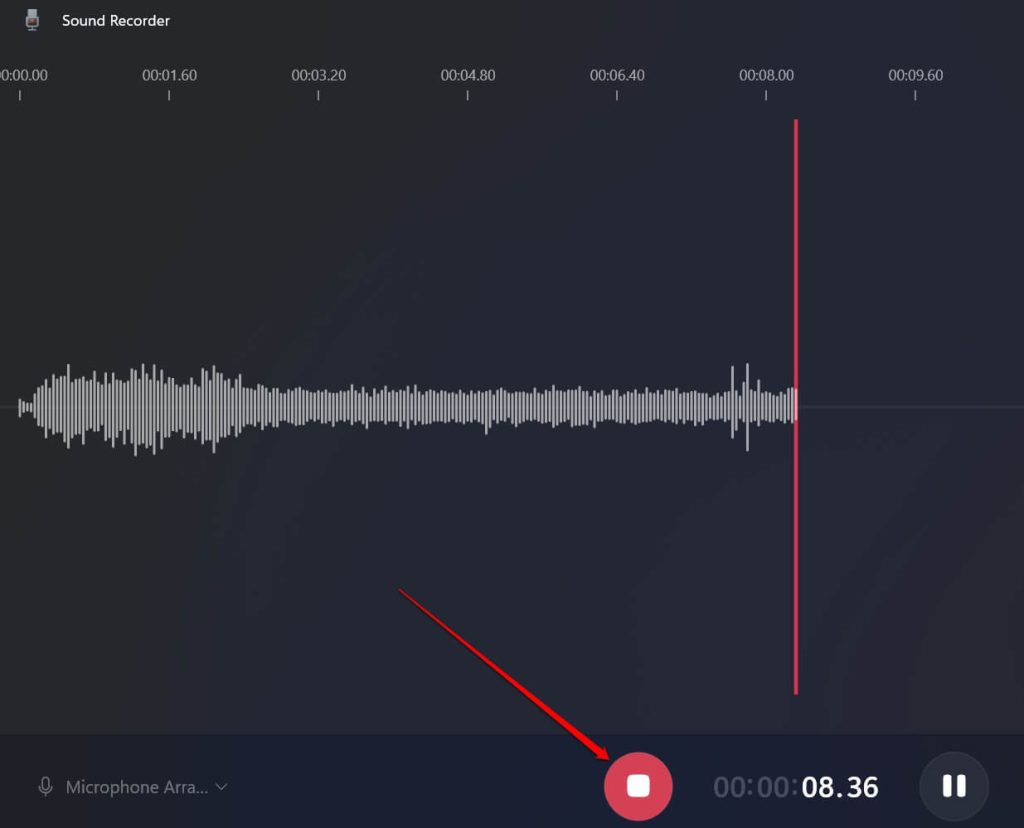
- Once you start recording the sound, you will see a red Stop button. Pressing this button will stop the current recording session.
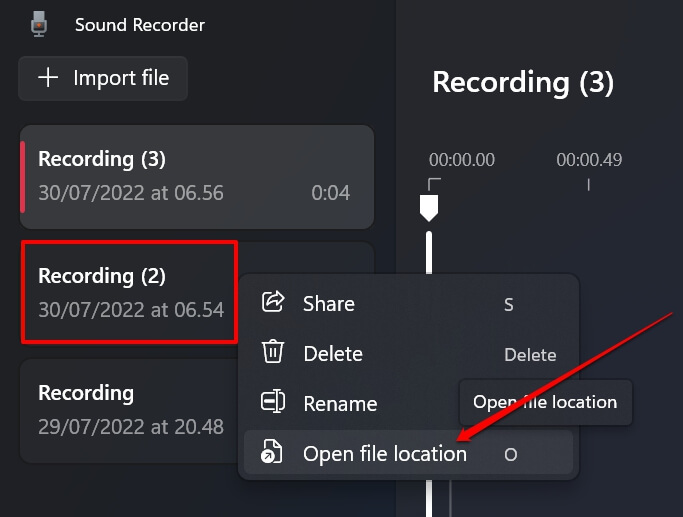
- The audio being recorded will be represented as waves. To locate the sound file within Windows, scroll to the top-left corner where all recording sessions will be listed.
- Right-click on the recording and select Open File Location.
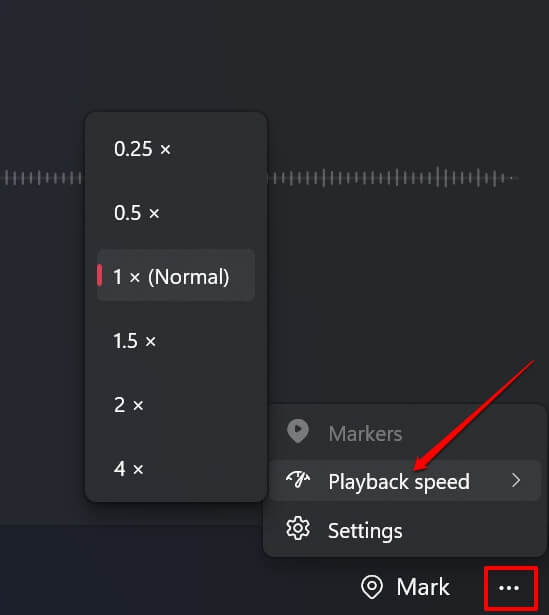
- To change the playback speed of the recorded audio, click on the three-dot button at the bottom right-hand corner.
- Click on Playback Speed and select a speed.
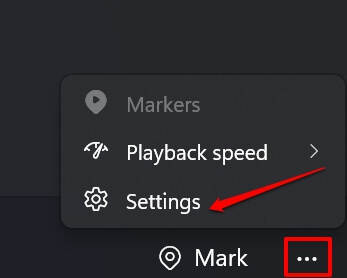
- To set the recording output audio format, click on the three-dot button at the bottom right-hand corner.
- Select Settings.
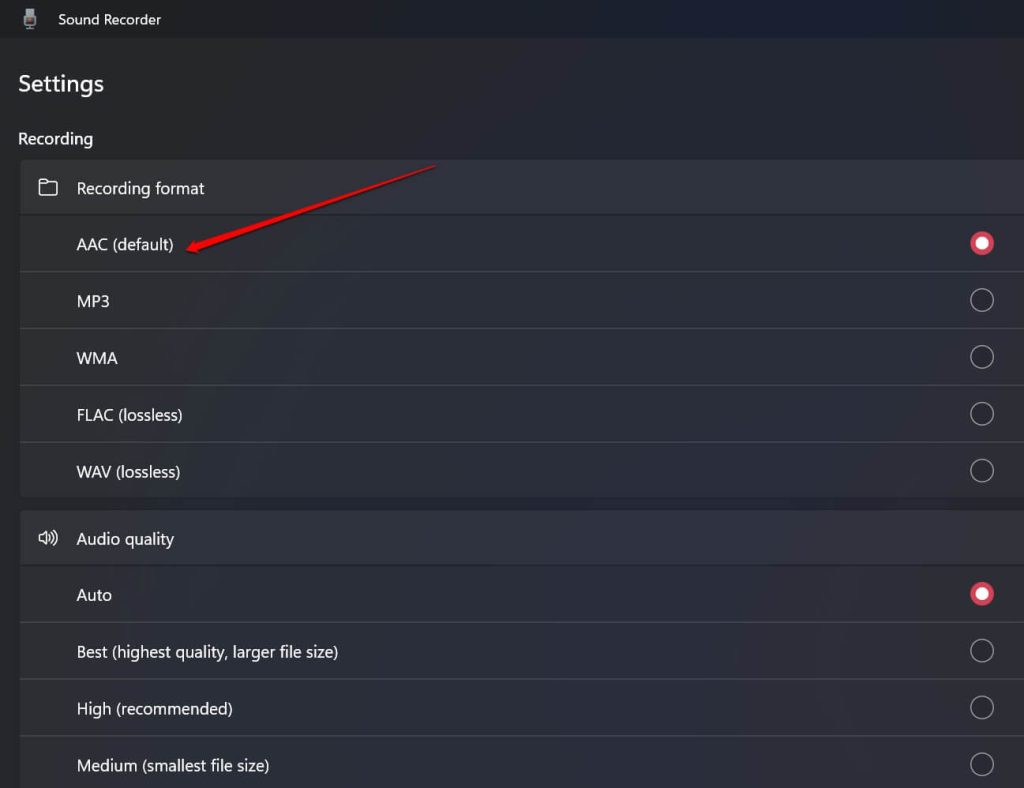
- Under that, navigate to the Recording Format tab and select the audio format of your choice. The output of the audio you record in Windows 11 will be in that format.
- Scroll to the Audio Quality tab to select the quality between Best, High, and Medium.
2. Record Audio in Windows 11 Using Audacity [Third Party App]
If you are looking for options and something different than the native sound recorder app, then let me introduce you to Audacity. It is an open-source audio recording platform you can download and use for free.
It’s the next best option after the native Sound Recorder app from Microsoft. Let us check out the steps to grab Audacity for Windows 11 and start recording right away.
- Download Audacity for your Windows PC from the official website.
- Launch Audacity.
- Click on the microphone option to set the input.
- If you are capturing sound so you are essentially relying on a microphone. Either it’s the native microphone of the PC or the external microphone [if you are using one]
- To begin the recording click on the red dot button.
- When you want to stop the recording, there is a dedicated stop button that you have to click.
- The waveform in blue color indicates the input that has been recorded via the microphone.
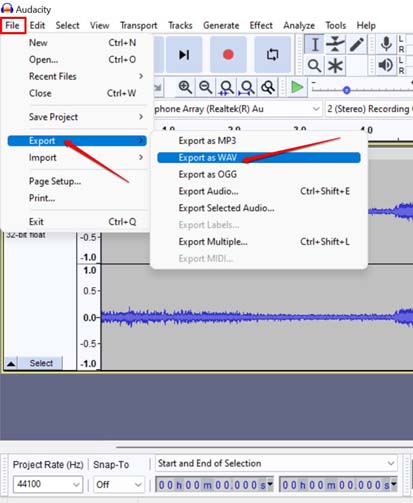
- Click on File and scroll to Export. Otherwise, directly press the hotkeys Ctrl +Shift + E.
- Upon expanding Export, you will see various audio output formats. Select anyone and the recorded material will be converted and saved to that format.
- Select a destination folder on your PC to save the audio recording. Also, name the audio file for convenience.
2.1 Bonus Tip
Here is a pro tip that will be handy if you are into serious sound recording using Audacity. I suggest using an external soundcard. Connect it to the PC and route an external microphone through the soundcard.
You must be wondering why I do this. Well, using a soundcard will decrease the latency in the recording and the recorded sound output will be of high quality. Latency means unnecessary noise or static that gets recorded when you record a sound. Soundcards are available online and you can get one at less than $50-$70.
Wrapping Up
That’s all about how to record audio in Windows 11 using free applications. Instead of paying a hefty amount for unreliable third-party apps, go for Sound recorder or the Audacity app and start recording audio now.

