If you don’t want to use a password to log in to your computer, you can set up a PIN on Windows 11 instead. The PIN is a Microsoft-recommended method for logging in to your Windows device that is both quick and secure.
Other sign-in options are enabled by the PIN, which is further a part of Windows Hello security. To sign into Windows 11, you can use a picture password, PIN, fingerprint sensor, or even facial recognition. Besides, if your PC doesn’t allow you to sign in using a fingerprint sensor, setting up a PIN is in your best interest for security.
Interestingly, Microsoft claims that Windows 11 is more secure than ever before, and the company is actively working to improve the OS’s security. With this being said, the PIN is one of the most secure login options if you don’t have a fingerprint sensor.
Also Read- Best Password Managers for Windows
Steps to Set Up a PIN on Your Windows 11 PC
Windows Hello PIN is a one-of-a-kind feature that lets you sign in to your computer using your PIN (Personal Identification Number) even without even pressing the Enter key.
Microsoft recommends using a PIN to sign in to your PC instead of a complex password if you don’t want to remember it. Use the following steps to set up and use a PIN:
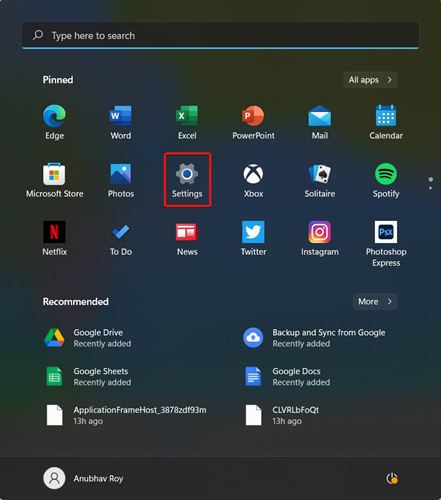
- Open Settings either by launching from the Start menu or pressing Win+I together.

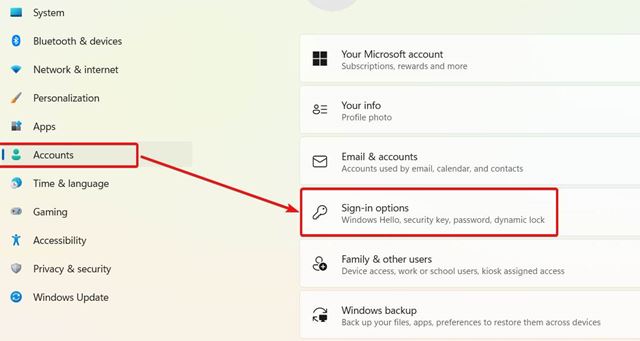
- In the left panel of the Settings window, click on Accounts.
- Now, on the right side, click on Sign-in Options.

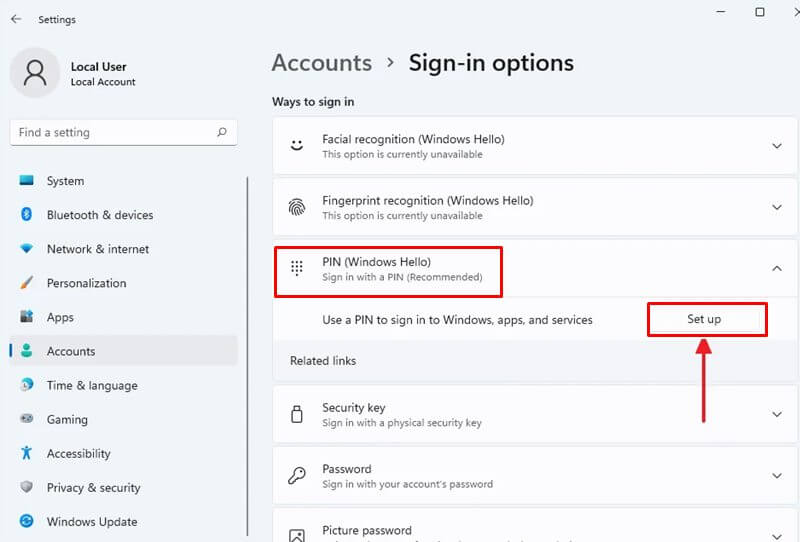
- In the Sign-in Options menu, click on PIN (Windows Hello). Next, click on Set Up.

- Make sure you must first verify your identity before setting up a PIN to log into Windows. You will be prompted to enter your password in a dialog box. To continue, type your password into the Password field and click OK.
- Once you have verified your identity, you can now set up the PIN on the new dialog box.
- In the New PIN and Confirm PIN text fields, type the PIN you want to use, then click the OK button.
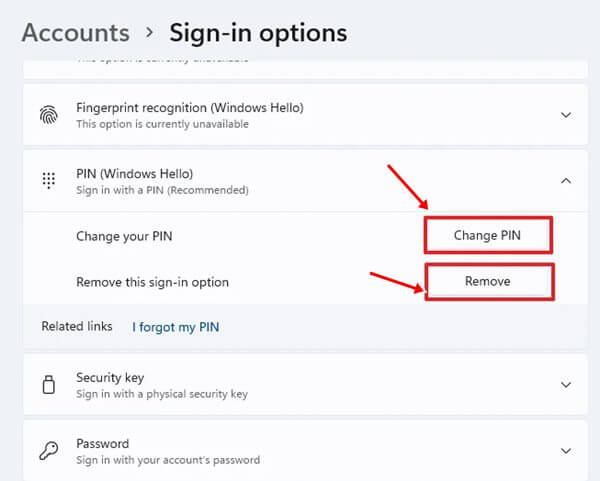
- When you’re finished, the window will close, and new options such as Change PIN and Remove PIN will appear under the PIN (Windows Hello) section.

This means you’ve successfully added a PIN to your account in Windows 11 and can use it to log in to your computer in the future.
Steps to Change or Remove Sign-in PIN (Windows Hello)
However, when you are already using a PIN to log into Windows, a time might come when you would like to change the PIN. Further, it is recommended to change the PIN of your PC regularly to keep it secured.
Follow these simple steps to change or remove the Sign-in PIN:
- Follow steps 1-4 in the above section.
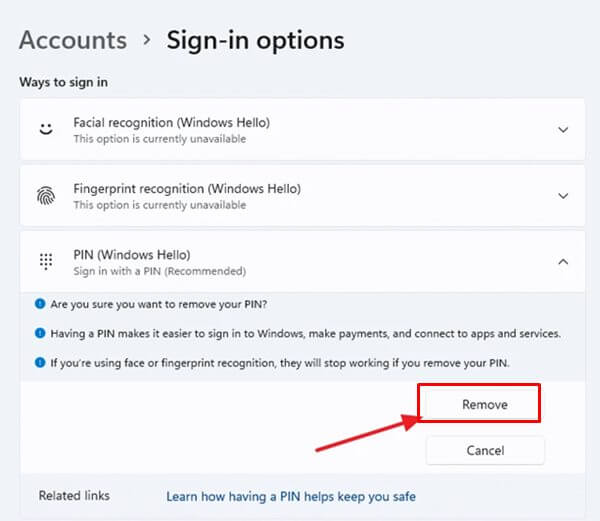
- You will have two options, the first being the Change PIN and the second Remove PIN.
- If you want to change your current PIN, click on Change PIN.
- In the new dialog box, type a new PIN and re-enter the same PIN in the Confirm PIN section. Click on OK to save the changes.
- Click on Remove PIN and it will give you an alert and ask you to verify your identity. Enter your PIN here to conform.

- Click on Confirm to remove the PIN.
Is it Any Better to Use a PIN instead of a Password?
Using a PIN to log into your computer has a number of advantages. To begin with, the PIN you create can only be used to access your computer. This is especially useful if you need to give someone access to your computer but don’t want to share your Microsoft account password.
However, the PIN must be numerical, but you can include letters and symbols if you want. The PIN is simple to set up and remember, making it a lot faster log-in method than using a password.
Furthermore, you’ll need to set up a PIN as a backup to biometric passwords if you want to use Windows Hello to set up Facial Recognition or Fingerprint Recognition.
Conclusion
Well, that’s all we have here about setting up a PIN or Removing a PIN in Windows 11. If you have any doubts or queries, you can reach out to us using the comment section and let us know your problem.


