Nowadays, many people use 4K TV and monitor to stream 4K content. It is a great option to use a 4K TV as a display for your PC. Windows 11 supports 4K displays and you can use a 4K TV with your PC if your hardware is compatible. After installing the recent Windows 11 update, many users have reported that their PC was not recognizing the 4K TV.
The issue is common with users who installed the recent update but is not limited to them. This issue was also faced by other users. This article covers various troubleshooting steps to fix Windows 11 not recognizing 4K TV.
Ways to Fix Windows 11 Not Recognizing 4K TV
Before we continue ahead with the fixes, it is important to know why Windows 11 is not recognizing 4K TV. There are several reasons behind this issue, such as damaged cable, outdated graphics card driver, corrupted graphics driver, issues with the port, etc. Given below are the troubleshooting steps to fix this issue.
1. Basic Fixes
You are likely to face this issue because of faulty ports. If the port (HDMI port, USB Type-C port, Display port, etc.) you are using to connect your 4K TV to your Windows 11 PC is faulty, then you may face this issue. Try changing the port and then check whether you still face the issue.
Also, check for the faulty cable. If the cable you are using to connect your 4K TV to your PC is damaged, that may also cause the issue. If the cable is damaged, replace it with a new one and you will no longer face the issue.
2. Manually Detect Display
If you have been facing issues with connecting your 4K TV to your PC, try manually detecting it. You can do so by following the steps given below-
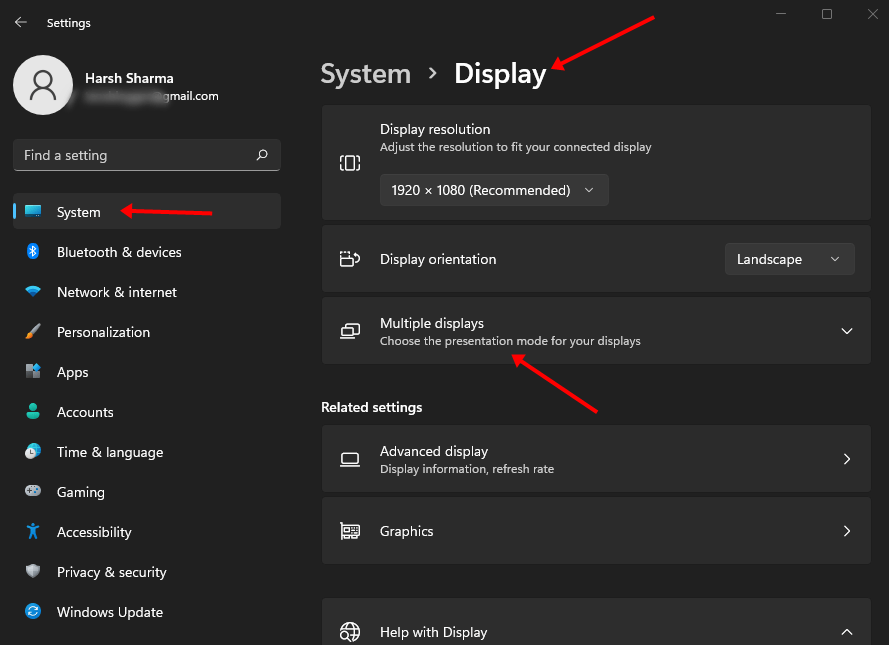
- Press Windows + I key combo to open the Settings app.
- Under the System tab, click on Display.
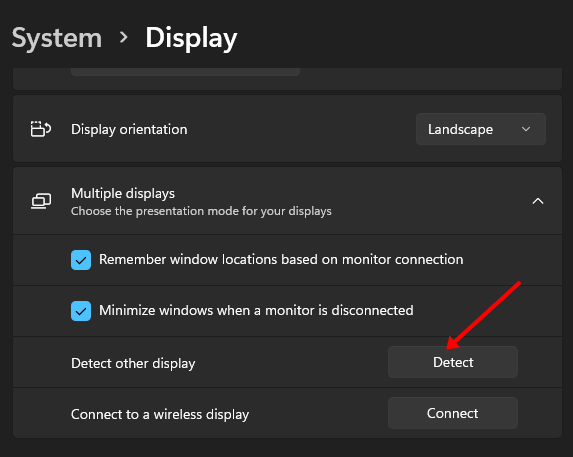
- Now, click on the Multiple Displays option to expand it.

- Here, click on Detect button to detect the display.

- This will detect any display connected to your PC.
3. Update Windows
Many times, the issue is caused due to bugs in the system. If the issue is being caused due to system bug or technical glitch, then updating the Windows to the latest version should fix it. To do so, follow the steps given below-
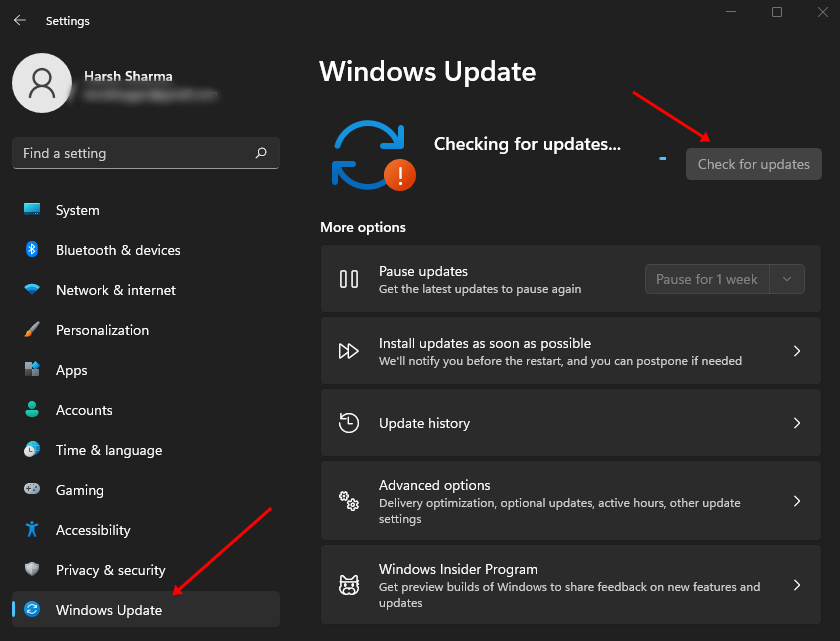
- Open Windows 11 Settings by pressing Windows + I keys on your keyboard.
- Under the Windows Update tab, click on Check for Updates button.

- This will search the internet for any update available for your system.
- If the update is available, download and install it on your PC.
- Once you have updated the system to the latest version, see if you still face the issue.
4. Update Graphics Driver
The issue is generally caused due to graphics driver. Ensure you have updated the graphics driver to the latest version to fix this issue. Given below are the steps to update graphics drivers-
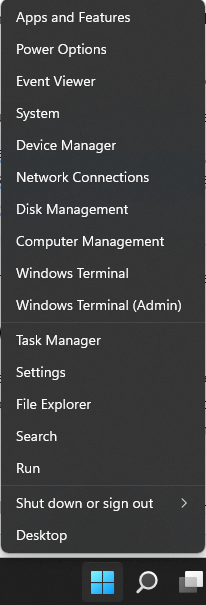
- Press the Windows + X key combo to open the Quick Access Menu; click on Device Manager.

- In Device Manager, expand the Display Adapters tab.
- Here, right-click on your graphics card and then on Update Driver.

- Now click on Search Automatically For Drivers to update the driver from the internet.
- This will update the driver. Once done, restart the PC to save the changes.

Note- Two drivers will be listed under the Display Adapters if your PC has a dedicated and integrated graphics card. In this case, you will have to update both drivers.
5. Reinstall Graphics Driver
Bugs and technical glitches with the graphics driver may also cause this issue. If that’s why you are facing this issue, then reinstalling the graphics card driver should fix the issue. To do so, follow the steps given below-
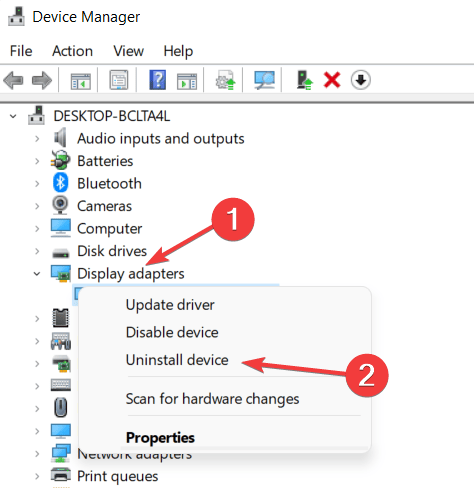
- Click on the Start icon at the taskbar, search for Device Manager and click on the first option that appears in the search result.
- Here, expand the Display Adapters tab by double-clicking on it.
- Now, right-click on your graphics card and then on Uninstall Device.

- Confirm uninstalling the driver by clicking on Uninstall.
Note- If your PC has 2 graphics cards (dedicated and integrated), then uninstall both by following the above steps.
- After the driver has been uninstalled, restart your PC. This will reinstall the drivers.
6. Perform SFC & DISM Scan
SFC and DISM are useful inbuilt command line utilities that will help you to repair corrupted or missing files on your Windows system.
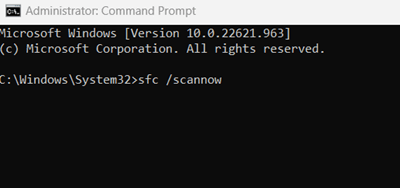
SFC Scan
- Click on Windows Start Menu, search for CMD, and click on Run as administrator.
- Then execute the following command and hit Enter.
SFC/scannow
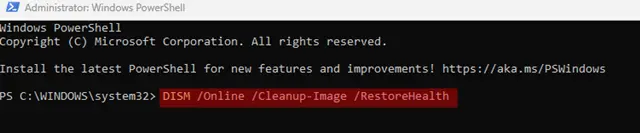
DISM Scan
- Open Command Prompt as administrator.
- Now type the below command and hit Enter.
DISM/Online/Cleanup-Image/RestoreHealth
7. Detect Display with Intel Graphics Control Panel
With the help Intel Graphics Control Panel, you can adjust the display as well as video settings. You can also use this tool to troubleshoot your display with the below steps.
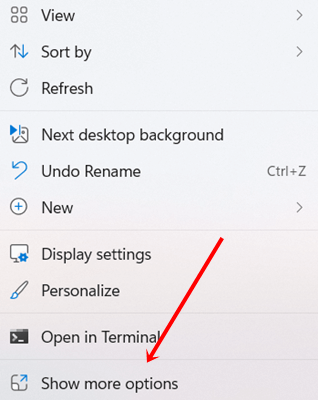
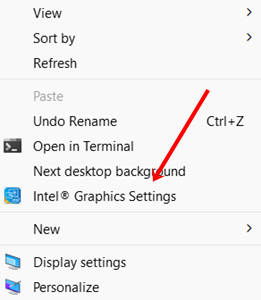
- Right-click on your home screen wallpaper, and click on Show more options.

- Next, click Intel Graphics Settings.

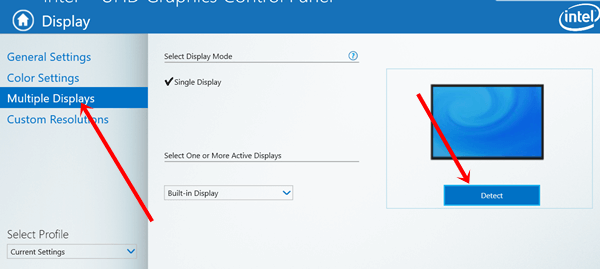
- On the Intel Graphics Control Panel, click on Display.

- Now head over to Multiple Displays, and click on Detect.


Final Words
This is how you can fix Windows 11 not recognizing 4K TV. Facing such issues is common with Windows 11, and if you encounter such issues, there’s nothing to be tense about. This article should have helped fix the issue and if you find it useful, then let us know in the comments section.


