Drivers are essential for the smooth functioning of the hardware connected to your PC. For instance, the graphics card on your PC requires a graphics driver to perform the task efficiently. You will get the ‘A driver cannot load on this device’ error on Windows 11 when your PC cannot load a particular driver.
This error is common to encounter when an update is installed because a Windows update might come with driver updates that might not be compatible with your hardware. Not only Windows updates but outdated drivers, missing/corrupted driver files, etc., might cause this issue. This article will guide you on how you can fix this error on your PC.
Fix the ‘A Driver Cannot Load on this Device’ Error on Windows 11
Given below are all the troubleshooting steps that you can follow if you get the ‘A Driver cannot load on this device’ error on Windows 11-
1. Roll Back Driver
If you started facing this issue after updating your driver, it means the updated driver isn’t compatible with your hardware or is buggy. Reverting to the previous version of the driver should help you fix the issue. The error message will display the driver’s info causing the issue, so note it somewhere.
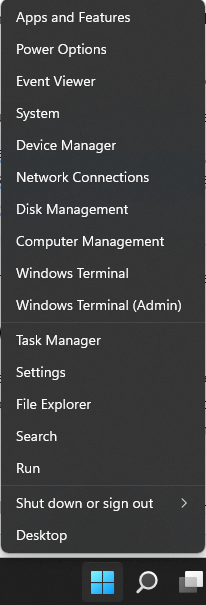
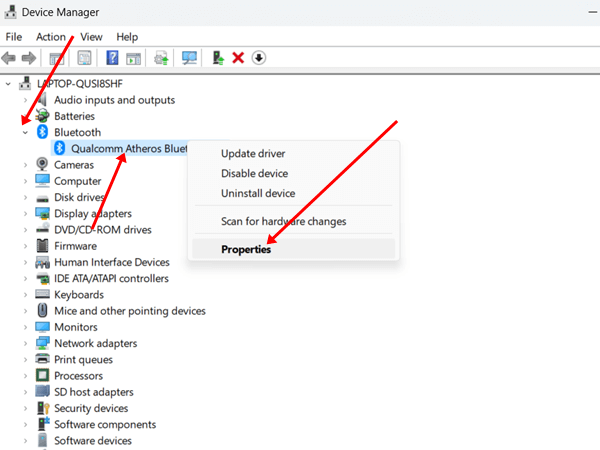
- Press Windows + X key combo and then click on Device Manager.

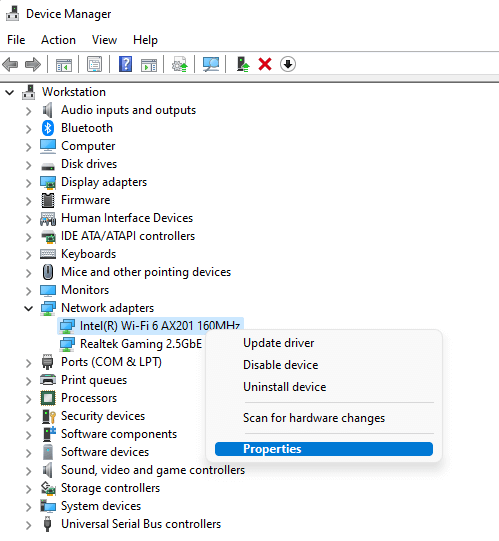
- Right-click on the driver causing the issue, then click on Properties.

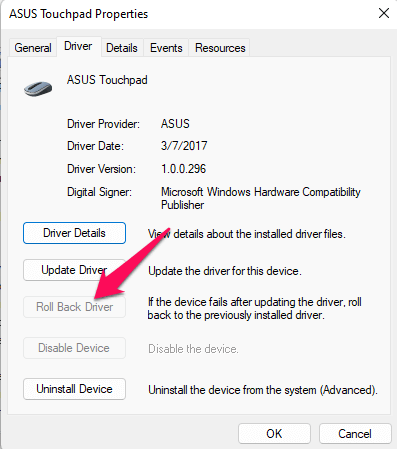
- Head to the Driver tab and click on Roll Back Driver.

- You will have to select a reason to roll back the driver; select a reason and click on Yes.
- Restart your PC to save the changes.
2. Update the Driver
An outdated driver can also cause an ‘A driver cannot load on this device’ error on Windows 11. Update the driver to the latest version by following the steps given below to fix the issue-
- Open Device Manager on your PC.
- Right-click on the problematic driver and then click on Update Driver.

- Now, click on Search Automatically for Drivers to update the driver.
3. Update Windows
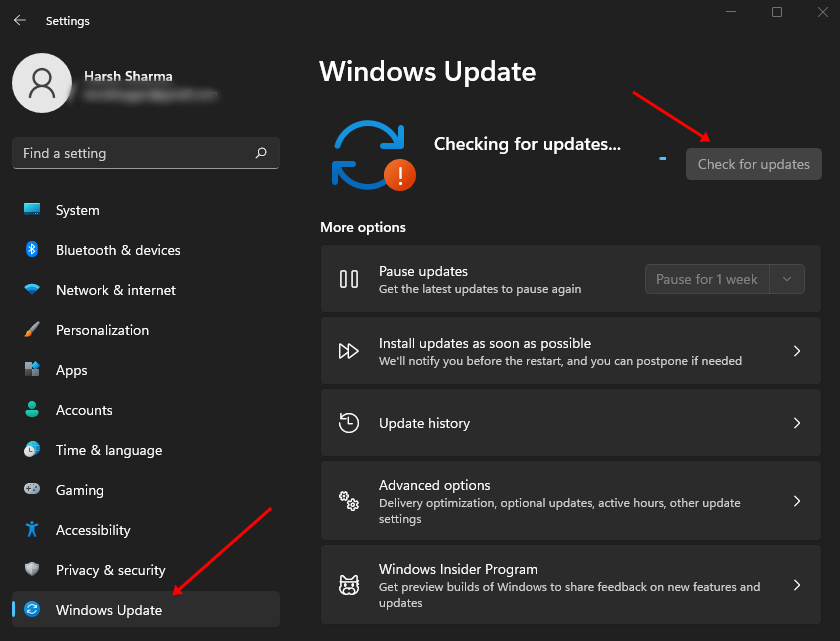
The next step to follow is updating Windows to the latest version. To do so, follow the steps given below-
- Press the Windows + I keyboard shortcut to open Settings on your PC.
- On the left sidebar, click on Windows Update.
- Now, click Check for Updates and install all the updates available here.

4. Disable Memory Integrity
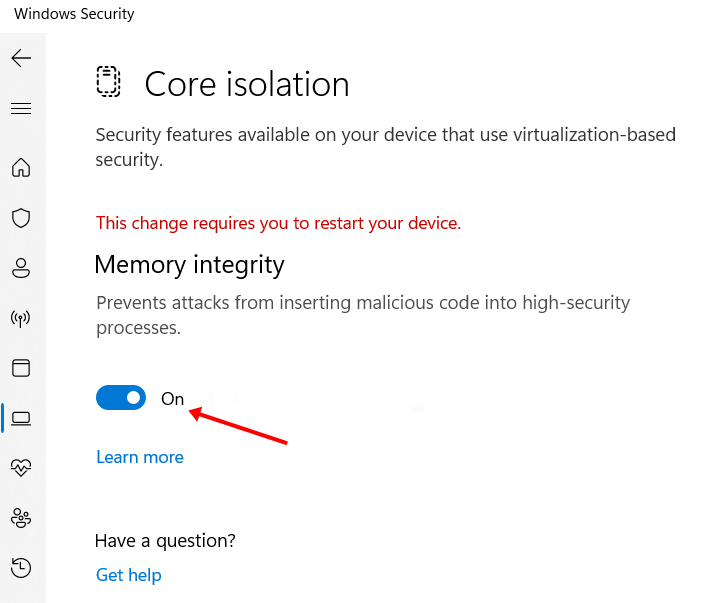
If you get an ‘A device cannot load on this device’ error in Windows 11, it may be because of the Memory Integrity feature. Turn off this feature, and the driver will load on your PC.
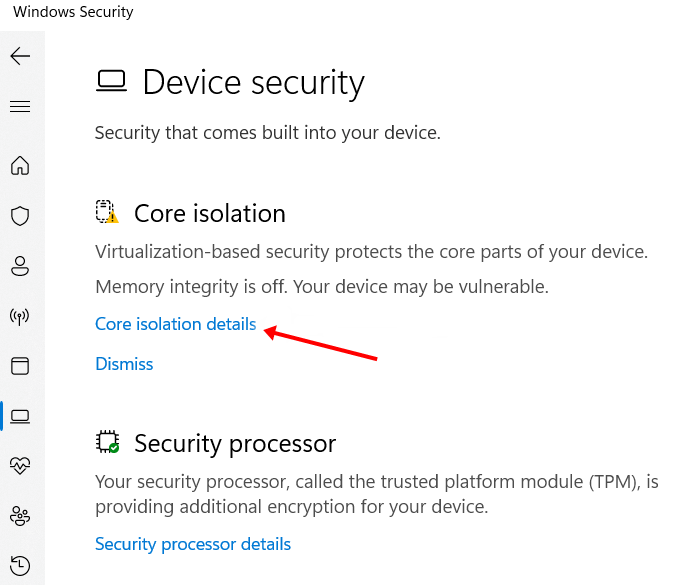
- Click on the Start Icon at the taskbar, type Windows Security, and press Enter.
- Now, click on the Device Security option.
- Under the Core Isolation section, click on Core Isolation Details.

- Now, turn off the toggle for Memory Integrity; click Yes when the UAC prompt appears.

5. Delete UpperFilters And LowerFilter Files in Registry Editor
The next step to continue with is deleting the UpperFilters and LowerFilters files. Given below are the steps to do so-
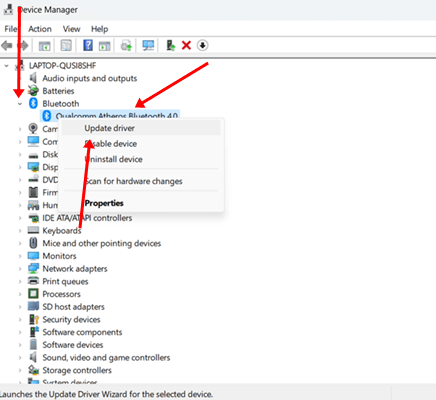
- Press Windows + X keyboard shortcut and then click on Device Manager.
- Right-click on the driver causing the issue, then click on Properties.

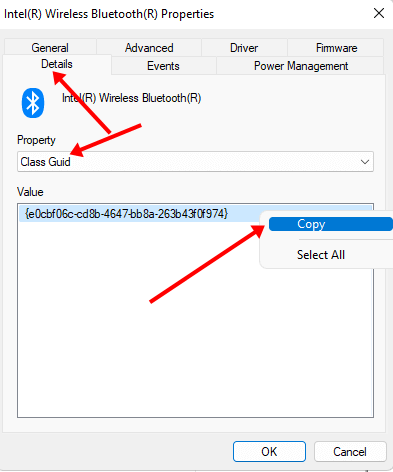
- Click on the Details tab, and select Class GUID as Property.
- Copy the string under the Value; this will be the Class GUID for.

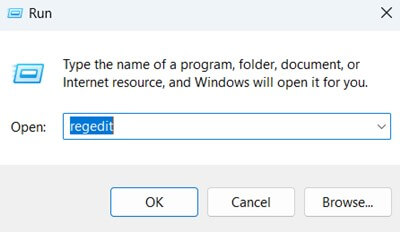
- Now press Windows + R keys together, type regedit, and click OK.

- Head to the following address in Registry Editor-
-
HKEY_LOCAL_MACHINE\SYSTEM\CurrentControlSet\Control\Class
-
- Look for the Class GUID you copied on the left sidebar and open it.
- Select the UpperFilters File and press the Delete button on your keyboard to delete it. Do the same for the LowerFilters file.
- Restart your PC to save the changes you have made.
6. Restore the PC
If you started facing this error on your PC after an update was installed, performing a system restore will help you. Given below are the steps to do so-
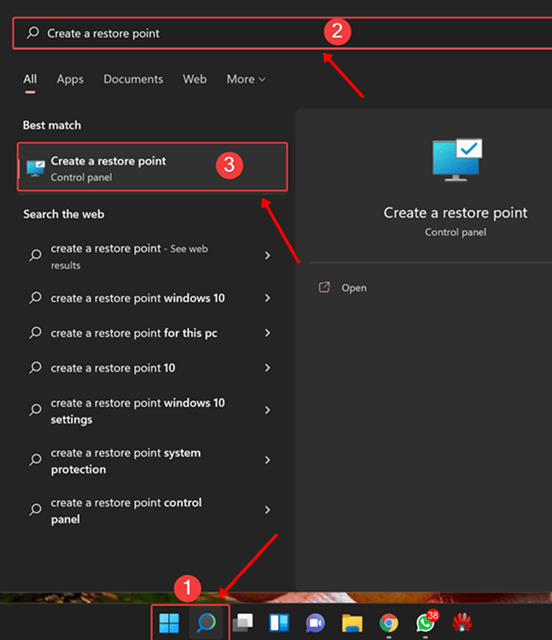
- Press Windows + S, search for Create A Restore Point and open it.

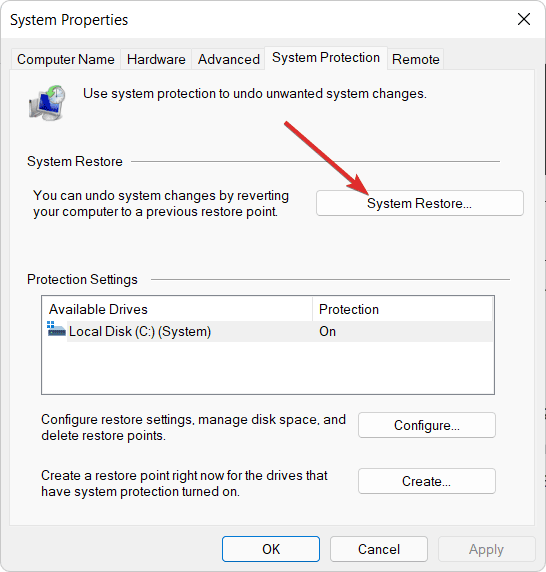
- Click on the System Restore button.

- On the System Restore screen, click on Next.
- Now, select the restore point and click on Next.
- Lastly, click on Finish to begin the process.
7. Reset the PC
Resetting the PC will be the last option if you still face the issue. This will delete all the data on your PC, including the apps and the settings. You can do so by following the steps given below-
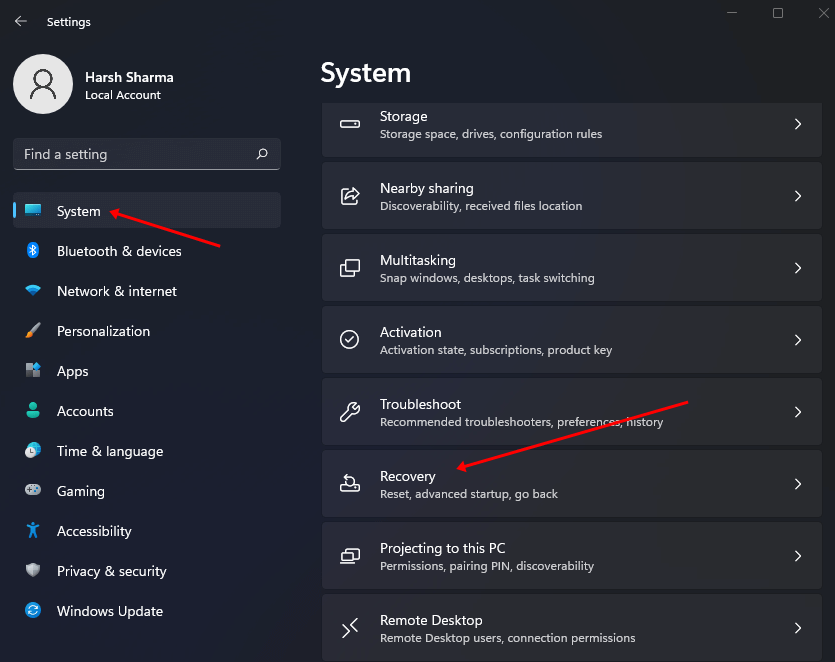
- Press Windows + I key combo to open Settings.
- Under the System tab, click on the Recovery option.

- Now, click on the Reset PC button.

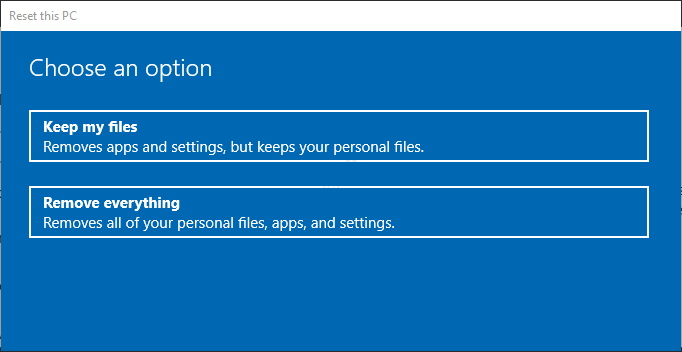
- If you want to keep your files, click on Keep my files; if you’re going to remove everything, click on the Remove Everything option.

- If you have Windows 11 ISO file, select Local Reinstall to install from the file, else go for Cloud Download to download and install Windows 11 from the internet.
- Click on Change Settings, change your settings, and then click Confirm.
- Now, click on Reset to confirm resetting your PC.

Final Words
The above steps should help fix the ‘A Driver Cannot Load On This Device’ error on Windows 11. If you keep getting this error prompt due to drivers on your PC, then you can follow the above steps to solve this issue.


