NTDLL.dll is important for the proper functioning of Windows, and if something goes wrong, you might encounter crashes and issues on your system. Recently, File Explorer NTDLL.dll crashing issue has become quite common in Windows, and many users encountered this issue. The issue was encountered with File Explorer crashing, followed by a message saying NTDLL.dll had crashed.
The reason behind facing this issue is generally the corrupted system files on your PC. You might also encounter this issue if the graphics driver is outdated or the file explorer cache is corrupted. So what can be done to fix File Explorer NTDLL.dll crashing issue in Windows? Here are some methods you can follow to troubleshoot this issue.
Fix File Explorer NTDLL.dll Crashing Issue in Windows
As we have already discussed the reasons that might be causing the issue, we won’t waste your time with it. There are various ways to fix this issue which we have mentioned below-
1. Restart Windows Explorer
The first step, to begin with, is restarting Windows Explorer. Well, if this worked out for many users and if it works for you, then you won’t have to move ahead with any other troubleshooting step. To restart Windows Explorer, follow the steps given below-
- Open Task Manager on Windows by using Ctrl + Shift + Esc keyboard shortcut.
- Under the Processes tab, search for Windows Explorer. Right-click on it and then click on Restart.


2. Run SFC Scan
If restarting Windows Explorer didn’t help, then you can try performing the SFC scan. This helps fix any corrupted files that might also be causing File Explorer NTDLL.dll crashing issues in Windows 11.
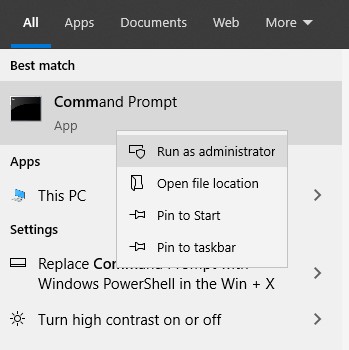
- Press Windows + R key combo, type CMD, and then press Ctrl + Shift + Enter. This will run Command Prompt as an administrator.

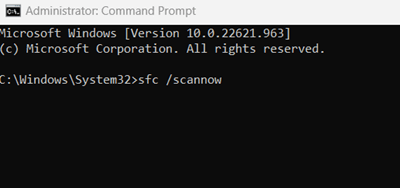
- Here, type sfc /scannow and press Enter.

- The SFC scan will now start. Wait till the process reaches 100%, and then restart your PC.
3. Update Windows
Updating Windows to the latest version can also help solve this issue. Windows Update comes with bug fixes and driver updates, so if any of that was causing the issue, this would fix it. You can follow the steps given below to update your Windows-
- Open the Settings app through Windows + I keyboard shortcut.
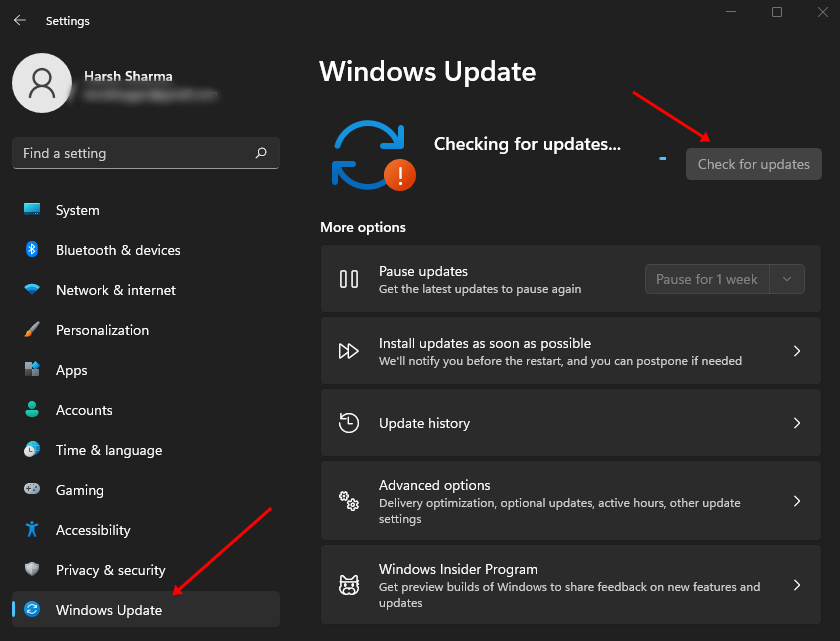
- Click on the Windows Update tab on the left, then click on the Check for Updates button.

- All the available updates will be listed here; download and install them. If no updates are available, that means your Windows is up-to-date.
- After installing the updates, restart your PC.
4. Run System Maintenance Troubleshooter
You can run System Maintenance Troubleshooter to fix this issue. This will fix any issues you are facing with your Windows PC. To use this tool, follow the steps given below-
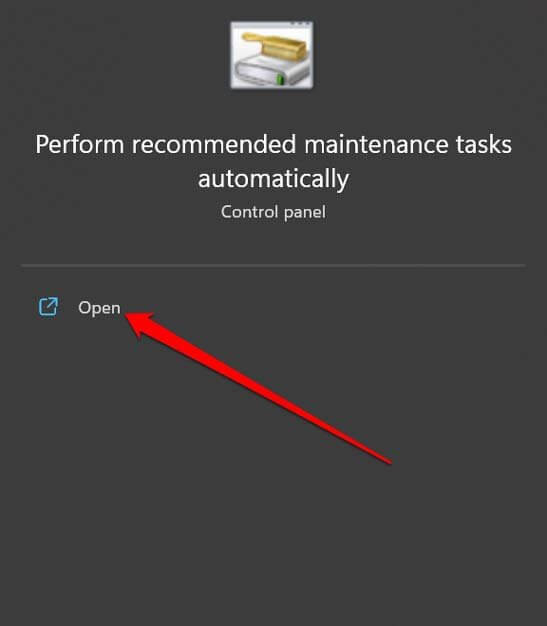
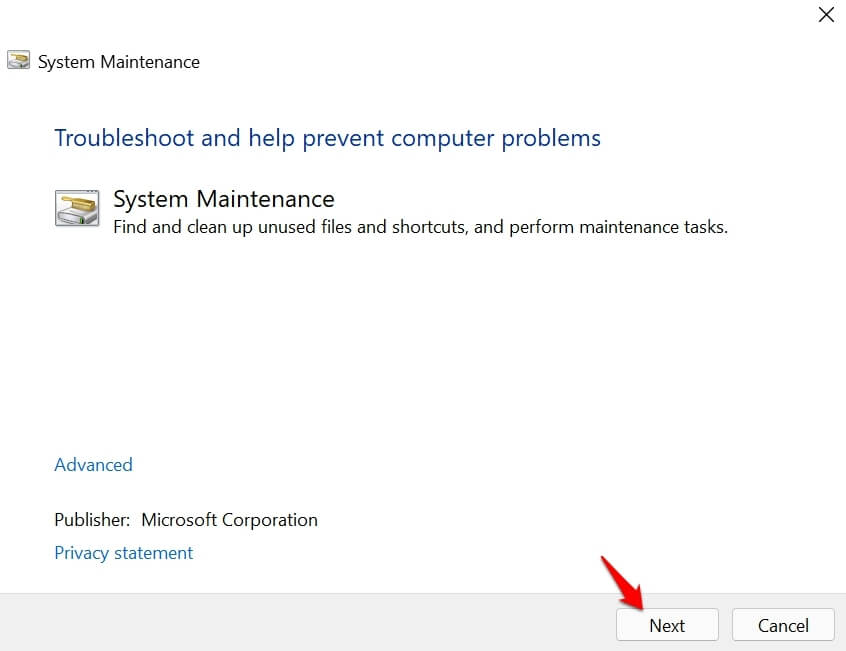
- Press the Windows key, search for Perform Recommended Maintenance Task Periodically, and click on the very first option that appears.

- Click on Next and follow the on-screen instructions to run System Maintenance Troubleshooter.

5. Update Graphics Driver
As we have already discussed, outdated graphics drivers can cause this issue. We suggest you update your graphics driver to the latest version and check if you still face the issue. To update the graphics driver, follow the steps given below-
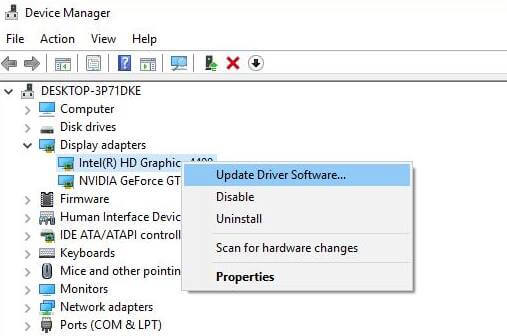
- Right-click on the Start icon and then click on Device Manager.

- Expand the Display Adapters section by double-clicking on it.
- You will see your graphics driver here. Right-click on the driver, and then click on Update Driver.

- Now, click on Search Automatically for Drivers to update the drivers from the internet.

Note- If your PC has integrated and dedicated GPU, you will see two drivers listed here. In that case, you will have to update both drivers.
6. Clear File Explorer History
The update may also be caused due to corrupted File Explorer History. Clearing the File Explorer History should help fix the issue. To do so, follow the steps given below-
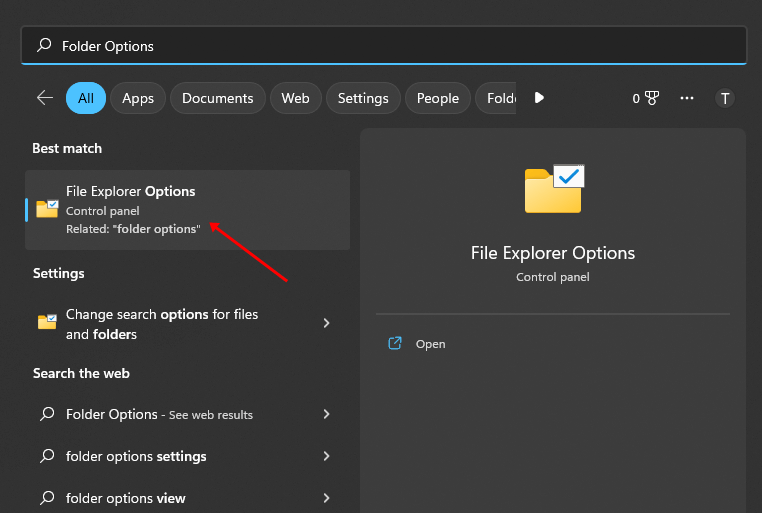
- Press the Windows key, search for Folder Options, and open it.

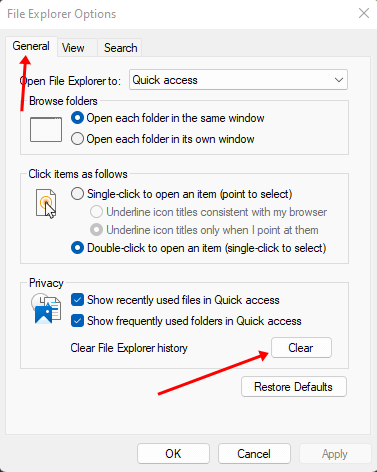
- Head to the General tab, and under the Privacy section, click on the Clear button.

- Click on Apply and then on OK, and then restart your PC.
7. Clean Boot your PC
You can try clean booting your PC. This will run your PC without any third-party services and startup programs so you can determine whether the issue was being caused due to some app or not. To clean boot your PC, follow the steps given below-
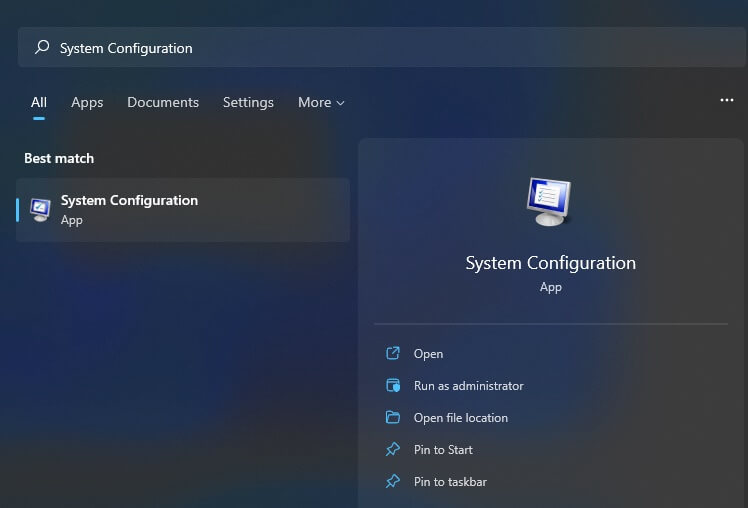
- Press the Windows key, search for System Configuration, and open it.

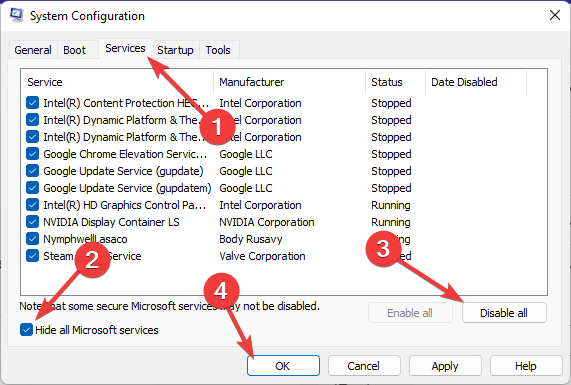
- Here under the Services tab, check the checkbox for Hide all Microsoft Services and then click on Disable all button.

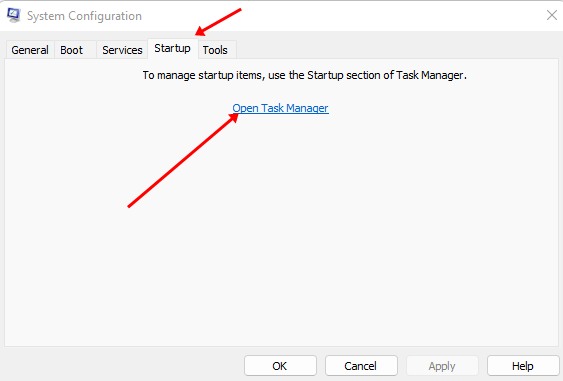
- Now, head to the Startup tab and click on the Open Task Manager option.

- You will see a list of all startup programs here. Right-click on the program and then click on Disable. Do this for all the programs here, especially those with high impact.
- Now restart your PC to boot it without third-party services and programs.
You can now check what program or service was causing this issue and then delete them.
Final Words
Above were some troubleshooting steps to help fix File Explorer NTDLL.dll crashing issue in Windows. The above steps should fix the issue for you, but if the File Explorer still keeps crashing, you will have to reset your PC. You can either Reset your PC or reinstall Windows if nothing works.


