Many users have reported high CPU usage on the Cxuiusvc service after updating the audio drivers on their PC. The issue is commonly faced with the Synaptics audio driver on PC. Cxuiusvc service is a software component of the Conexant SmartAudio II driver, which assist users with controlling the software of the audio hardware.
Due to this issue, your PC may start lagging, and you may face crashing issues with other apps on your PC. This not only crashes the app you run on your PC but also causes the fan on your PC to speed up and the battery to drain. This is the step-by-step guide to fixing high CPU on Cxuiusvc Service in Windows 10/11.
Also Read- Fix Wmpnetwk.exe High CPU & Memory Usage in Windows
Fix High CPU on Cxuiusvc Service in Windows 10/11
There are various troubleshooting steps to help fix the high CPU on the Cxuiusvc service in Windows 10/11. Given below, we will be discussing some working methods to help fix the issue you have been facing with the Cxuiusvc service.
1. Update Audio Driver
If you have been facing this issue, you should try updating the Synaptics Audio Driver. To do so, follow the steps given below-
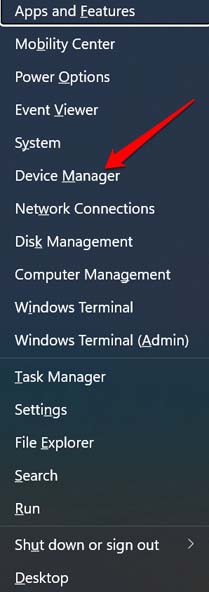
- Press Windows + X key combo and then click on Device Manager.

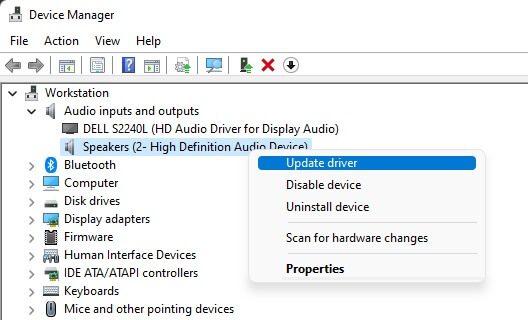
- Here, expand the Audio inputs and outputs section by double-clicking on it.
- Now, right-click on your speaker, and then click on Update Driver.

- Now, click on Search automatically for driver updates.

- Restart your PC after installing the update, and you should no longer face the issue.

2. Reinstall Audio Driver
Many times reinstalling the audio driver may also fix the issue. To do so, follow the steps given below-
- In the Start Menu, search for and open Device Manager.
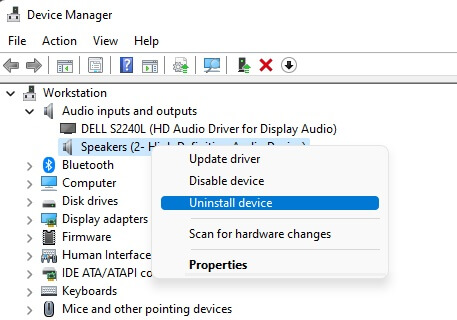
- Expand the Audio inputs and outputs section.
- Right-click on the speaker from the list and then click on Uninstall device.

- Click on Uninstall to confirm uninstalling the device.
- Restart your PC to reinstall the driver on your PC.
3. Disable Cxuiusvc Service
If you still face the issue, then try disabling the Cxuiusvc service. You can do so by following the steps given below-
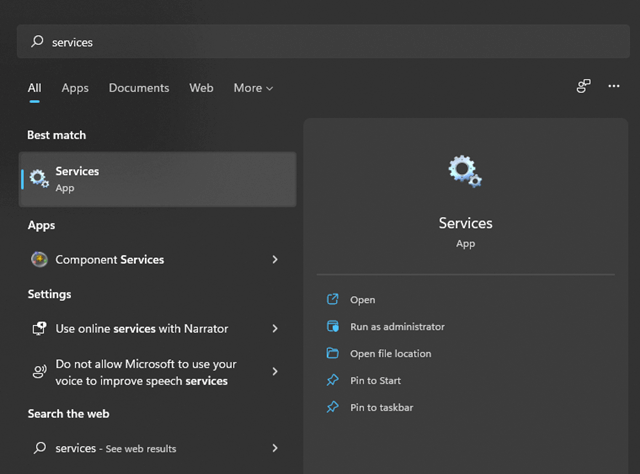
- Press the Windows key and search for Services. Open it.

- Here, search for Cxuiusvc Service, right-click on it, and then click on Properties.
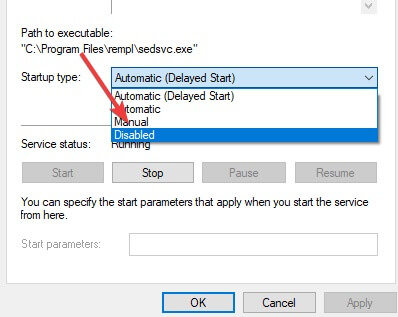
- Set the Startup type to Disabled.

- Click on the Stop button and then click on Apply and then on OK.
- Restart your PC and then check if you still face the issue or not.
Final Words
This is how you can fix the high CPU on the Cxuiusvc service in Windows 10/11. If you have been facing high CPU usage due to the Cxuiusvc service on your PC, then you will be able to fix it by following the steps in this article.


