Even though all the features you have in Windows 11, it is quite common to face problems with the OS. Many users have reported that their mouse keeps on scrolling automatically. This issue was particularly reported by many users stating that when they open a page with a slider, it keeps on scrolling down.
Well, there are no exact reasons behind facing this issue. If you encounter a mouse auto-scrolling issue, it might be due to a problematic connection between the mouse and PC, discharged battery of the mouse, a mouse incompatible with your issues, and various such.
Worry not if you are facing this issue. We have compiled a list of all the troubleshooting steps to help fix the mouse from auto-scrolling in Windows 11.
Best Way to Fix Mouse is Scrolling Automatically in Windows 11/10
As we discussed, there might be various reasons why you may face this issue with your mouse. Below are some troubleshooting steps that can help you fix this issue.
1. Re-Plug the Mouse
Many times the issue may be caused due to poor connection between the mouse and PC. You should try unplugging the mouse from your PC and then plug it in again. This will refresh the connection and should fix the issue.
2. Restart the PC
If you are facing this issue, it might simply be due to the bugs in your system. You can restart your PC to fix those bugs and temporary glitches causing the issue.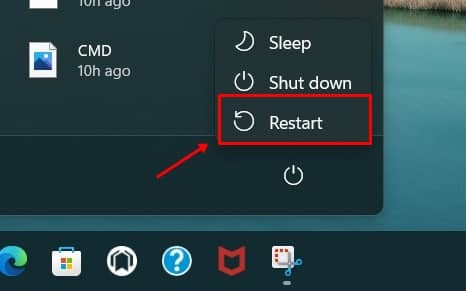
After the restart, check whether the mouse is working fine or not. If the mouse is not working fine, you can move to the next troubleshooting step in this article.
3. Switch to Another Mouse
To trace the problem from exactly where it is coming from, switching to another mouse will help the users. You can use another mouse with your PC and check if that is working fine or not.
If the other mouse is working fine and you are not facing the auto-scrolling issue, then probably the mouse is faulty, and you will have to replace the mouse. However, if the issue is still encountered on the other mouse you connected, then the issue is on the software side.
4. Update the Mouse Drivers
The issue can arise if the user has an outdated mouse driver. The user must update their driver to the latest version to fix the issue. The steps for the same are as follow-
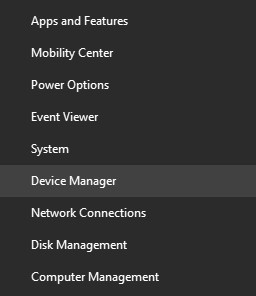
- Press Windows + X key combo, and then from the menu that opens up, click on Device Manager.

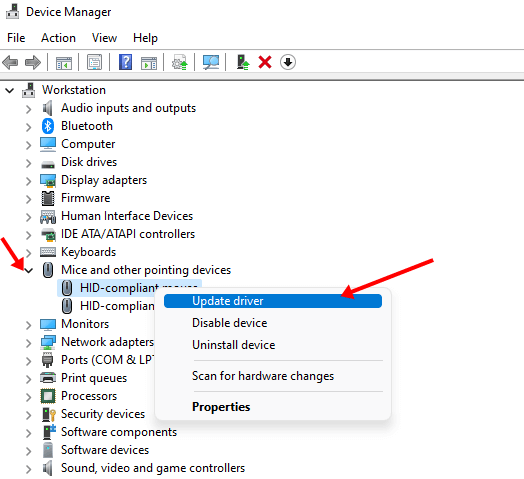
- Here, expand Mice and other pointing devices section.
- Here, right-click on the mouse you are using and then click on Update Driver.

- Now, click on Search Automatically for Driver option. By this, your Windows will automatically update your mouse driver from the internet.
- Once done, restart your PC, and check if you still face this issue or not.
5. Check for Incorrect Settings
Another thing that you can do is check mouse settings. To do so, follow the steps given below-
- Press the Windows + I key combo on your keyboard to open the Settings app.
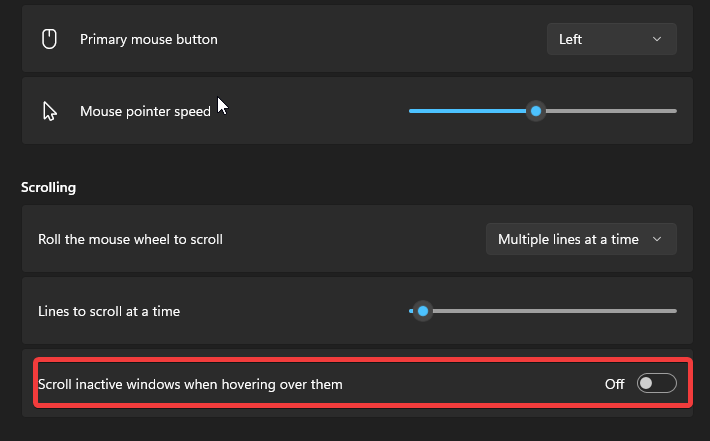
- Click on the Bluetooth and Devices option and then select the Mouse option.
- Next, turn off the Scroll inactive Windows when I hover over them toggle.

- Lastly, restart your device and check whether the issue is fixed or still arising.
6. Uninstall Recent Updates
Users can also uninstall the recent updates to stop the mouse from scrolling in Windows 11. And the steps for doing the same are as follows-
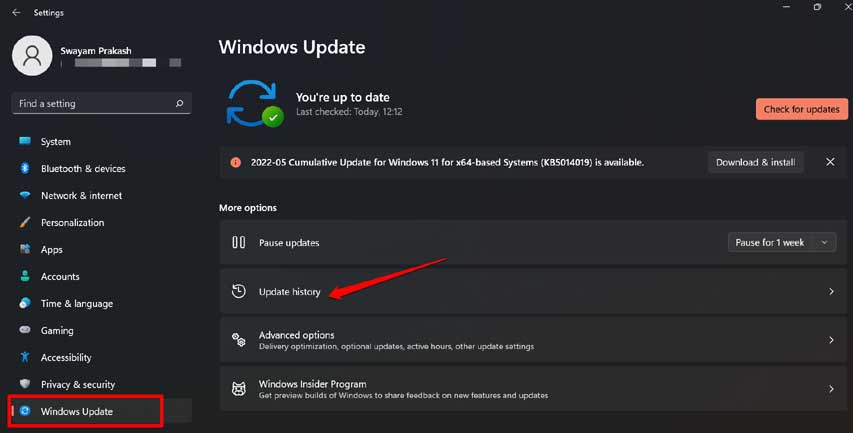
- Go to the Start Menu, search for the Settings app and open it.
- You click on the Windows Update from the left sidebar and then click on the Update history option on the right side of the window.

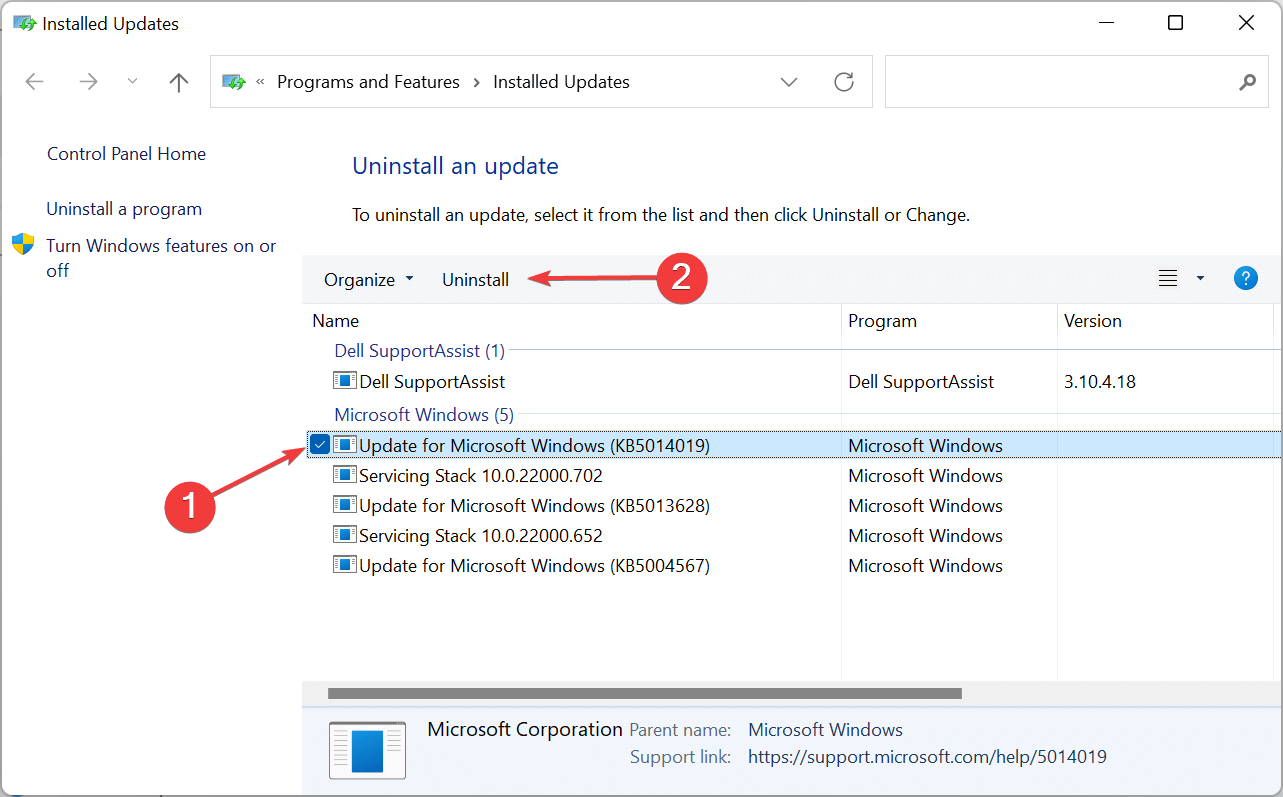
- Next, select the Related settings and then click on the Uninstall updates.

- Now, select the update you recently installed and click on Uninstall.


7. Update your Windows
If a previous update has not been installed correctly or there are some pending updates on your PC, they are likely to cause issues like mouse auto-scrolling. For that, users need to update their Windows to the latest version. For that, follow the steps given below-
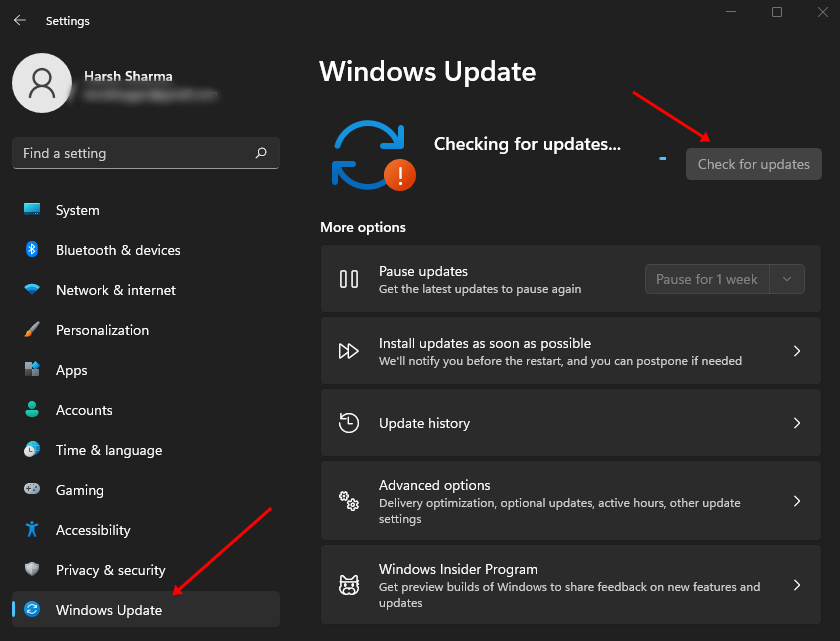
- Open the Start Menu, and then from there, open Settings.
- Under the Windows Update tab, click on Check for updates option.

- Download and install all the updates available.
- Once all the updates have been installed, restart your PC.
Conclusion
If the issue was caused due to software-related reasons, then this article will help fix them. However, if the issue is not due to software reasons like a bug or technical glitches, then probably the mouse is faulty, and you will have to replace it.


