Printer Spooler service in Windows PC is responsible for all the printer processes on your Windows PC. The service handles all the printing tasks; it adds the documents to the queue. However, this service can keep running in the background and can cause high CPU usage; this may cause your PC to slow down.
If you have been facing this issue in Windows 10 and Windows 11, this article will help you solve it. In this article, we will be discussing how you can fix Printer Spooler Service High CPU usage in the Windows system.
Also Read- How to Enable Windows Mobility Center on Windows 11
Fix Printer Spooler Service High CPU Usage in Windows 11/10
There are various ways to fix Printer Spooler Service high CPU usage. Given below are some steps that will help you with it.
1. Scan Your PC For Virus
The first thing you can try doing is scanning your PC for the virus. You can use antivirus software to scan your PC for the virus. If you do not have a dedicated antivirus on your PC, you can use Windows Security to run the virus scan. Many times, the service can get corrupted due to viruses and malware.
2. Restarting The Spooler Service
You can try doing is restarting the Printer spooler service. To do so, follow the steps given below-
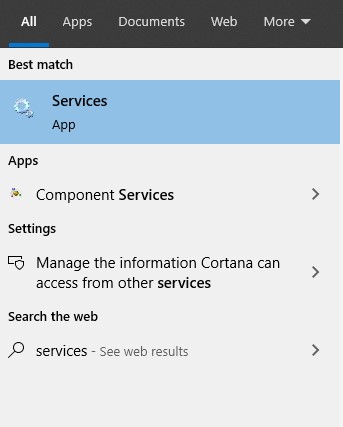
- In the Start Menu, search for and open the Services app window.

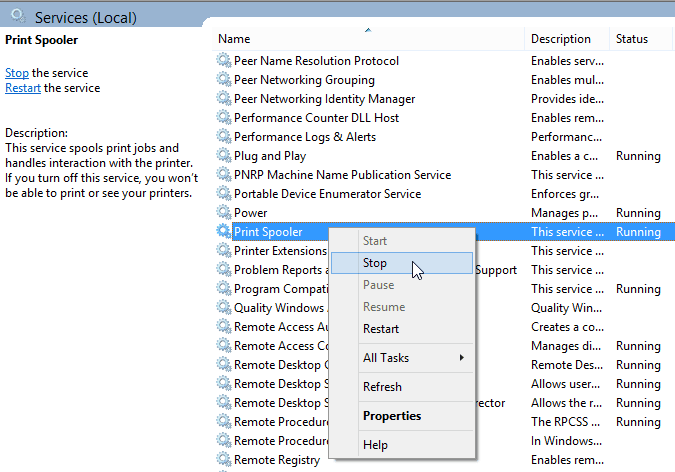
- Here, locate the Print Spooler service. Right-click on it and click on Stop.

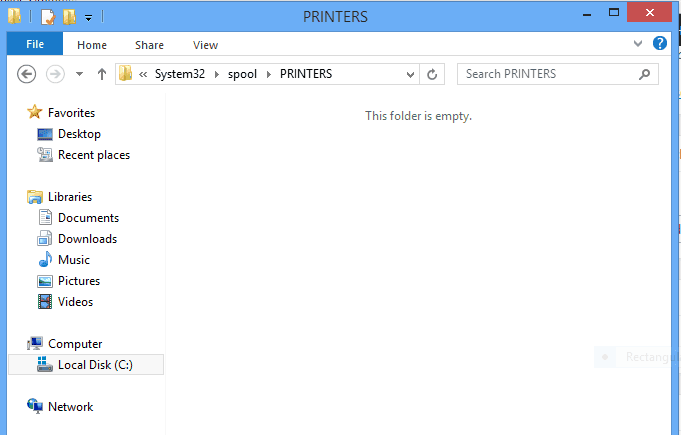
- Now, press the Windows + E key combo and head to the following address-
- C:\WINDOWS\system32\spool\Printers

- C:\WINDOWS\system32\spool\Printers
- Here, delete all the files and folders present in this folder.
- Head to the Services window, right-click on Print Spooler service and click on Start.
3. Reinstall Printer Driver
If you still face the issue, you can try reinstalling the printer driver. You will have to use Device Management to reinstall the Printer Driver. To do so, follow the steps given below-
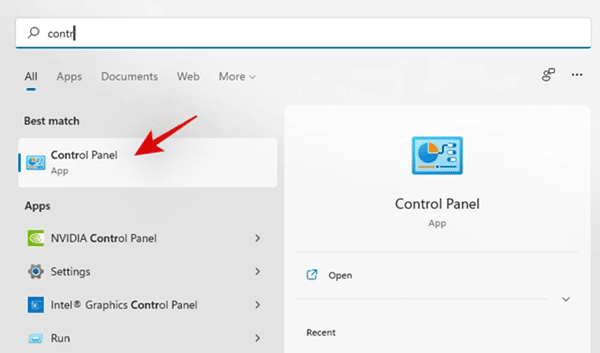
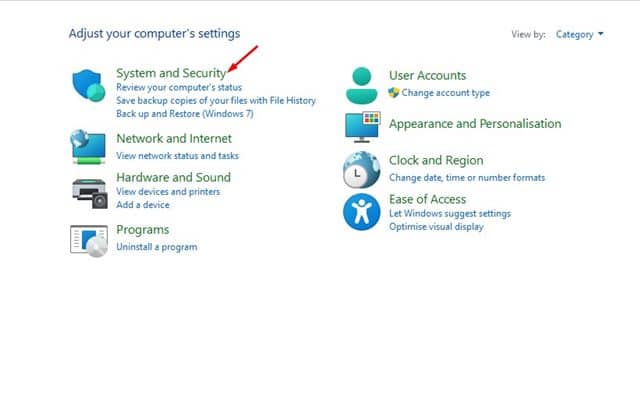
- In the Start Menu, search for Control Panel and open it.

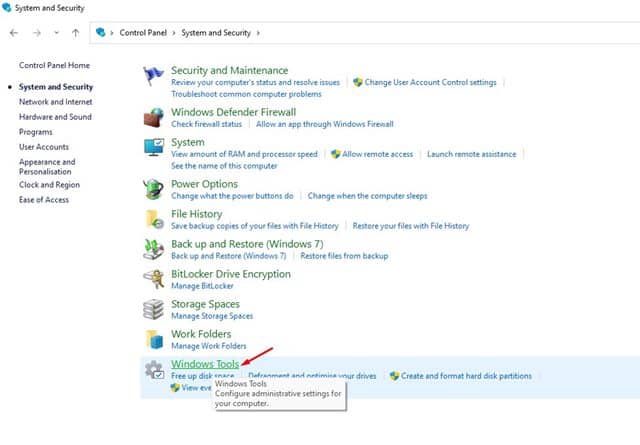
- Head to System and Security > Windows Tools > Print Management.


- In the Print Management window, expand Custom Filters and then select All Drivers.
- On the right pane, select your printer driver. Right-click on it, and then click on Delete.

- Now, restart your PC and manually install your printer on your PC.

Final Words
Following these steps, you should no longer face high CPU usage due to printer spooler service. If you have been facing this issue, following this article will help you fix the issue.


