We have set the whole process, from selecting a movie to watch on Windows PC to TV or external displays using HDMI. Even our popcorn is also ready to be crunched. In the meantime, you have found an issue with the sound. Later, you know it is not audible because of HDMI. All of our excitement go away in a few minutes.
But you don’t need to worry much. If you are facing this problem, you are not alone. There are some specific reasons for causing these issues, such as bugs, outdated drives, faulty ports and maybe more. Do you want to know what to do next and how to fix it? Here’s how to fix HDMI audio not working on Windows 11.
How to Fix HDMI Audio Not Working on Windows 11
Windows 11 is more convenient and super simple to use. Accomplishing any troubleshooting of any problem becomes easy for us with the redesigning Windows system. Here are some proven ways to fix HDMI audio not working on Windows 11 to perform from your side.
1. Check the Cable and Port
First, you must check your HDMI cable and the port. But how do you check if it is workable or not?
To check its ability to input and output, you can unplug the cable from the system and the external device you have plugged in. Then plug in again to check if it is still working or not. Don’t forget to observe the condition of the cable.
Now use another port dock instead of using the same port if your device has more. If you get the sound, you don’t need to perform any below-mentioned processes. Otherwise, go through this process to make HDMI audible.
2. Perform Windows Sound Troubleshoot
Second, we can use the inbuilt troubleshooter tool in Windows 11 to detect the problem and act on it. This is what you need to follow.
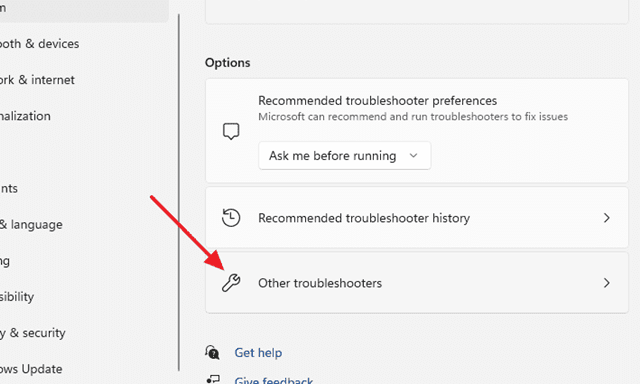
- Press Windows Start > Settings > Troubleshoot.
- Then click on Other troubleshooting.

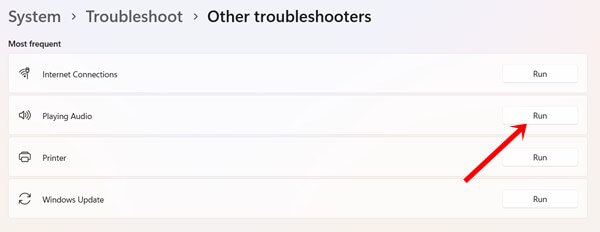
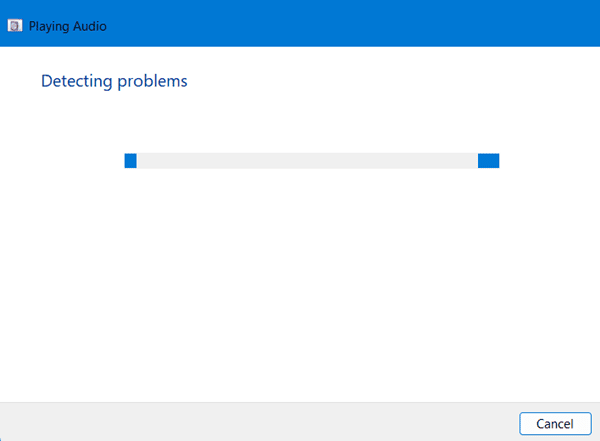
- Click Run on Playing Audio to perform the troubleshooting.

- Now troubleshoot any from the detected list to solve your problem accordingly.

3. Update Sound Drivers
Updating the sounder driver can solve the problem. After the update, tries to connect the HDMI once again. Let’s see how to update the sound driver in Windows 11.
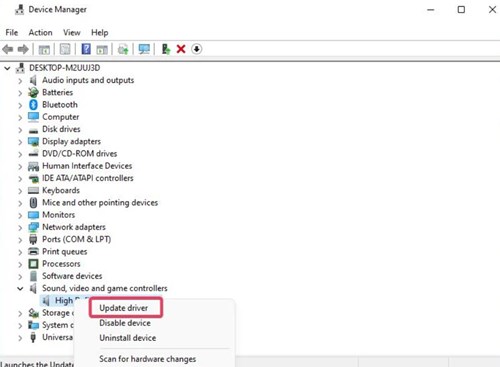
- Click on the Windows button, and search for Device Manager. For shortcuts, press Windows + X altogether. Then click Device Manager from the list of all functions.
- Now click on the Sound, video, and game controller.
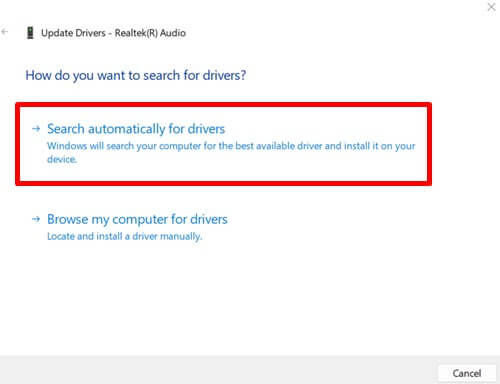
- You will get all the audio drivers. Choose your audio driver and right click on it and click on Update driver.

- Now click on search automatically for drivers to get the update.

4. Set HDMI as Default Playback
Generally, Windows automatically select the available playback as the default playback. If it is not working for you. Then why not try to set the particular HDMI as a default playback?
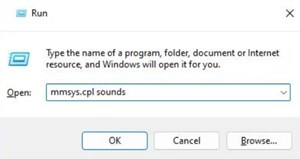
- Press Windows start + R. Run will open next to you. Type mmsys.cpl sounds, and hit the enter button.

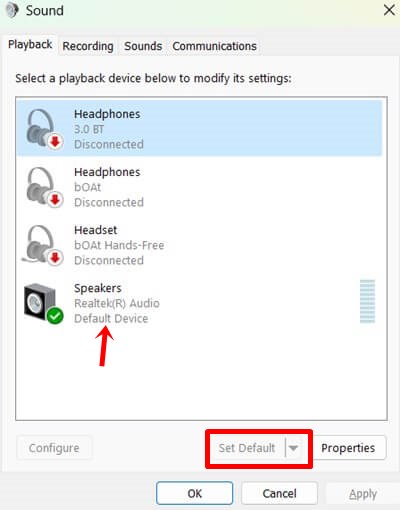
- The sound configuration tool will open. Now select the sound system, and click on the Set default. Make sure you have connected your HDMI cable to the get default option.

5. Restart Audio Service
Considering the restart audio service is another best way to fix the issue. To restart the audio service, follow this.
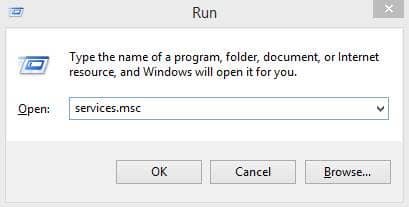
- Press Windows start + R. Run will open next to you.
- Type services.msc, and hit the enter button.

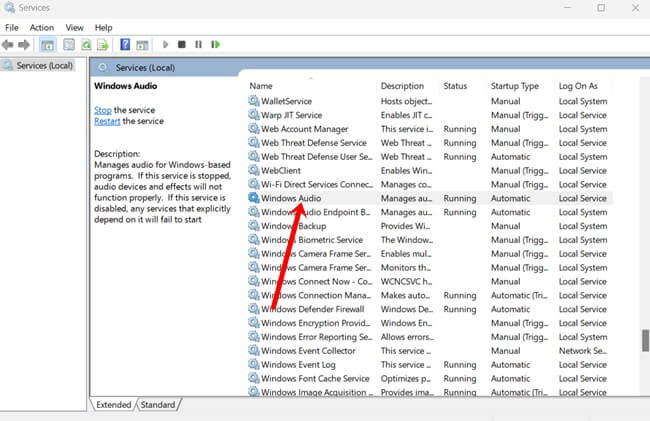
- Windows service app will open, now double-click on Windows audio.

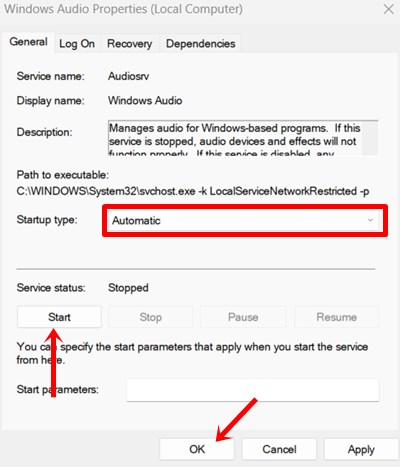
- Now select the automatic option, click on the start button, and then the Ok button.

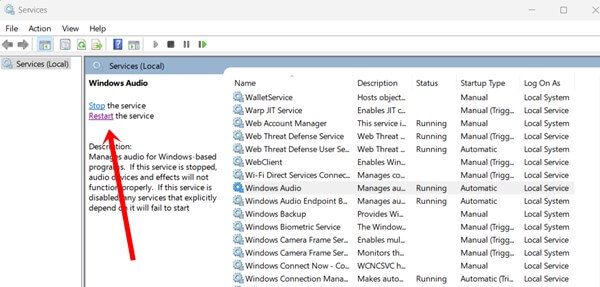
- Go back to the service page, and click on the restart button to perform this audio service.

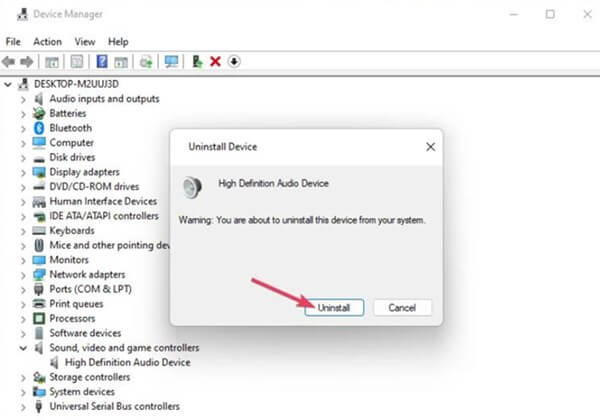
6. Reinstall Sound Drivers
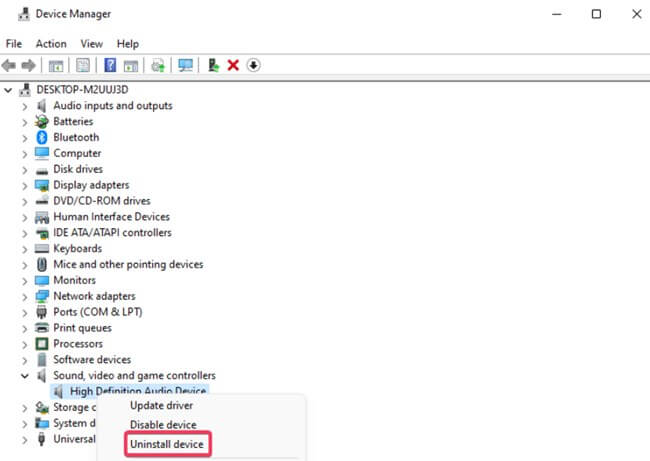
- Open Device Manager, and click on Sound, video, and audio controllers.
- Now select the sound driver and right-click on it.

- Then click on the uninstall button.

- Close the app and type alt + F4 to restart the driver again.
7. Windows Update
An updated Windows version is always recommended use. Many bugs and glitches may be available in the old version. I find many problems when I skip the update for some time. The system can’t perform in the usual rhythm, takes a lot of time to boot, and even lags a lot.
It makes sense to update the windows. Windows update clear out the bugs to strengthen the performance of the system. It can even help to fix the HDMI audio issue indirectly.
- Press Windows start > Windows update.
- Now click check for updates.

- Then download and install the update if you have any.

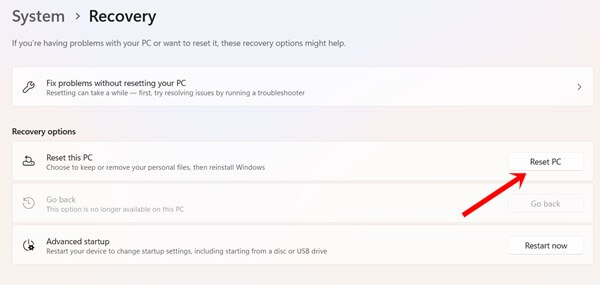
8. Reset Windows
Reset Windows takes you to all the default settings and helps to troubleshoot all internal issues. Consequently, it reinstalls all drivers automatically. Let’s see the process of reset Windows.
- Press Windows > System > Recovery.
- Now click on Reset PC.

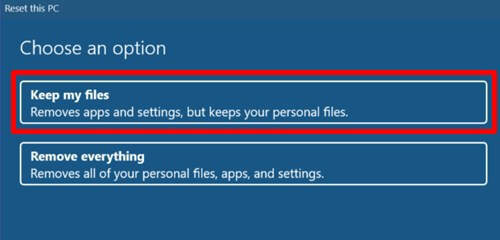
- Then choose the type of reset you want to do.
- The recommendation will choose the Keep my files reset. If you back up data, then you can reset the system fully. Otherwise, you will lose all your saved data.

Final Words
So these are the few methods on how to fix HDMI not working in Windows 11. All methods are super simple to perform. If you need a helping hand, don’t forget to ask questions in the comment box.


