Are you the one who uses VPN on Windows 10? Then sometimes, you might have an error that doesn’t allow you to make an L2TP/IPsec connection with Windows 10. This error has different reasons like incorrect username and password, invalid server name, a problem in the server, and much more.
The reason for getting this error might be any, but there are a few methods available by which you can solve this error. You can often solve the error by checking the username, password, and server; if all are correct, then it is solved. However, it is not the same for everyone, so check out the best ways to fix L2TP/IPsec VPN does not connect on Windows 10 PC error.
Fix L2TP/IPsec VPN Not Connecting in Your Windows 10
1. Using Command Prompt
Follow the steps to solve the error by using the command prompt:
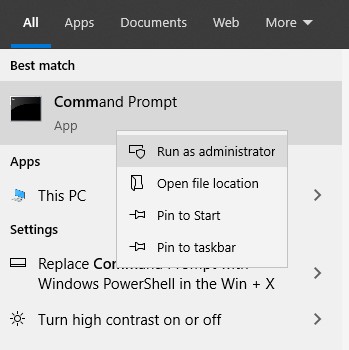
- Go to Start Menu and search for Command Prompt
- Do right-click on the Command Prompt option and select Run as Administrator

- Open Command Prompt in elevated mode
- In the Command Prompt window, enter the command which is shown below in the image and then press enter:
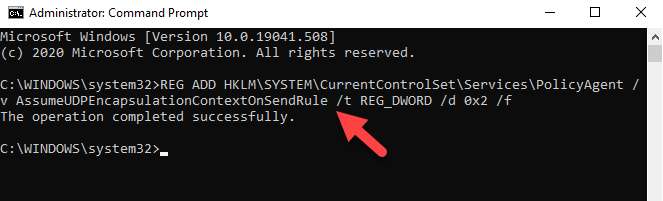
After this, reboot your computer and check L2TP/IPsec VPN will be connected.
2. Editing the Registry Editor
- Open Run Command on your PC by pressing the Windows + R keys together.
- In the search field type regedit and press OK to open the Registry Editor window

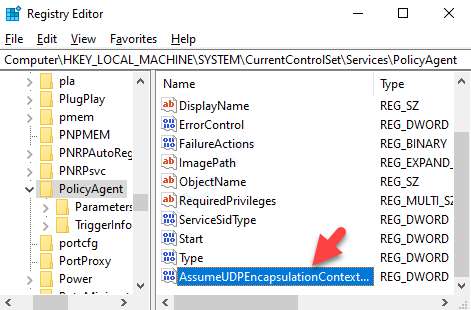
- In the Registry Editor Window, go to:
HKEY_LOCAL_MACHINE\SYSTEM\CurrentControlSet\Services\PolicyAgent

- Now, right-click and click on DWORD (32-bit)
- Rename it as
AssumeUDPEncapsulationContextOnSendRule

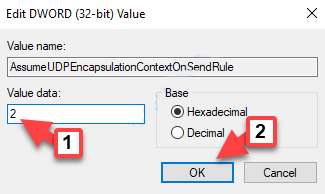
- Now, double-click on
AssumeUDPEncapsulationContextOnSendRule
and open Edit DWORD (32-bit) value box
- Set the Value data to 2

- Now, copy the given path and paste it in the Registry Editor address bar:
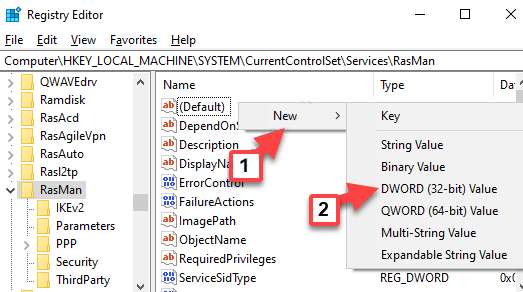
HKEY_LOCAL_MACHINE\SYSTEM\CurrentControlSet\Services\RasMan
- Do right-click on an empty space and select New from the menu
- Then select DWORD (32-bit) Value.

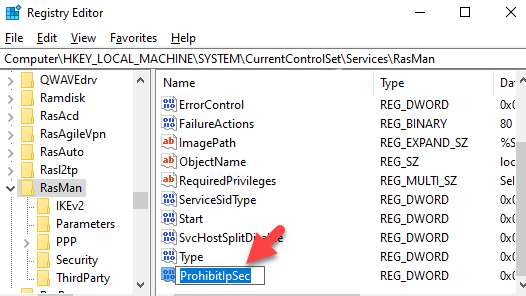
- Rename the DWORd (32-bit) Value as ProhibitIpSec.

- Now, open the Edit DWORD (32-bit) Value dialogue box by doing a double-click on ProhibitIpSec.
- Set the Value data to 0.
- Click on OK and save the changes


Close everything and restart your PC. Now, your VPN should connect to your Windows 10 PC.
3. Restart the IPsec Service
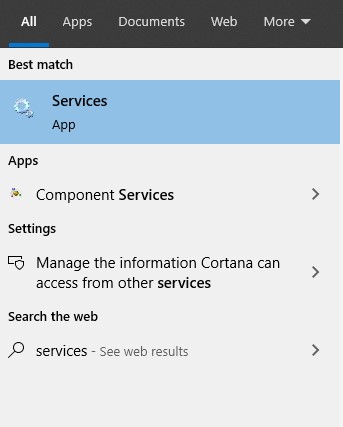
- Click on Start Menu at the bottom left side of the screen
- Type in Services in the search box
- Open the Services window.

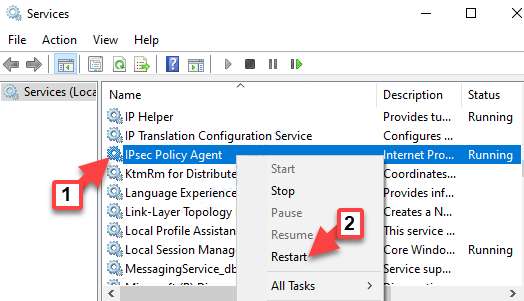
- In the Services window, go to Names, and under that, look for IPsec Policy Agent.
- Do right-click on it and click on Restart to start the service again

- As you have successfully restarted the service, now the VPN should connect to your Windows PC.
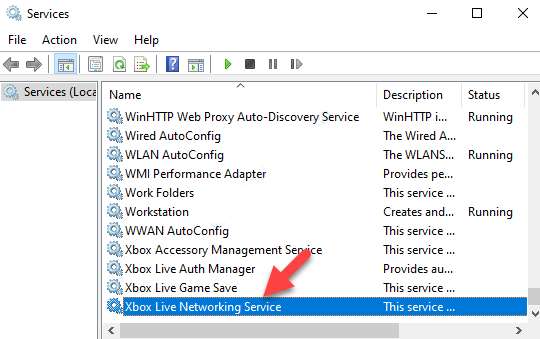
4. Disable Xbox Live Networking Service
- Click on the Windows search field and type Services
- Open the Services window
- In the Services window, go to Names, under that, look for Xbox Live Networking Service

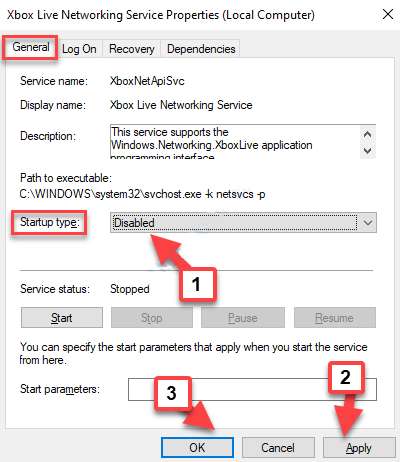
- Double-click on the Xbox Live Networking option and in the Properties window, click on the General tab
- There disable the Startup type section
- Click on Apply and then OK and save changes.
Exit from the open window and reboot your PC to get connected to VPN.
5. Update the Network Drivers
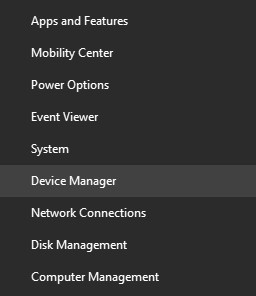
- Do right-click on the Start menu and from the menu, tap on Device Manager

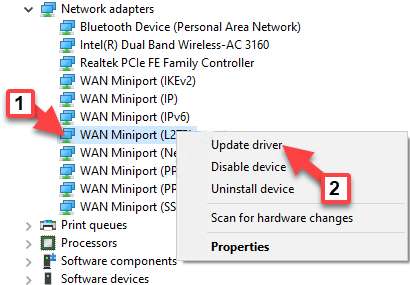
- In the Device Manager window, go to Network adapters and open it
- Right-click on TAP-Windows Adapter V9 and click on Update driver
- Click on Search automatically for updated driver software option and follow the given instructions
- The same process applies for WAN Miniport (L2TP) and WAN Miniport (Network Monitor).
Restart your PC and try to connect your VPN.
NOTE: If you get the message “The best drivers for your device are already installed, “ look for the latest driver in Windows Update and install it manually.
6. Double-Check the Authentication Settings
- Open the Run Command by pressing the Win + R keys together.
- Type ncpa.cpl in the search box and press enter

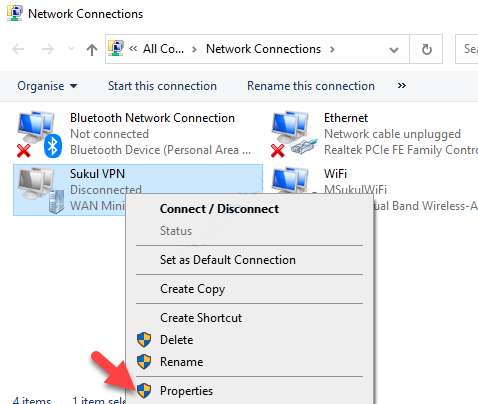
- The network Connections window will open.
- Now, right-click on your VPN and click on Properties.

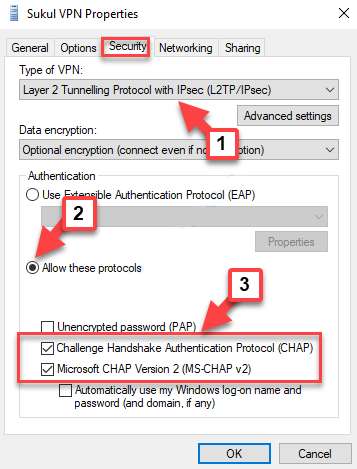
- Go to the Security tab in the Properties window
- Here, check Type of VPN is set to Layer 2 Tunneling Protocol with IPsec (L2TP/IPsec).
- Select the Allow these protocols button
- Challenge Handshake Authentication Protocol (CHAP) and Microsoft CHAP Version 2 (MS-CHAP v2) both options should be checked

- If these options are not selected, then select them and click on OK

Now, try to connect your VPN to Windows. If you are still getting an error, then try out another method.
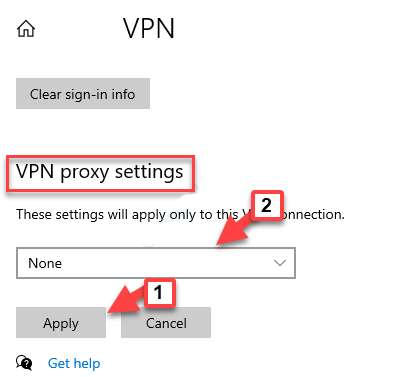
7. Check the VPN Proxy Settings
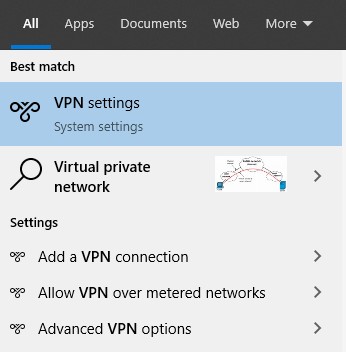
- In the windows search bar, type in VPN Settings
- Click on it and open the VPN settings window

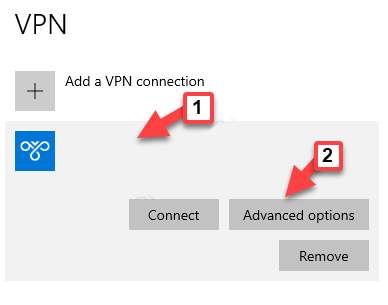
- Select your VPN connection in the VPN settings window and click on Advanced options.

- In the next window, scroll down and check if the VPN Proxy settings are correct or select None to remove the proxy.
- Click on Apply and save changes.
Now, you can try to connect your VPN with Windows PC.
8. Open L2TP Ports in Firewall
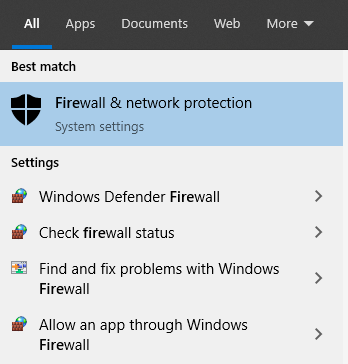
- Go to Windows search and type Firewall, and hit enter.
- Open Firewall & network protection
- Windows Defender Firewall with Advanced Security will be opened

- In the Windows Defender pane go to Inbound Rules
- Then click on Actions which is on the right side, under that, click on New Rule

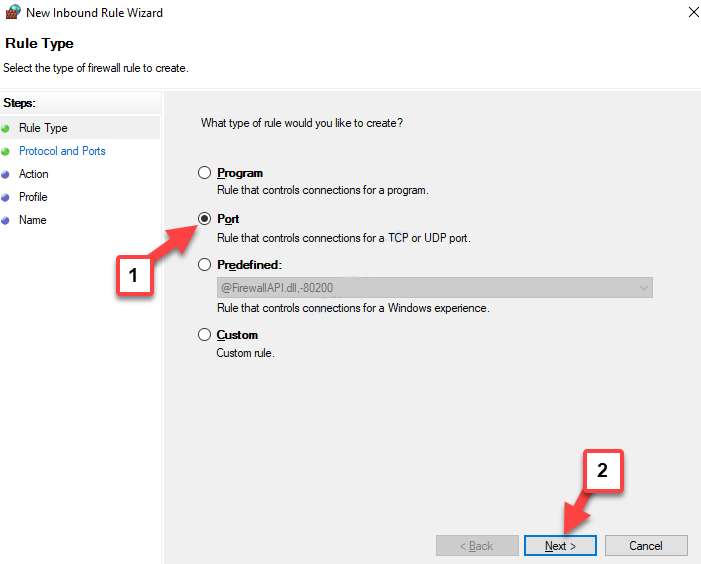
- The New Inbound Rule Wizard windows will open
- There select Port and click on Next

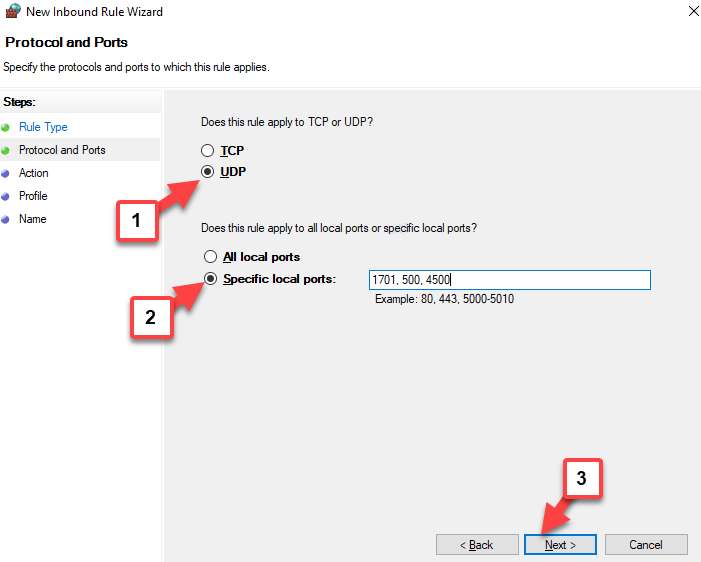
- In the Protocol and Ports window, select UDP and then select Specific local ports filed and type 1701, 500, 4500

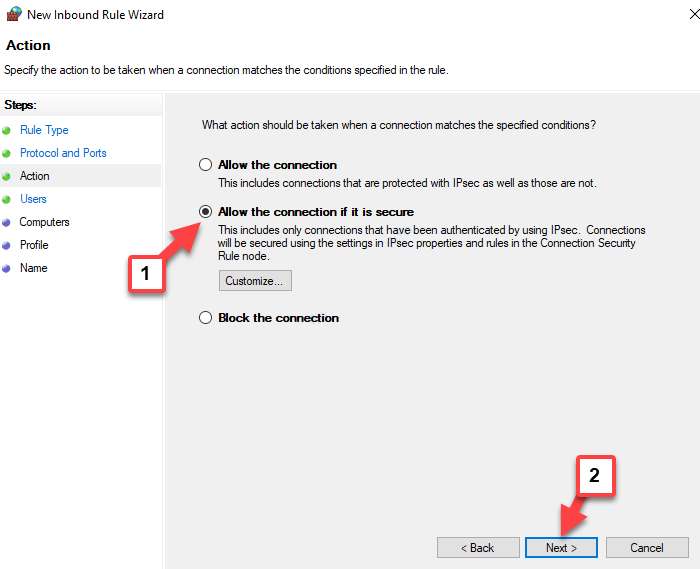
- In the Action window, select Allow the connection if it’s secure
- Click on the Next option

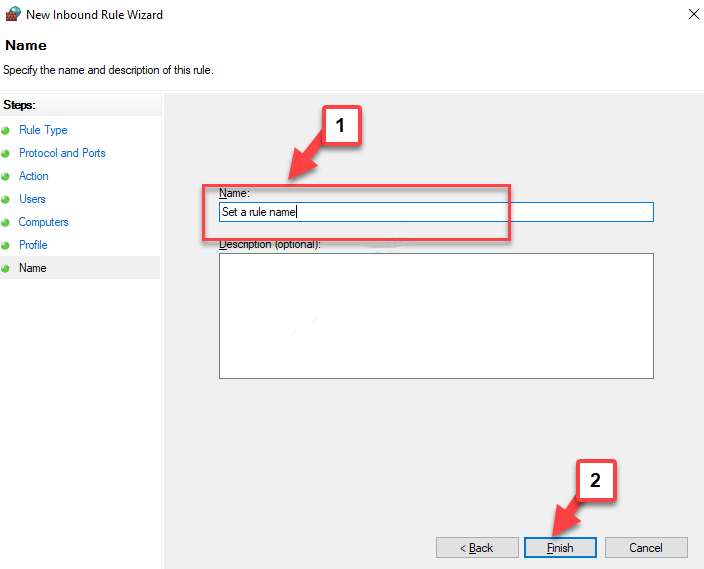
- Keep pressing Next till you see the Name window
- Set a rule name and then click on Finish.

For Outbound Rules also, repeat the same process.
Now, try to connect the VPN to your Windows 10 PC.


