Facing a blue screen error on PC sucks; imagine you are doing some important work, suddenly encountering a blue screen with a random error message, and your PC stops working. Blue Screen is quite common and often comes with an error message. Netio.sys or Netio System is another blue screen error many users have reported facing.
So what is Netio.sys? Netio.sys is a system utility that measures a network through TCP/IP. This error is generally encountered when the update file you installed on your Windows 11 PC is corrupted.
You need not worry about if you have been facing this issue as this article will guide you in fixing it. This article will discuss the troubleshooting methods to help fix Netio System Blue Screen Error on Windows 11.
Ways to Fix Netio.sys Blue Screen Error on Windows 11
We have listed some methods to help fix Netio.sys blue screen error on Windows 11 below-
1. Run SFC and DISM
The error is most probably caused when the update file is corrupted. If you started facing this issue after installing a corrupted update, you could run the SFC scan to fix the issue. Given below are the steps to run an SFC scan-
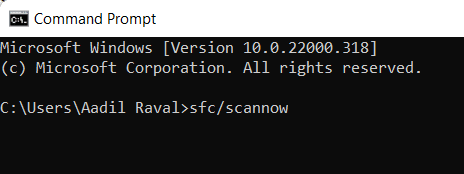
- Go to the Start menu, search for Command Prompt and run it as administrator.
- Here, execute the command-

-
sfc /scannow
-
- Wait for the process to complete, and then restart your PC.
If that doesn’t fix the issue, then you should try running the DISM. You can follow the steps given below to run the DISM scan-
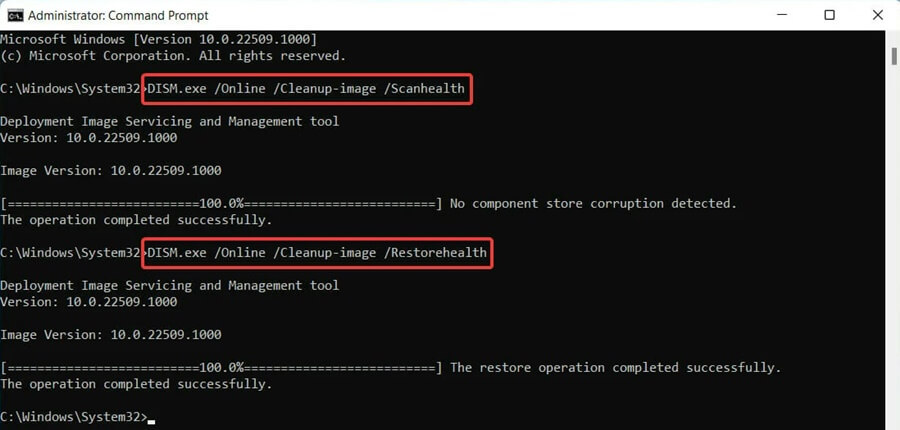
- Firstly, run the Command Prompt with administrative privileges.
- Now, execute the following commands one by one-

-
DISM.exe /Online /Cleanup-image /CheckHealth
-
DISM /Online /Cleanup-Image /ScanHealth
-
DISM /Online /Cleanup-Image /RestoreHealth
-
- After the process gets completed, restart your PC and see if the error still arises or not.
2. Clean Boot your PC
Another method to fix Netio System blue screen error is to perform a clean boot. This will boot the PC without third-party services or programs and fix the issue they have been causing. To clean boot your PC, follow the steps given below-
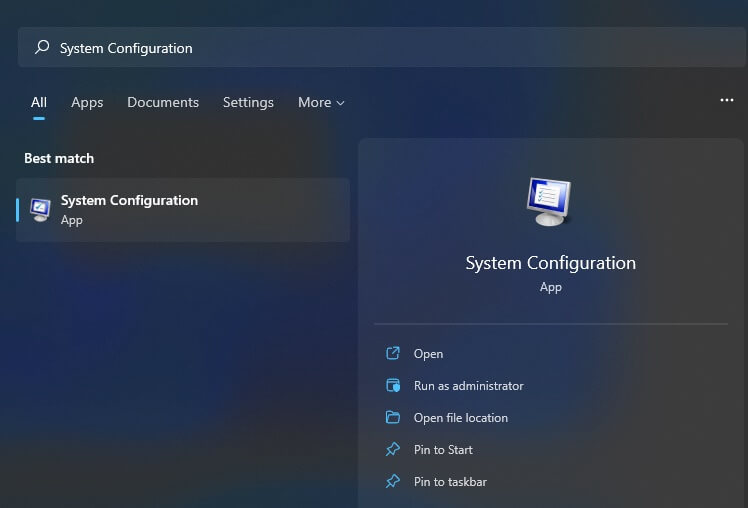
- Open Start Menu, search for System Configuration and open it.

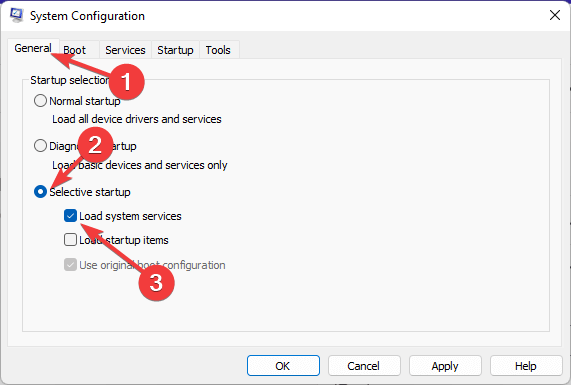
- Head to General Tab and Select Selective Startup and tick the Load System Services options.

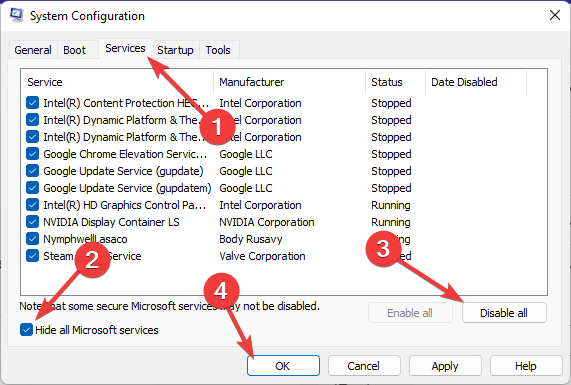
- Here, head to the Services tab.
- Then, check the checkbox next to the Hide all Microsoft services and click on the Disable all option.
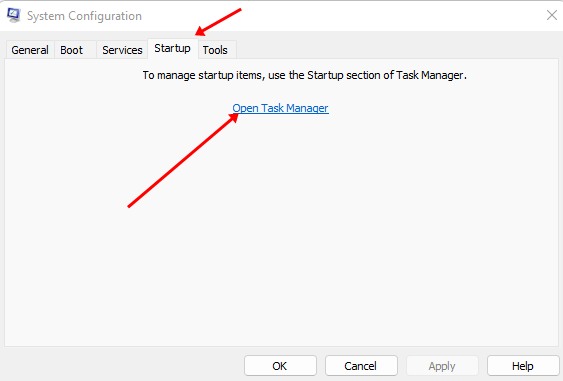
- Now, move to the Startup tab and click on the Open Task Manager.

- Now, right-click on the programs listed here, and then click Disable. You will have to do this individually for all the programs here.
- Once the above steps have been performed successfully, restart your PC.
3. Perform Virus Scan
This problem can also occur due to a virus on your computer that may cause your PC to crash. To fix this problem, you must scan your computer with an antivirus. You can use Windows Security to run the virus scan by following the steps given below-
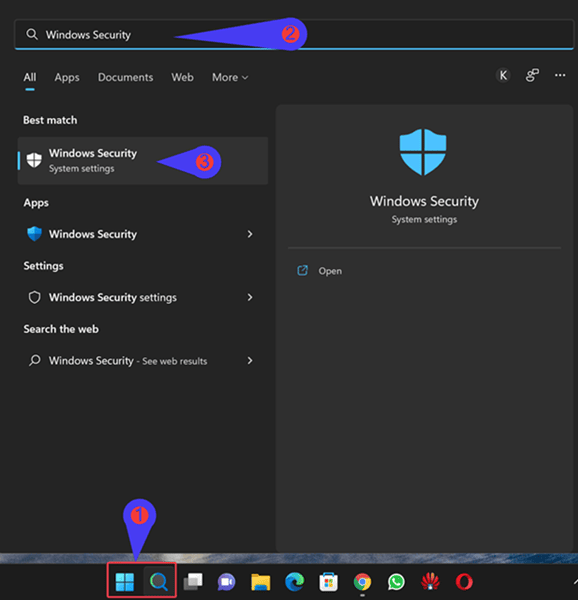
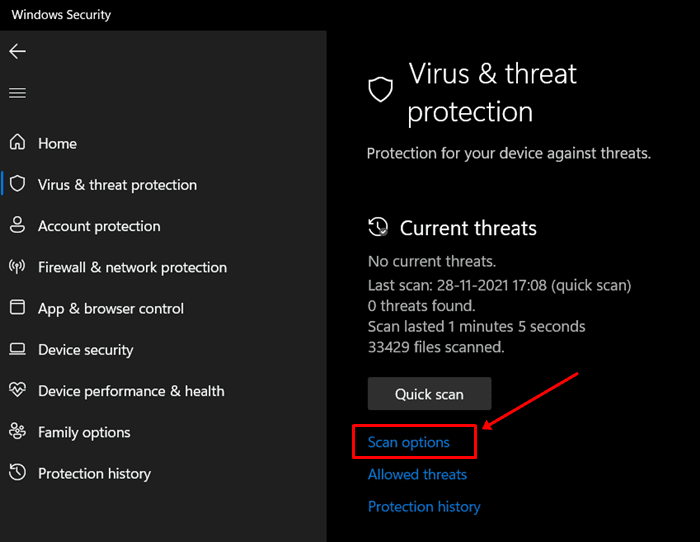
- Press the Windows key, search Windows Security and click to open.

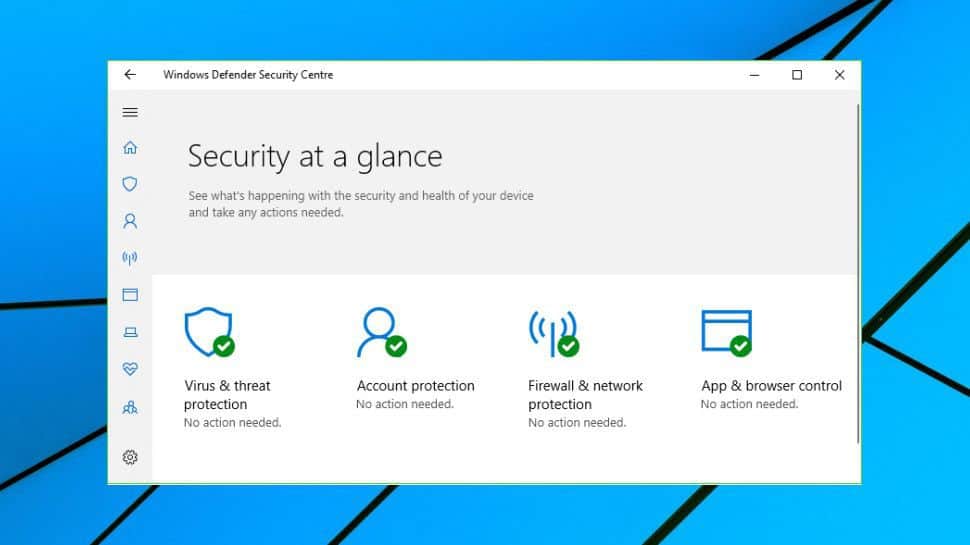
- After that, click on the Virus & Threat Protection option.

- Now, click on Scan Options. Select Full Scan and then click on Scan Now.

- Wait for the scan to complete, and then restart your PC.
4. Run CHKDSK Scan
Another troubleshooting step to follow is running the CHKDSK Scan. This will scan your disk for any error. To do so, follow the steps given below-
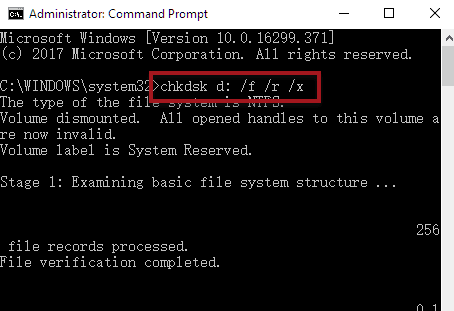
- Go to the Start menu, search for Command Prompt and run it as administrator.
- Execute the following command here-

-
CHKDSK C:/f/r/x - Note- If the root drive is already in use, the command will not run. However, it will tell the user to scan their device when restarting their PC.
-
- Next, press Y and hit Enter.
- Restart your PC to run CHKDSK Scan.
5. Update Windows
Always updating Windows to the latest version can also fix this error. To update the Windows, follow the steps given below-
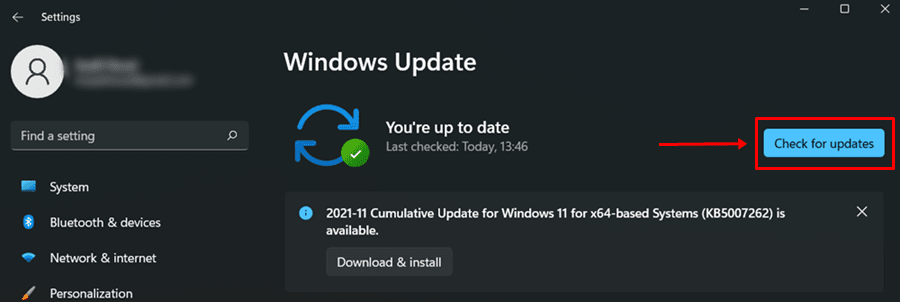
- Press Windows + I key combo to open Settings.
- Head to the Windows Update from the left sidebar, and then click on Check for updates option.

- Download and install all the updates available, and restart your PC.
6. Perform a System Restore
If you started facing this error after updating your PC, installing a program, or making changes to the PC, then you can perform the System Restore.
Performing system restore will revert all the changes made to your PC. However, you will need a restore point to continue with this fix. To do so, follow the steps given below-
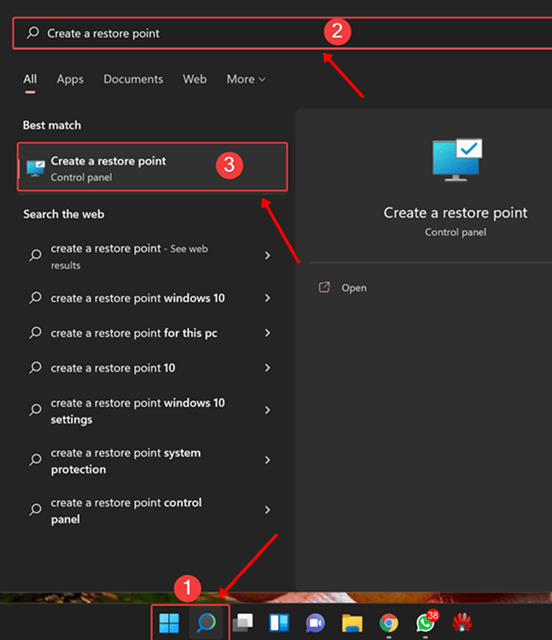
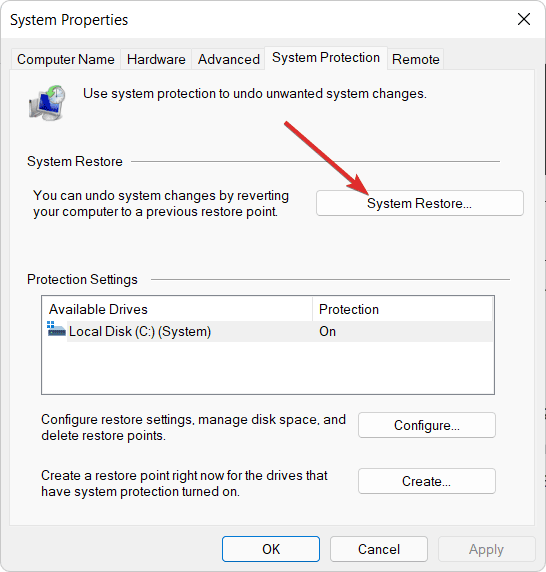
- Open the Start Menu, search for Create a restore point and click on it. This will take you to the System Properties window.

- Here, under the System Protection tab, click on System Restore.

- Now, select the restore point from the list. If you want to see what programs will be installed and uninstalled, click on Scan for affected programs.
- Now, follow the on-screen instructions to perform system restore.
7. Reset Your Device
If none of the above steps helped you out, then you can reset your PC. This will revert all the settings to the system version. The steps for the same are as given below-
- Open Settings by pressing the Windows + I key combo.
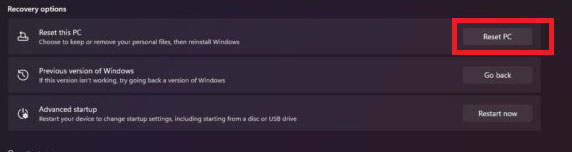
- Under the System tab, click on the Recovery option.

- Click on the Reset PC option.

- Two options will appear: Keep My Files and Remove Everything. Select either of the two options as per your preference.
- Follow the on-screen instructions to reset the PC.
- After resetting the PC, set it up, and the issue will be long gone.

Conclusion
The article explains the fixes of Netio.sys blue screen error on Windows 11 and how users can fix it easily. Blue screens are generally caused due to corrupted system files or driver issues. This can easily be fixed by running an SFC scan or updating the Windows.


