What does the “No Internet Secured” error mean on Windows 10? Have you ever come across this error? This error means you are unable to use the Internet connection.
Your device gets connected to Wi-Fi, but the Internet doesn’t work. When this error occurs, you will see a yellow triangle on the Wi-Fi or Ethernet icon at the screen’s bottom right side.
‘No internet secured’ error mainly occurs in Windows 10 compared to other versions. This error might occur even if you are connected to the Internet via a router.
There are different reasons for this error like changes in IP configuration settings or your system might need to update or install any new software.
Even if you have updated the Windows, you might face this problem. However, you don’t need to worry; you can quickly fix this by following methods.
Best Ways to Fix “No Internet Secured” Error
There are different ways to fix the “No Internet Secured” error on Windows 10. Below we have shared a few methods to help you solve this issue.
1. Refresh the IP Configuration
There are a few of the commands available that might help you to solve the error.
- Do right-click on the Start Menu and select Windows PowerShell.
- Now, enter the given two commands:
ipconfig /release
ipconfig /renew
- Once you enter the commands, it will ask your PC to request a new IP address from the router.
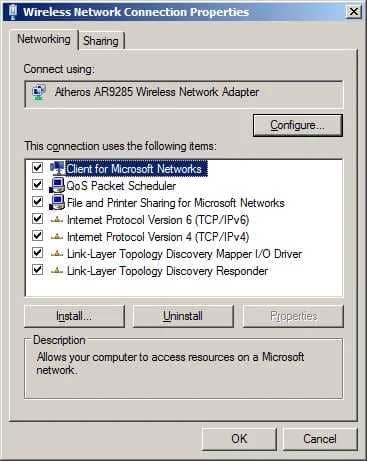
2. Change the Properties of your PC Connection
You can change the properties of your PC’s Wifi connection by following the given steps:
- Press Windows Key + R to open the run dialog box. Type ncpa.cpl and hit enter.
- Now, the “Network Connections” window will be opened.
- Select the Wi-Fi connection and right-click on it. Choose “Properties.”

- Now make sure you select the options which are given below:
Client for Microsoft networks

File and printer sharing for Microsoft networks

Link-layer topology discovery mapper I/O driver

Internet protocol version 4, or TCP/IPv4

Internet protocol version 6, or TCP/IPv6

Link-layer topology discovery responder
- Click on the network icon and look for the network which is giving the error
- Unplug the Ethernet cable from your PC. Turn ON Airplane mode on your computer
- Now, Restart the Wi-Fi router. Once the router is On, turn OFF airplane mode
- Connect Wi-Fi to your PC again and check whether everything is working.
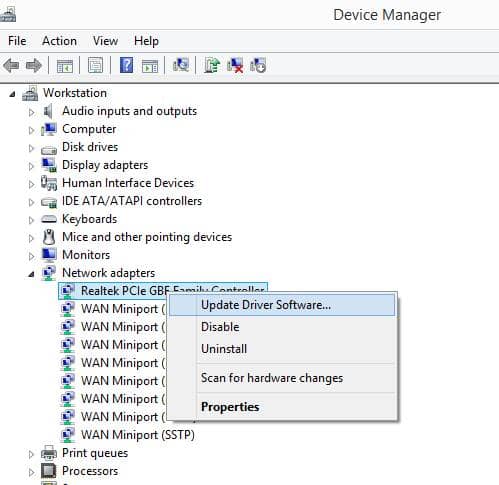
3. Update Your Network Device Driver
If you get a “No Internet Secured” error, your Network Device Driver might be the problem. So, try to update it to fix the issue.
- Do right-click on Start Menu > Device Manager.
- Look for Network Adapters in the list and select your network device.
- Now, right-click on it and click on Update driver.

- While the driver is getting updated, reboot Windows.
- Once it is successful, Windows will automatically connect to the network.
- If this is not working, instead of clicking on Update driver, click Disable Device, reboot the PC, and enable it.
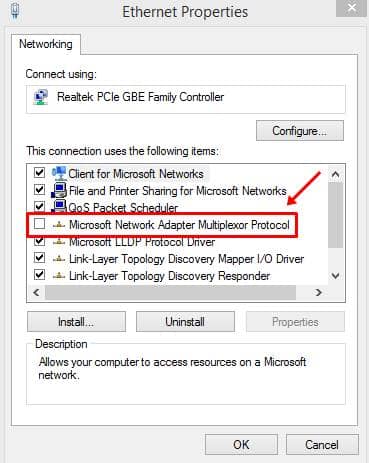
4. Disable Wifi Sharing Software
In Windows 10, the router driver can have an issue with the wireless driver, so to fix this problem, follow the steps given below:
- Press Windows Key + R and type ncpa.cpl and hit enter
- Here, look for Network Adapters. Do right-click on the network which you are using.
- Select “Properties” and click on the “Sharing” tab
- Now, uncheck the option “Microsoft network adapter multiplexor protocol” and other options related to Wi-Fi sharing.

- Click on each item and read the description to know which item is related to sharing.
- Now, try to connect to the Internet.
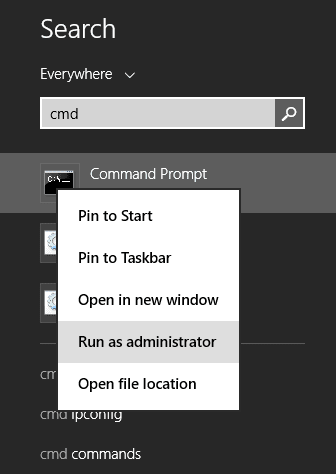
5. Reset Winsock
There might be chances of having problems with the Windows Sockets API. If so, you can reset Winsock and solve the “No Internet Secured” error in Windows 10.
- In the search menu, type Command Prompt.
- Click on it and select Run as Administrator.

- Allow permission by tapping on yes.
- Now, Reset the Winsock by entering the given command.
netsh winsock reset catalog
- Wait a while and reconnect the network manually, or it might get connected automatically.
6. Set a Fixed DNS Server
Most of the time you face No Internet Secured error on windows 10 because there is no fixed DNS server. Windows offers a feature to set a custom DNS so the request goes through that specified DNS. Follow the below steps to set a fixed DNS:
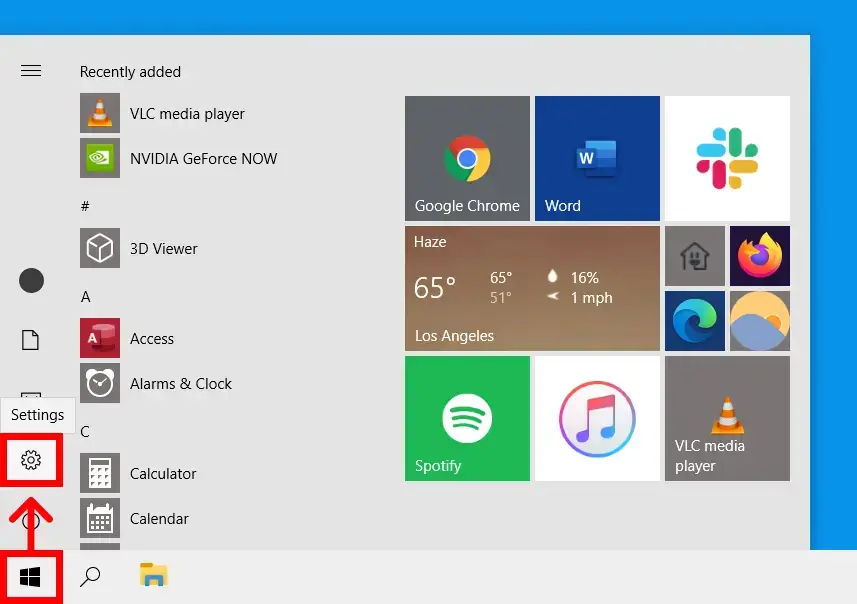
- Click on the Windows Start Menu > Settings.

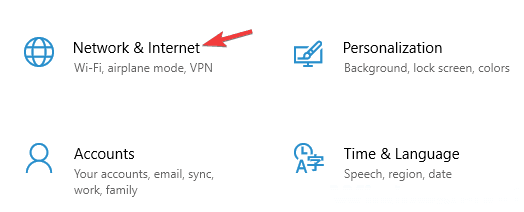
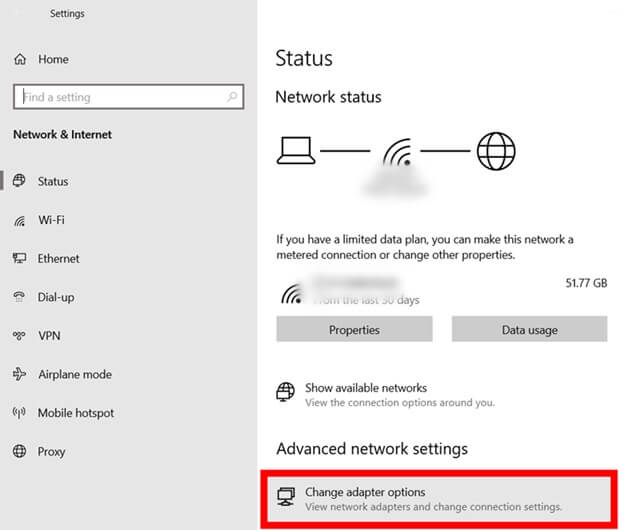
- Select Network & Internet > Change adapter options.


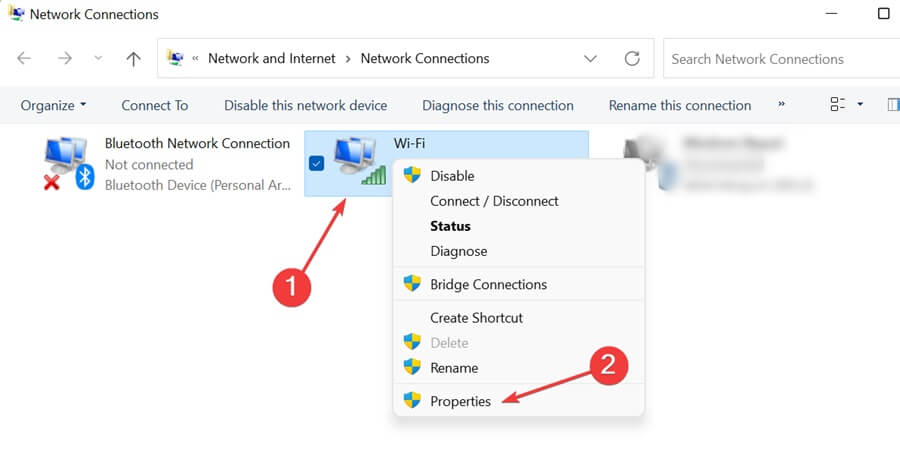
- Now you can see the list of network devices, Right click on desired connect and go to Properties.

- Double-click on Internet Protocol Version 4 (TCP/IPv4) to open Properties.
- Select Use the following DNS server addresses and enter the DNS address and click on Apply and OK button.


Preferred DNS server: 1.1.1.1
Alternate DNS server: 1.0.0.1
Here, we have tried our best to explain how you can fix No Internet Secured Error on Windows 10. Hopefully, these given solutions will fix your problem. If you have any suggestions to add or doubts to ask let me know.


