A graphics card is an essential component of a PC that computes all the graphics-related work. Graphic processes are heavy, so a GPU is used to process them so the CPU can handle other processes and your PC doesn’t lag.
However, sometimes it may happen that your graphics card may not get detected by your PC. Many NVIDIA graphics card users have recently reported this issue.
Such issues result from outdated BIOS, outdated graphics cards, Windows updates, and various other reasons. If your Nvidia graphics card not detected on Windows 11, then you can follow the troubleshooting steps in this article to fix this issue.
Fix Nvidia Graphics Card Does Not Get Detected in Windows 11
There are various troubleshooting methods by which users can fix the problem of the Nvidia cards not detected in windows 11 PC, which is mentioned below.
1. Show Hidden Devices
Your NVIDIA graphics card may be detected by your PC but is hidden on Device Manager. Many users have revealed that somehow they have managed to conceal their Nvidia Graphics Card by viewing their hidden details. To check the hidden devices on the Device Manager, follow the steps given below-
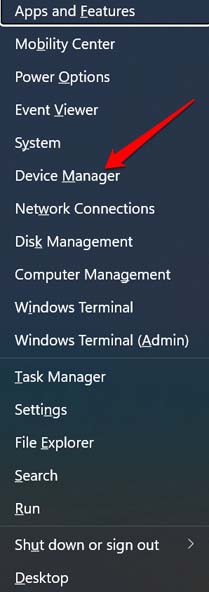
- Press the Ctrl + X key combo and then click on Device Manager.

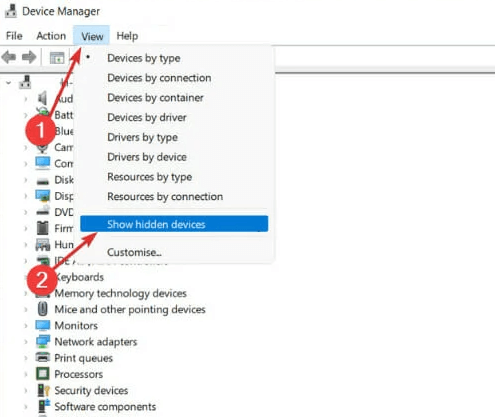
- Next, click on the View tab on the top and then on Show hidden devices option to view the hidden devices.

- Check if the graphics card is listed or not. If it is not, you should move to the troubleshooting steps mentioned.
2. Force Disable PCIExpress
The next way to fix the Nvidia graphics card not detected in Windows 11 is by force disabling PCI Express For that, follow the steps given below-
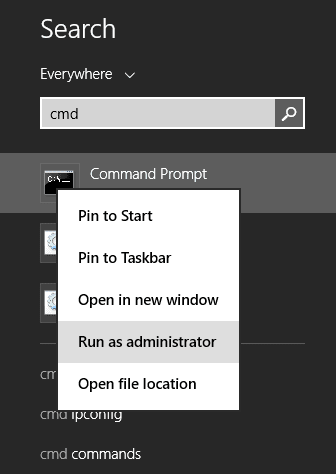
- Press the Windows key and search for CMD. Now, run the Command Prompt as administrator.

- Now, type the command given below and hit the Enter button to execute it-
-
bcdedit /set pciexpress forcedisable
-
- Once done, restart your device and check if the issue is fixed.
3. Update Windows
Always updating Windows to the latest version can also help fix this problem. To update the Windows, follow the steps given below-
- Press the Windows + I key combo to open Settings.
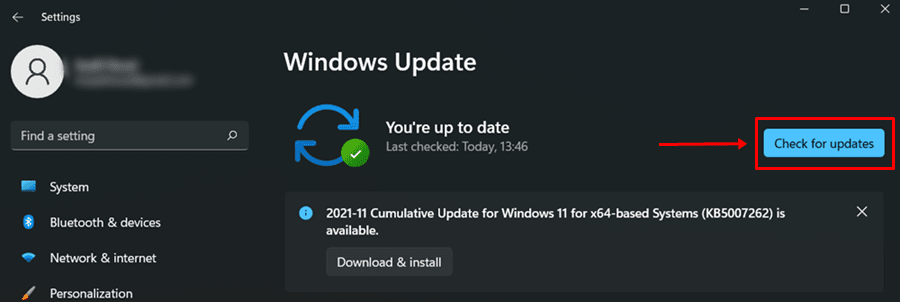
- Head to the Windows Update from the left sidebar, and then click on Check for updates option.

- Download and install all the updates available.
- Lastly, restart your PC.
This will also update the Nvidia Drivers on your PC, which will help to fix the problem.
4. Manually Update the Graphics Card Driver
If the Windows Update method doesn’t solve the issue, you should try manually updating the graphics card driver. To do so, follow the steps given below-
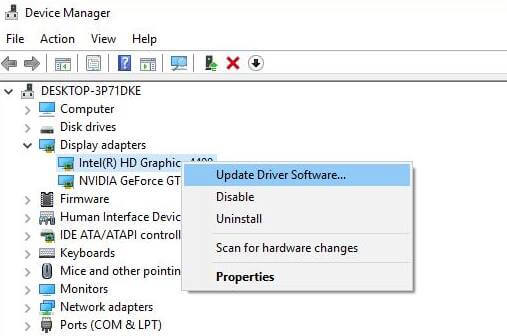
- Go to the Start menu, search for the Device Manager and open it.

- After this, expand the Display Adapter and right-click the Graphics card.
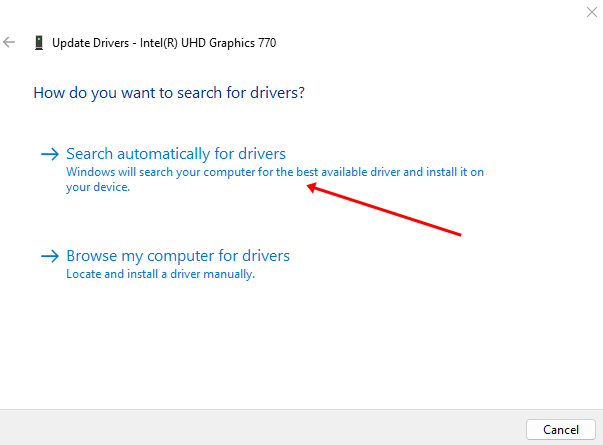
- Select Update Driver and then click on the Search Automatically for drivers to update the graphics on your PC.


- Once done, restart your PC and check whether the issue gets fixed or not.

5. Uninstall Updates
If the issue is encountered after installing a Windows Update, then you can try uninstalling the Windows update. You can uninstall Windows Update by following the steps given below-
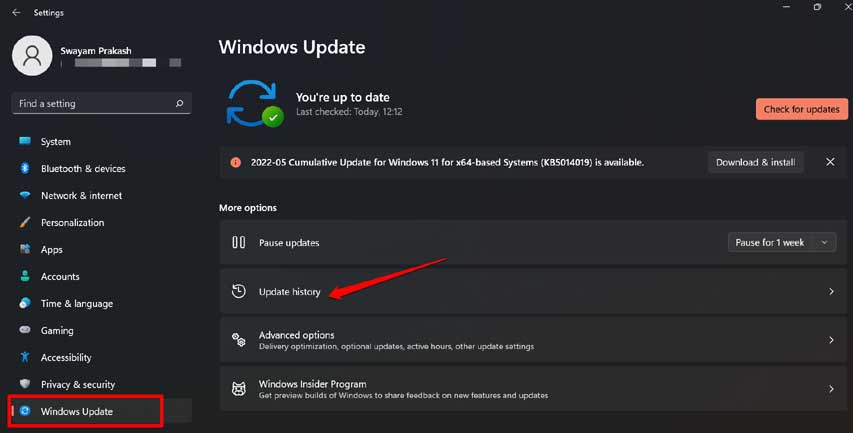
- Press the Windows + I combo to open the Settings app.
- Head to the Windows Update section, and then click on Update History.

- Scroll down, and then click on Uninstall Updates option.
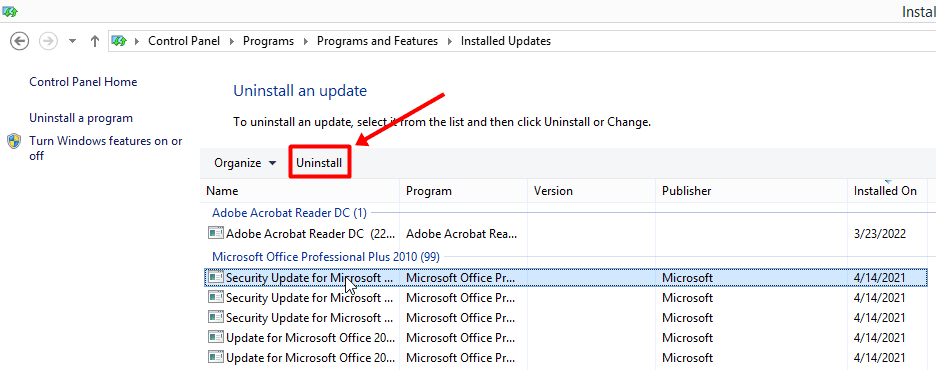
- In the Control Panel window that opens up, select the update you recently uninstalled and click on the Uninstall button.

- After uninstalling the update, you will have to restart your PC. Once done, check if the issue is fixed or not.
6. Run SFC Scan
Sometimes the issue can also arise due to corrupted or missing files on your system. If there is a problem with the device, then, in that case, the user needs to scan the system to detect the corrupted file.
You can use an SFC scan to scan your PC for corrupted files. To do so, follow the steps given below-
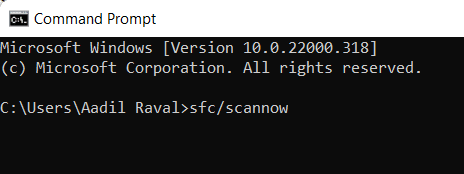
- Open Start Menu, search for Command Prompt and run it with administrative privileges.
- Here, execute the following command-

-
sfc /scannow
-
- Wait for the process to complete and then restart your PC.
7. Re-Align Graphics Card
Using a PC, you should try re-aligning the graphics card. The issue may often be caused when the graphics card is not properly inserted in the slot. You should turn off your PC and remove and re-insert the graphics card.
Ensure you properly insert the graphics card and that it fits into the slot. This should fix the issue you have been facing.
Note- Laptop users must not try this; this step is only recommended for PC users.
Conclusion
The above article explains the various ways to fix NVIDIA Graphics card not detected on Windows 11. Various troubleshooting steps listed in this article will help you fix the issue. If the issue is still encountered after trying the above steps, you should try contacting the service center to fix the issue.


